Tender Pork Belly Boiled in Beer
A Simple Recipe for Tender Pork Belly Boiled Using Only Beer

Introducing a pork belly boiled dish that becomes incredibly tender using just beer. This recipe guarantees a wonderfully soft and flavorful result with minimal effort.
Ingredients- Pork belly 2 ‘geun’ (approx. 600g x 2)
- 1 Onion
- 1 Green onion (mostly the white part)
- 500ml Beer (lager type recommended)
- 5 Bay leaves
- A pinch of whole peppercorns
Cooking Instructions
Step 1
Prepare the aromatics that will infuse flavor into the boiled pork. Wash the onion thoroughly, cut it into approximately 10cm lengths, and then cut each piece in half lengthwise. This step is effective in removing any gamey odor from the meat.

Step 2
Wash the green onion and cut it into large pieces, about 10cm long. Cutting it thicker rather than thinly helps its aroma infuse gently into the meat while cooking.

Step 3
Lay about 2/3 of the prepared green onions and onions at the bottom of a pot. Placing the vegetables first prevents the pork belly from directly touching the pot, preventing sticking and adding a subtle aroma to the meat.

Step 4
Place the prepared pork belly chunks neatly on top of the green onions and onions. Using pork belly with the skin on will provide a chewier texture.

Step 5
Cover the pork belly with the remaining 1/3 of the green onions and onions. Layering the ingredients like this allows heat to transfer evenly, resulting in a more tender cook.

Step 6
Pour the 500ml of beer into the pot. The beer doesn’t need to completely submerge the pork belly. The enzymes in the beer help tenderize the meat and effectively remove any unpleasant odors. (I used one standard 500ml can of beer.)

Step 7
Now, cover the pot with a lid and bring to a boil over high heat for 10 minutes. It’s important to boil rapidly at first to lock in the juices.

Step 8
After 10 minutes, remove the lid and flip the pork belly in the pot. This ensures even cooking on both sides.

Step 9
Sprinkle whole peppercorns over the pork belly. While optional, adding whole peppercorns can enhance the depth of flavor. (You can omit this step based on your preference.)

Step 10
Reduce the heat to medium, cover the pot again, and let it simmer for another 30 minutes. A total cooking time of about 40 minutes is common. The pork is done when a skewer inserted into it goes through easily without any pinkness. (I simmered it for an additional 10 minutes for a total of 40 minutes to achieve a softer texture.)

Step 11
Carefully remove the boiled pork belly from the pot and let it cool slightly. Cutting it immediately while it’s piping hot can cause it to fall apart, so allowing it to rest is necessary.

Step 12
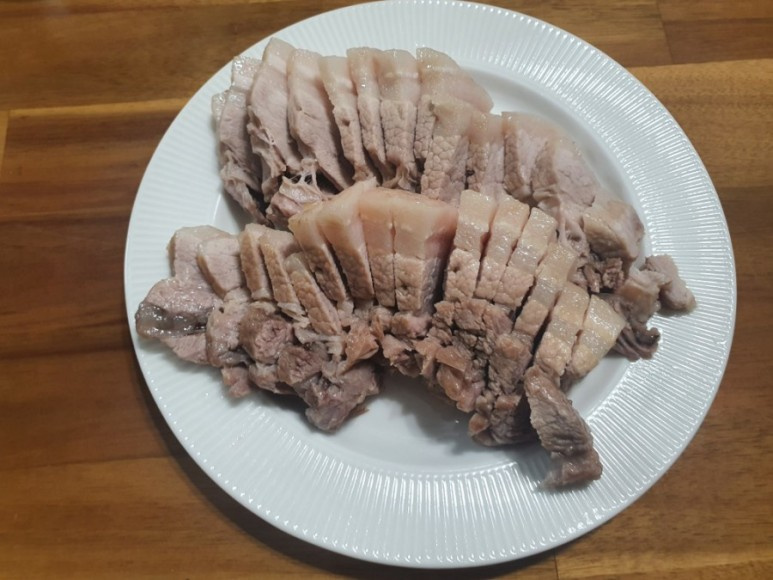
After cooling for about 5 to 10 minutes, slice the pork belly into bite-sized pieces. I sliced mine about 4mm thick, but you can adjust the thickness to your liking. Slicing with a good balance of fat and lean meat makes it even more delicious.

Step 13
Arrange the sliced pork belly attractively on a serving plate. It’s best enjoyed while still warm.

Step 14
Serve with salted shrimp (saeujeot), ssamjang (Korean dipping paste), and fresh lettuce wraps (like perilla leaves and lettuce). This combination makes the boiled pork even more flavorful and enjoyable. Kimchi or aged kimchi also pairs wonderfully!


