Rich Chocolate Muffins with Plenty of Walnuts
Delicious chocolate muffins generously filled with walnuts.

I decided to make some muffins as gifts for my neighbors and friends, as it’s been a while. I had about 15 people to give them to, so I made a good batch! If it were for children, I might have just used chocolate, but since it’s for adults too, I added plenty of walnuts, and they turned out absolutely delicious. This recipe is based on the standard baking skills test recipe, with just walnuts added, and it’s truly fantastic. I think it would be a great activity to do with kids, so please give it a try! ^^
Muffins (Makes 18)- 500g low-gluten flour (cake flour)
- 60g cocoa powder
- 30g non-fat dry milk
- 2g baking soda
- 8g baking powder
- 300g granulated sugar
- 5g salt
- 7 large eggs (approx. 320g)
- 150g water
- 180g chocolate
- 240g walnuts
Cooking Instructions
Step 1
First, let’s prepare the ingredients that need to be at room temperature. For the eggs, placing them in warm water will help prevent separation and ensure a smoother batter. So, put your eggs in warm water to gently bring them to temperature.

Step 2
Next, measure out your butter and let it soften at room temperature until it’s pliable. If you’re in a hurry, you can finely chop the butter and melt it quickly over a double boiler (bain-marie).

Step 3
While the butter and eggs are warming up, it’s time to measure out your dry ingredients. Weigh out the cocoa powder, non-fat dry milk, baking soda, baking powder, and flour and combine them.

Step 4
Sift the measured dry ingredients together. This ensures they are evenly distributed and prevents any lumps, leading to a finer texture in your muffins.

Step 5
I only had large pieces of chocolate, so I chopped some of them into smaller pieces after measuring. This is because very large chunks can make it difficult to pipe the batter later. haha

Step 6
You can use chopped walnuts (pieces) or whole walnuts like I did. Whichever you choose, it’s essential to toast them in the oven for about 5-10 minutes and then let them cool before using. Toasting enhances their nutty flavor and aroma. Don’t forget to toast them lightly before chopping them finely! ~

Step 7
Combine the chopped chocolate and toasted walnuts together in a bowl. These will be added last to the batter.

Step 8
Sift the dry ingredients, including the cocoa powder, at least twice. Sifting cocoa powder thoroughly ensures it doesn’t clump and integrates evenly. This step helps to mix the dry ingredients well with minimal stirring later, which prevents overdeveloping gluten and keeps the muffins tender.

Step 9
Water is added to adjust the batter consistency, and about 150g is usually sufficient. If the weather is very hot and your batter seems too thin, you can reduce the amount of water slightly.

Step 10
Crack the eggs that have been warmed in the water into a separate bowl.

Step 11
Now, let’s start making the batter! Cream the softened butter using a spatula or whisk, rotating it 1-2 times to achieve a smooth consistency.

Step 12
Add the sugar and salt to the creamed butter and mix until the mixture becomes light and fluffy, with a pale ivory color.

Step 13
Now, we’ll incorporate the eggs. If you’ve warmed them as suggested, you can add them all at once and mix. However, if you’re new to this, it’s much safer to add the eggs one at a time, mixing well after each addition to prevent the batter from separating. Be very careful with this step, as separation can happen easily!

Step 14
Add all the sifted dry ingredients to the butter-egg mixture. Use a spatula to gently fold and cut the ingredients together, rather than vigorously mixing with a whisk. Overmixing can lead to tough muffins; a light touch preserves a tender crumb.

Step 15
Once the flour is just incorporated into the butter mixture, your batter base is ready. Now, it’s time to add the prepared toppings.

Step 16
Add all the prepared walnuts and chocolate to the batter. Again, use a folding or cutting motion to combine them gently, completing your muffin batter.

Step 17
After the walnuts and chocolate are well mixed, add the water to achieve the correct batter consistency. Then, transfer the batter to a piping bag for easy and neat filling of the muffin cups.

Step 18
Line your muffin tin with paper liners. I didn’t have a specific muffin tin, so I used foil cups.

Step 19
Fill the muffin liners about 70-80% full with batter. For a more visually appealing, domed top, you can fill them about 90% full before baking. This makes them look more appetizing and beautiful! ^^

Step 20
Bake in a preheated oven at 180°C (350°F) for about 30 minutes.

Step 21
Once baked, carefully remove the muffins from the tin and let them cool completely.

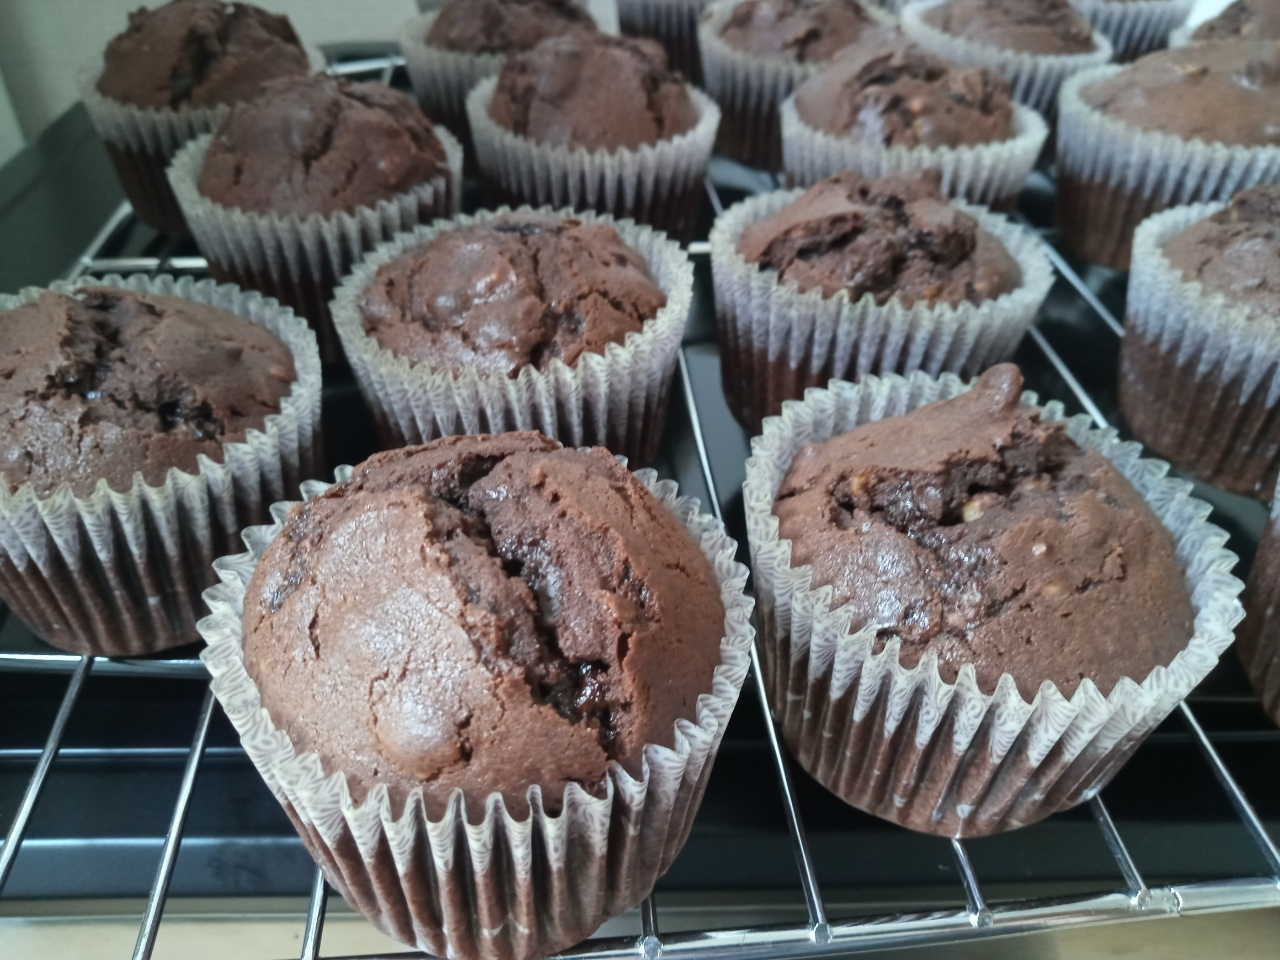
Step 22
Voilà! They have beautiful cracks on top and are perfectly done. ㅎㅎ My oven took 30 minutes, but yours might be slightly different. It’s best to start checking around 25 minutes and keep a close eye on them after that. ^^

Step 23
I’ve packaged them up to give as gifts around the neighborhood. The lady next door received quite a generous amount! ~

Step 24
These individually wrapped muffins were for my colleagues at work. ㅎㅎ

Step 25
Everyone who tried these muffins absolutely loved them and gave me so many compliments! It made for a very satisfying baking experience. Next time, I’ll share a cream cheese muffin recipe instead of chocolate. ^^


