Nostalgic Kimchi Fried Rice: Just Like School Lunch Trays!
Tangy and Sweet Kimchi Fried Rice with a Retro Metal Lunch Box Vibe

Kimjang season is approaching, making it the perfect time to clear out your kimchi stash with delicious recipes! This Kimchi Fried Rice is reminiscent of the metal lunch boxes we used to eat from in school. In my opinion, it’s tastier than any other fried rice out there. Enjoy this comforting and flavorful meal that brings back fond memories.
Ingredients- 1 bowl of well-fermented kimchi (approx. 200g)
- 1.5 bowls of leftover rice (approx. 450g)
- 1 Tbsp sugar (adjust based on kimchi’s sourness)
- 3 Tbsp perilla oil (deul-gireum)
- 2/3 cup water (approx. 150ml)
Cooking Instructions
Step 1
First, rinse the kimchi briefly if desired, then finely slice it into thin strips, suitable for stir-frying. Cutting them not too thinly will give a better bite.

Step 2
The kimchi used in this recipe is from last year’s Kimjang (kimchi-making season). The taste can vary depending on the type and ripeness of the kimchi. If your kimchi is very sour, you may need to adjust the amount of sugar.

Step 3
Place the sliced kimchi into a pot or deep pan. Add 1 tablespoon of sugar to mellow out the sourness of the kimchi. If your kimchi is particularly tart, feel free to add a little more sugar.

Step 4
Pour in 2/3 cup (approx. 150ml) of water, enough to generously cover the kimchi. This step helps to soften the kimchi and allows the flavors to meld beautifully during cooking.

Step 5
Cover the pot tightly with a lid and simmer over medium-low heat for 5 to 6 minutes. This process allows the kimchi to cook thoroughly and become tender.

Step 6
After 5 to 6 minutes, lift the lid. You’ll notice that most of the water has evaporated, and the kimchi has become soft and pliable. Be careful not to let it dry out completely.

Step 7
Turn off the heat and generously drizzle in 3 tablespoons of perilla oil (deul-gireum) for a rich, nutty aroma. Gently toss the kimchi to coat it evenly with the oil, infusing it with its fragrance.

Step 8
Spread the 1.5 bowls of cold, leftover rice over the cooked kimchi. Gently fluff the rice to prevent it from clumping together.

Step 9
Turn the heat back on to medium-low and cover with a lid again. Let it steam for about 5 to 6 minutes. This allows the rice to heat through and absorb all the delicious kimchi flavors.

Step 10
Remove the lid and gently mix the rice and kimchi together until well combined. Each grain of rice will be beautifully coated with the savory kimchi seasoning, resulting in fluffy and flavorful fried rice.

Step 11
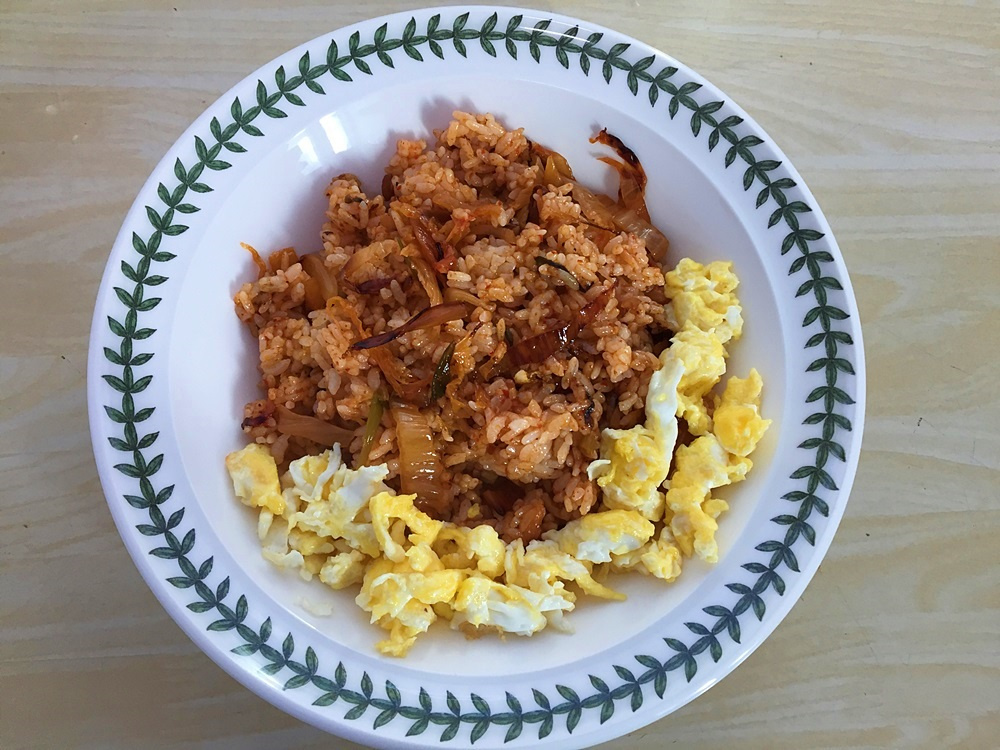
This is the authentic taste of the metal lunch box kimchi fried rice we used to make and eat from the coal briquette stoves during our middle and high school days! You can truly savor that warm and satisfying flavor. Adding a side of scrambled eggs is optional but highly recommended for an even more decadent experience.


