Fragrant Chive Bibimbap
Summer Heat? 5 Minutes is All You Need for Delicious Chive Bibimbap!

When the summer heat makes you lose your appetite, this quick and refreshing Chive Bibimbap is the perfect solution! Packed with crisp, aromatic chives and a simple yet flavorful seasoning, this dish is incredibly satisfying. It’s a one-bowl meal that will have you finishing every last bite. Let’s make this vibrant dish that’s bursting with freshness and flavor!
Main Ingredients- 70g fresh chives
- 1 egg
- 1 bowl warm cooked rice
For the Chive Seasoning- 2/3 Tbsp sesame oil
- 1 Tbsp cooking oil
- 2/3 Tbsp sesame oil
- 1 Tbsp cooking oil
Cooking Instructions
Step 1
First, prepare your rice. Chives are delicate and wilt quickly with heat. It’s best to let the rice cool slightly before adding the chives to help maintain their crispness.

Step 2
Wash and trim the chives, then cut them into approximately 2.5cm (about 1 inch) lengths. Cutting them into bite-sized pieces will make them easier to mix and eat with the rice.

Step 3
Now, let’s get to seasoning the chives. Before adding the main sauce ingredients, sprinkle in a pinch of salt. This helps to season the chives evenly and adds a foundational savory note.

Step 4
Add 1 tablespoon of sugar. The sugar balances the flavors and complements the natural sweetness of the chives.

Step 5
Pour in 2 tablespoons of vinegar for a refreshing tang. The vinegar brightens the dish and cuts through any richness, making it delightfully crisp.

Step 6
Add 3 tablespoons of soy sauce, the base of our savory flavor. This will deepen the taste of the chives.

Step 7
Finally, add 2/3 tablespoon of red pepper flakes (gochugaru) for a touch of color and mild heat.

Step 8
Combine all the seasoning ingredients with the chives and mix well. Taste the mixture and adjust the soy sauce, sugar, or vinegar to your preference. Let the chives marinate in the seasoning for about 3 minutes for the flavors to meld.

Step 9
Next, we’ll cook a delicious fried egg. Add 1 tablespoon of cooking oil to a pan and heat it over medium heat.

Step 10
Once the pan is hot, crack the egg into it and immediately reduce the heat to low. This prevents the egg from burning and ensures a beautifully cooked fried egg.

Step 11
Cook the egg to your desired doneness. For a runny yolk, aim for over-easy or sunny-side up. If you prefer a fully cooked yolk, cook it until firm.

Step 12
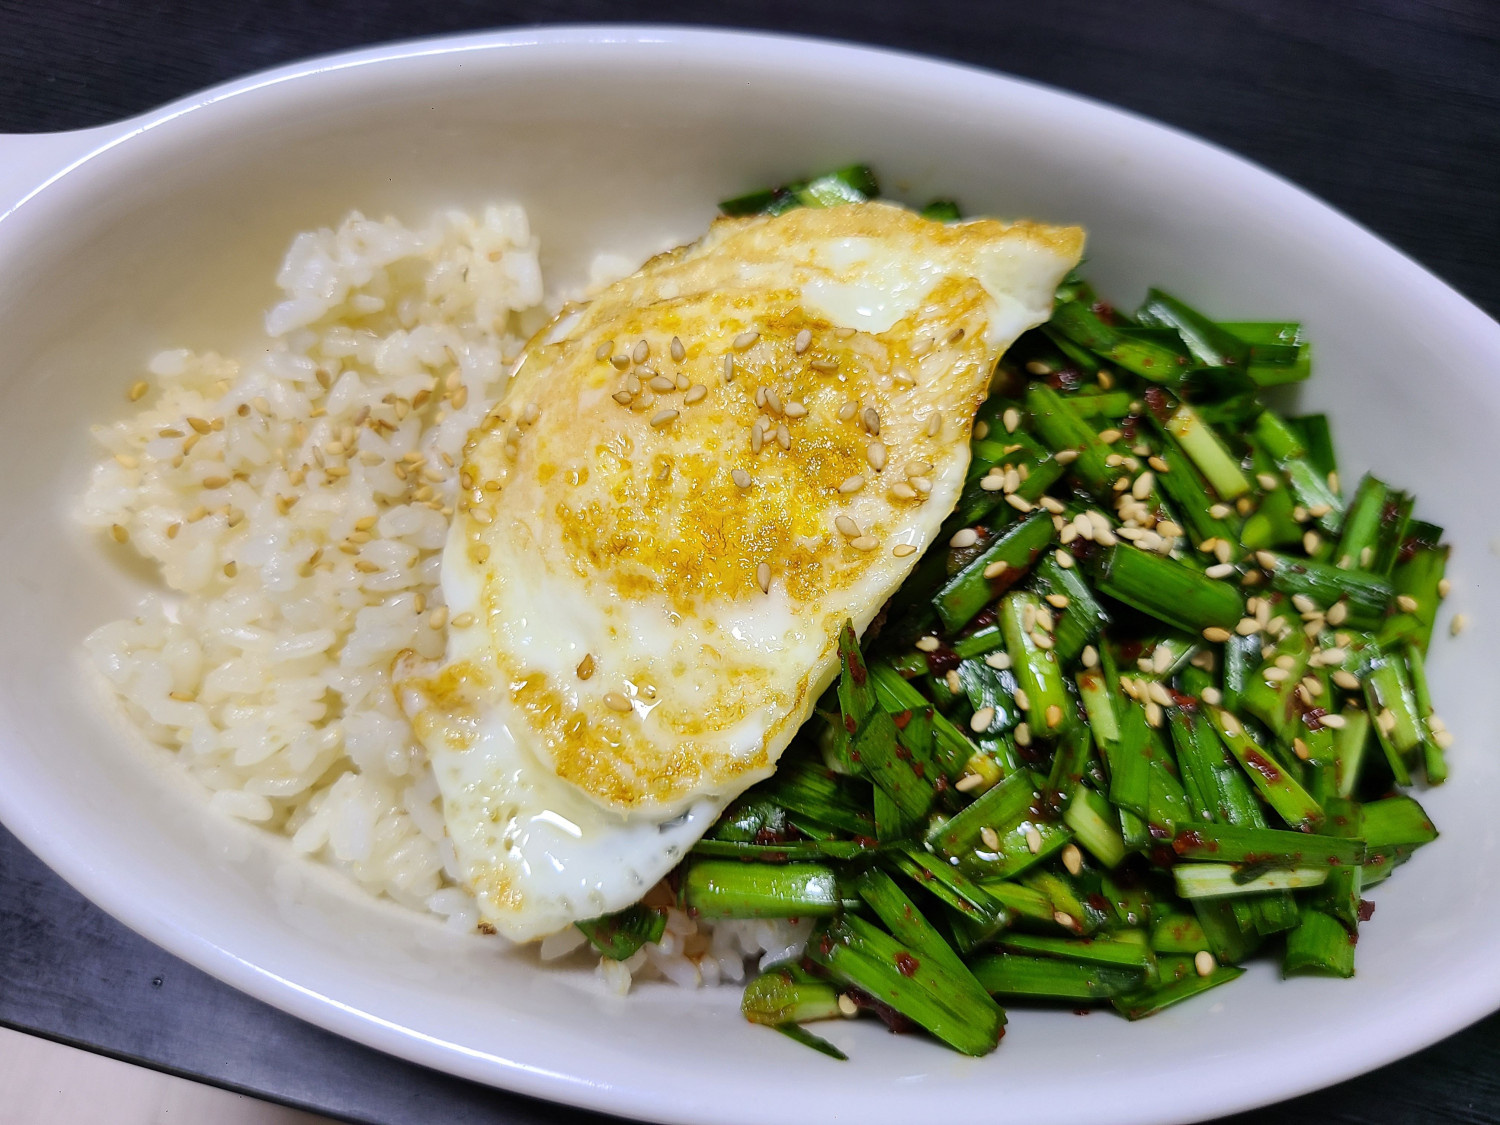
Now, let’s assemble this delightful bibimbap! Place a generous portion of the seasoned chives onto the slightly cooled rice.

Step 13
Carefully place the perfectly fried egg on top of the chives.

Step 14
Drizzle 2/3 tablespoon of sesame oil over everything to finish. This adds a wonderful nutty aroma and completes your mouth-watering Chive Bibimbap!

Step 15
Enjoy mixing and eating!


