Sweet and Slightly Tangy Traditional Sweet Rice Makgeolli Recipe
Authentic Sweet Rice Makgeolli Brewing Guide

Thanks to my husband’s love for a good drink, I’ve become quite fond of making makgeolli at home. This time, I decided to brew some using freshly cooked sweet rice. Enjoy this fresh, homemade makgeolli for special occasions or to share with loved ones!
Makgeolli Ingredients- Approximately 5 servings of freshly cooked sweet rice
- 1 pack (850g) traditional nuruk (Korean fermented barley starter)
- 8 liters of clean water
- 1200ml sugar (adjust to taste)
Cooking Instructions
Step 1
First, wash the sweet rice thoroughly and soak it. Traditionally, it should be steamed, but for simplicity, we’ll cook about 5 servings’ worth in a rice cooker. Let the cooked sweet rice cool completely. (Tip: Gently fluff the rice with a spatula to prevent it from clumping.)

Step 2
This is the nuruk, the key ingredient for our makgeolli, purchased from a traditional market. This pack weighs 850g, so there’s quite a lot! Keep this quantity in mind.

Step 3
It’s crucial to sterilize the earthenware pot (hangari) you’ll use for brewing. Pour boiling water into the pot, cover it with a lid, let it sit for a moment, then discard the water. This will sterilize it. (Caution: Be careful of burns when handling hot water.)

Step 4
In a large basin, combine the cooled sweet rice and the nuruk. Add 2 liters of clean water and mix well until everything is evenly incorporated. Ensure the ingredients are thoroughly mixed.

Step 5
If there are any large clumps of nuruk, break them down with your hands. Trying to crumble dry nuruk can be difficult, but if you soak it in a little water first, it will break apart much more easily. Aim for a crumbly texture without large lumps.

Step 6
Carefully transfer the mixture of nuruk and sweet rice into the sterilized earthenware pot. It’s advisable to leave some space at the top, so don’t fill it to the brim.

Step 7
Now, we need to cover the pot to allow the makgeolli to ferment. Cover the mouth of the pot with a clean piece of cloth, secure it tightly with a rubber band, and then place the pot lid on top. A warm environment is essential for fermentation, so keep it in a cozy spot.

Step 8
To maintain a consistent fermentation temperature, I wrapped the pot thoroughly with a thick blanket and placed it in a warm location. Minimizing temperature fluctuations will greatly aid the fermentation process.

Step 9
From the day after you start fermentation up to the third day, you must stir the makgeolli mixture once daily. Make sure to stir thoroughly, reaching down to the bottom, to ensure even fermentation. This step is vital for uniform results.

Step 10
After about 5 days, you should see the rice grains floating on the surface. This is a sign that the makgeolli is fermenting well! It’s time to strain it.

Step 11
Spread a clean cloth wide, place the nuruk and rice mixture from the pot onto it, and pour water little by little while gently squeezing. This process separates the clear makgeolli liquid from the solids. Using a cloth ensures a cleaner straining process than just hand-squeezing.

Step 12
A total of 6 liters of water was added during the straining process. You can adjust the amount of water to achieve your desired makgeolli consistency.

Step 13
Now, we’ll add sugar to adjust the flavor. The amount of sugar can be varied according to your preference. Add more if you like sweeter makgeolli, or less for a cleaner taste.

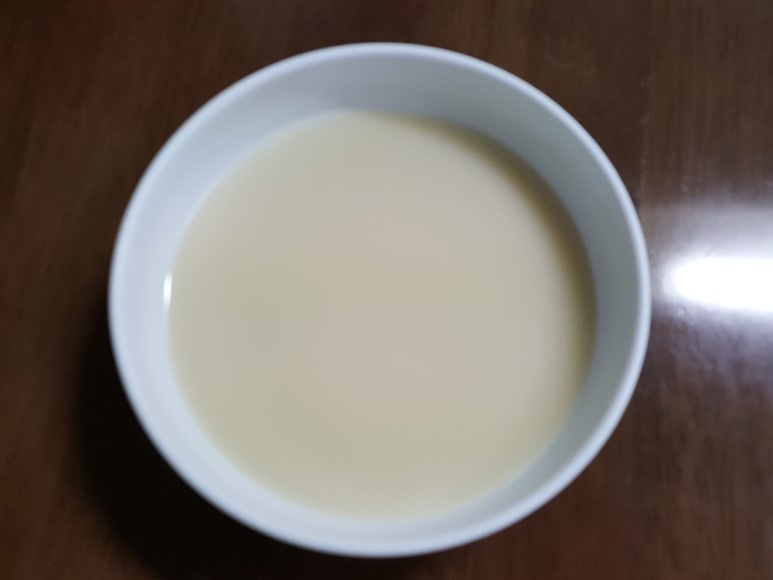
Step 14
After adding the sugar, stir gently until it’s completely dissolved. Once the sugar has dissolved, your delicious homemade sweet rice makgeolli is complete! It’s best served chilled.


