Homemade Tuna Mayo Onigiri (Triangle Rice Balls)
#Onigiri #TunaMayo #HomemadeRiceBall #EasyLunchbox #HowToMakeTunaMayoOnigiri #SimpleRecipe

Tired of lunchbox dilemmas? Here’s a super easy recipe for ‘Tuna Mayo Onigiri’ you can make right at home! Using pre-packaged nori sheets and a mold for triangle rice balls, anyone can whip up these delicious treats. We’ll fill them with fluffy egg crepes, savory tuna, and creamy mayonnaise, all nestled in seasoned rice. It’s a simple yet satisfying meal perfect for a homemade lunch or a quick snack. Make your lunchbox special with these delightful tuna mayo onigiri!
Ingredients- 10 sheets of Nori for Onigiri (includes mold and stickers)
- 2 bowls of cooked rice
- 1 can of mild tuna (small size)
- 2 eggs
- 30g pickled daikon radish (chik-danmuji)
- 3 Tbsp mayonnaise
- 1 tsp herb salt (for rice seasoning)
- 1 tsp dried basil (for tuna mayo seasoning)
- 1 Tbsp sesame oil
- 1 Tbsp roasted sesame seeds
- 2 Tbsp chopped seasoned seaweed (jaban-gim) (for rice seasoning)
Cooking Instructions
Step 1
First, let’s get started with the essential ‘Nori sheets for Onigiri’ set. This package usually comes with the nori, a triangle mold, and stickers to seal the finished rice balls, making it incredibly convenient. No extra ingredients are needed for this part.

Step 2
Let’s take a closer look at the package contents. You’ll find the stickers, the unfolded nori sheets for making onigiri, and the mold that helps shape the rice balls.

Step 3
The onigiri mold is easy to assemble by simply fitting the pieces together. It can also be taken apart for cleaning, making it very user-friendly. It’s truly convenient, isn’t it?

Step 4
Now, let’s prepare the pickled daikon radish for the rice. Finely chop the pickled daikon radish. Adding chopped daikon to the rice introduces a pleasant texture and a subtle sweetness, significantly enhancing the flavor of your onigiri.

Step 5
Time to make the star filling: tuna mayo! We’ll use mild tuna for a balanced flavor. To add a layer of richness, we’ll also incorporate some finely chopped egg crepe (jitran).

Step 6
Drain the canned tuna thoroughly and place it in a bowl along with the prepared egg crepe. You can make the egg crepe beforehand by whisking the eggs and cooking them thinly, then dicing them. Season with herb salt for a savory touch, and add a pinch of dried basil for an aromatic hint. Basil pairs surprisingly well with tuna!

Step 7
Next, stir in 3 tablespoons of mayonnaise. Mayonnaise not only cuts through the richness of the tuna but also helps bind the ingredients together, preventing the filling from falling apart inside the rice ball. This creates a creamy and delicious tuna mayo filling.

Step 8
And there you have it – the delicious ‘Tuna Mayo Filling’ for your onigiri is ready! It looks incredibly appetizing, doesn’t it?

Step 9
Now, let’s season the rice for the onigiri. In a bowl of warm rice, add herb salt, chopped seasoned seaweed (jaban-gim), the finely chopped pickled daikon radish, and roasted sesame seeds. Mix everything thoroughly. Add 1 tablespoon of sesame oil for an extra nutty aroma. This seasoned rice forms the flavorful base of your onigiri.

Step 10
Let’s start assembling the onigiri! Lay out the nori sheet according to its intended shape. Place the onigiri mold on top. Make sure to position the mold correctly on the nori, as you’ll be wrapping the rice ball with it later.

Step 11
First, fill the mold with the seasoned rice. Pack it down firmly to ensure there are no air pockets. Then, generously spoon the prepared tuna mayo filling on top of the rice.

Step 12
Finally, cover the filling with another layer of seasoned rice. Make sure the tuna mayo is completely enclosed. Press down firmly with the mold again to shape the rice ball.

Step 13
Carefully remove the molded rice ball from the mold. Gently lift or slide the mold away to reveal the shaped rice ball. If the shape is slightly uneven, you can gently pat it into place with your hands.

Step 14
Look at the back of the nori sheet; you’ll see folding lines. Fold the bottom part of the nori upwards along these lines, aligning it with the base of the triangle. Folding neatly here is key to a clean finish.

Step 15
Now, fold the remaining part of the nori sheet over the top. Ensure it meets the bottom folded flap to form a perfect triangle shape.

Step 16
Fold the side edges of the nori to match the triangular shape. Aim for a neat finish, just like the onigiri you find in convenience stores. The more meticulously you fold, the prettier your onigiri will look.

Step 17
Finally, use the provided sticker to seal the folded nori in place. Attaching the sticker not only secures the shape but also gives your homemade onigiri a professional and appealing look.

Step 18
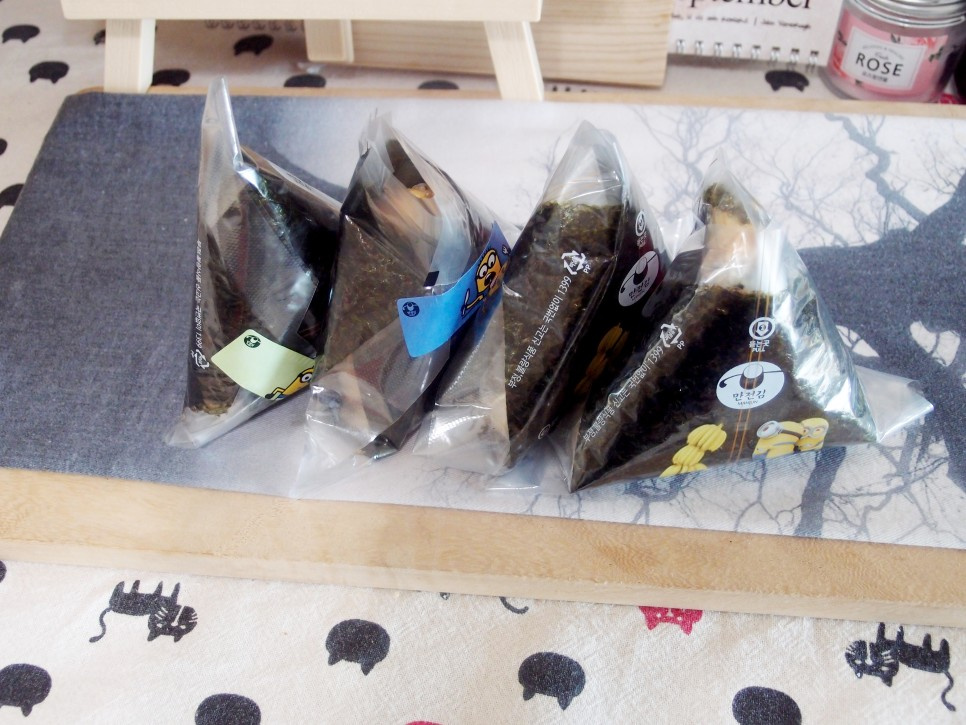
Voila! Your delicious homemade Tuna Mayo Onigiri are ready! They look and taste just as good as those from a convenience store. Give it a try – you’ll love them!


