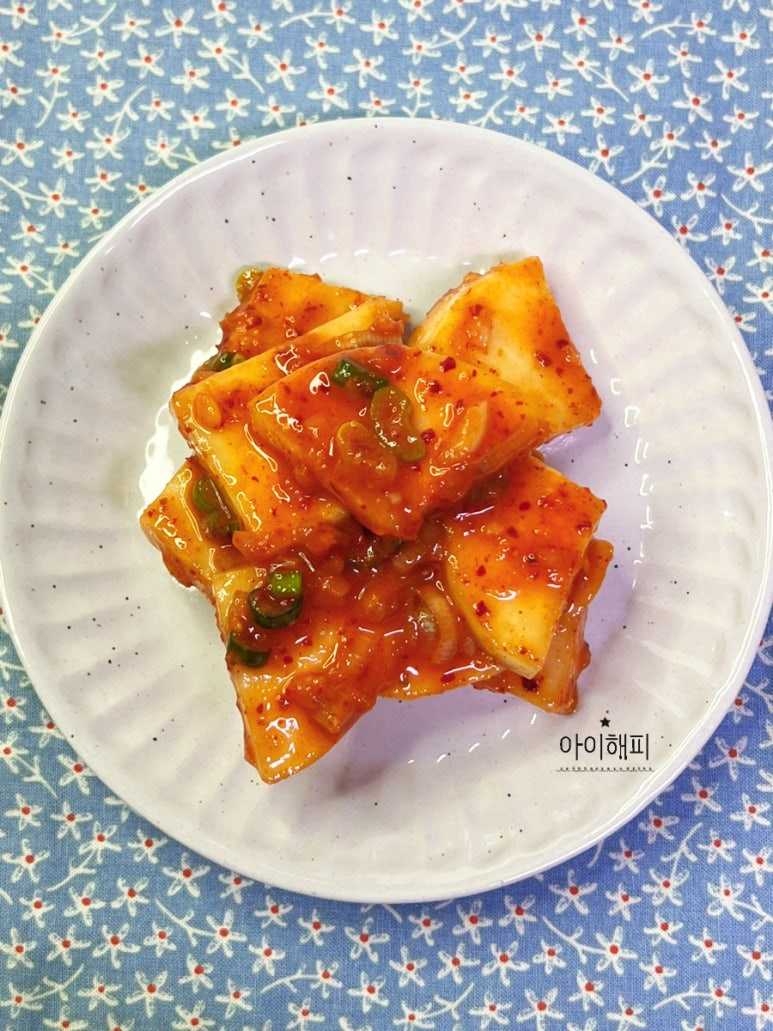
Seolleongtang-Style Radish Kimchi (Seokbakji Kkakdugi)
Rich and Refreshing! Seolleongtang House Seokbakji Kkakdugi Recipe – Recommended Radish Kimchi Seasoning

Make rich and refreshing Seolleongtang-style Seokbakji Kkakdugi at home! This easy radish kimchi recipe with a delicious seasoning secret is explained in detail.
Main Ingredients- 1 large radish
- 2 Tbsp salt (for salting the radish)
Cooking Instructions
Step 1
First, let’s make the flour paste that will give the kkakdugi its crisp texture. In a pot, combine 200ml of water and 2 Tbsp of flour, mixing well until there are no lumps. Cook over medium-low heat, stirring constantly, until the paste thickens. Be careful not to make it too thick; adjust the consistency as needed while cooking, then turn off the heat and let it cool completely. This paste adds depth and crispness to the seasoning. (Tip: Using cider, like they do in Seolleongtang houses, adds sweetness naturally, so you might not need to add extra sugar. Adjust sweetness with plum extract or a pinch of sugar if desired.)

Step 2
Now, let’s prepare and salt the radish. Wash the large radish thoroughly; it’s recommended to leave the skin on. (Tip: Radish skin is rich in fiber and nutrients!) Cut the radish into bite-sized, cube-like pieces. Pour 1 can of cider over the cut radish and let it salt for 40 minutes. About halfway through, mix the radish pieces to ensure they salt evenly. Depending on how salty the radish becomes, you can lightly rinse it with water if it’s too salty. If it’s salted just right, drain it well in a colander before using.

Step 3
While the radish is salting, prepare the seasoning. In a bowl, add 3 Tbsp of red pepper flakes to give it a beautiful color, then add the salted radish and mix well to coat. This step helps the radish absorb the color evenly. Finely chop 1 green onion and add it to the mixture.

Step 4
Now it’s time to add the remaining seasoning ingredients. Add the cooled flour paste, 2 Tbsp of minced garlic, 1 Tbsp of minced ginger (or 1 tsp), and 1-2 Tbsp of fish sauce. Mix everything thoroughly by hand until well combined. Your delicious kkakdugi seasoning is now ready!

Step 5
Transfer the seasoned kkakdugi to an airtight container and let it ferment at room temperature for one to two days. (Tip: Fermentation time can vary depending on the weather and indoor temperature.) After fermentation, store it in the refrigerator and enjoy it chilled. It’s a wonderful accompaniment to rich or greasy foods, especially during holidays.

Step 6
As you can see, the preparation process isn’t too complicated, is it? You can make a satisfying amount without feeling overwhelmed.

Step 7
Having homemade kkakdugi readily available brings a sense of comfort. You won’t have to worry about side dishes for a while! Once it’s properly fermented and chilled in the refrigerator, you can enjoy its crisp and deep flavor. Instead of buying expensive kkakdugi, try making this cost-effective Seokbakji recipe yourself!

Step 8
Isn’t making Seolleongtang-style kkakdugi seasoning easier than you thought? If you’re busy during the week, use your weekend to make it for your family. Wishing you all a delicious meal and a healthy day!


