Perfectly Boiled Sweet Corn: Tips for Cooking and Storage
The Ultimate Guide to Boiling Sweet Corn: From Cooking Time to Delicious Storage

Wondering how to best enjoy sweet corn, currently in season? This guide covers everything from perfectly boiling fresh corn to storing leftovers for delicious winter meals. Discover the secrets to making your corn taste amazing and keep it fresh for longer!
Ingredients- 4-5 ears of glutinous corn
- Water (enough to cover the corn)
- 1 Tbsp rock salt
- 1/4 Tbsp new sugar or regular sugar
Cooking Instructions
Step 1
Carefully peel the outer husks of the glutinous corn, leaving about 2-3 of the inner, pale green husks attached. This helps retain moisture and flavor. Look for corn with firm, plump kernels that appear slightly translucent – these are signs of freshness. While locally sourced corn is ideal, if buying from a supermarket, selecting high-quality ears and extending the boiling time by about 10 minutes can ensure a delicious result, even with smaller purchases.

Step 2
Rinse the corn gently under running water with the inner husks still attached. Place the corn into a large pot and add enough water to completely submerge the ears. Add 1 tablespoon of rock salt to the water. The salt not only enhances the corn’s natural sweetness but also helps the kernels remain firm and plump.

Step 3
Stir in about 1/4 tablespoon of new sugar or regular sugar until dissolved. A small amount of sugar can amplify the corn’s natural sweetness, making it even more delightful. Be careful not to add too much, as it can overpower the corn’s inherent flavor.

Step 4
Cover the pot and bring the water to a rolling boil over high heat. Once boiling vigorously, reduce the heat to medium-low and let the corn simmer for about 40 minutes. For glutinous corn, which tends to be a bit chewier, an additional 10 minutes of cooking time is recommended to achieve a tender texture. In total, aim for around 50 minutes of cooking.

Step 5
After the corn is fully cooked, turn off the heat and let it sit in the hot water for about 5 minutes to steam. This resting period allows the heat to evenly penetrate the kernels, ensuring a moist and flavorful corn. Avoid leaving the corn in the water for too long after cooking, as it can cause the kernels to burst or become mushy. Once rested, drain the corn or remove it to cool.

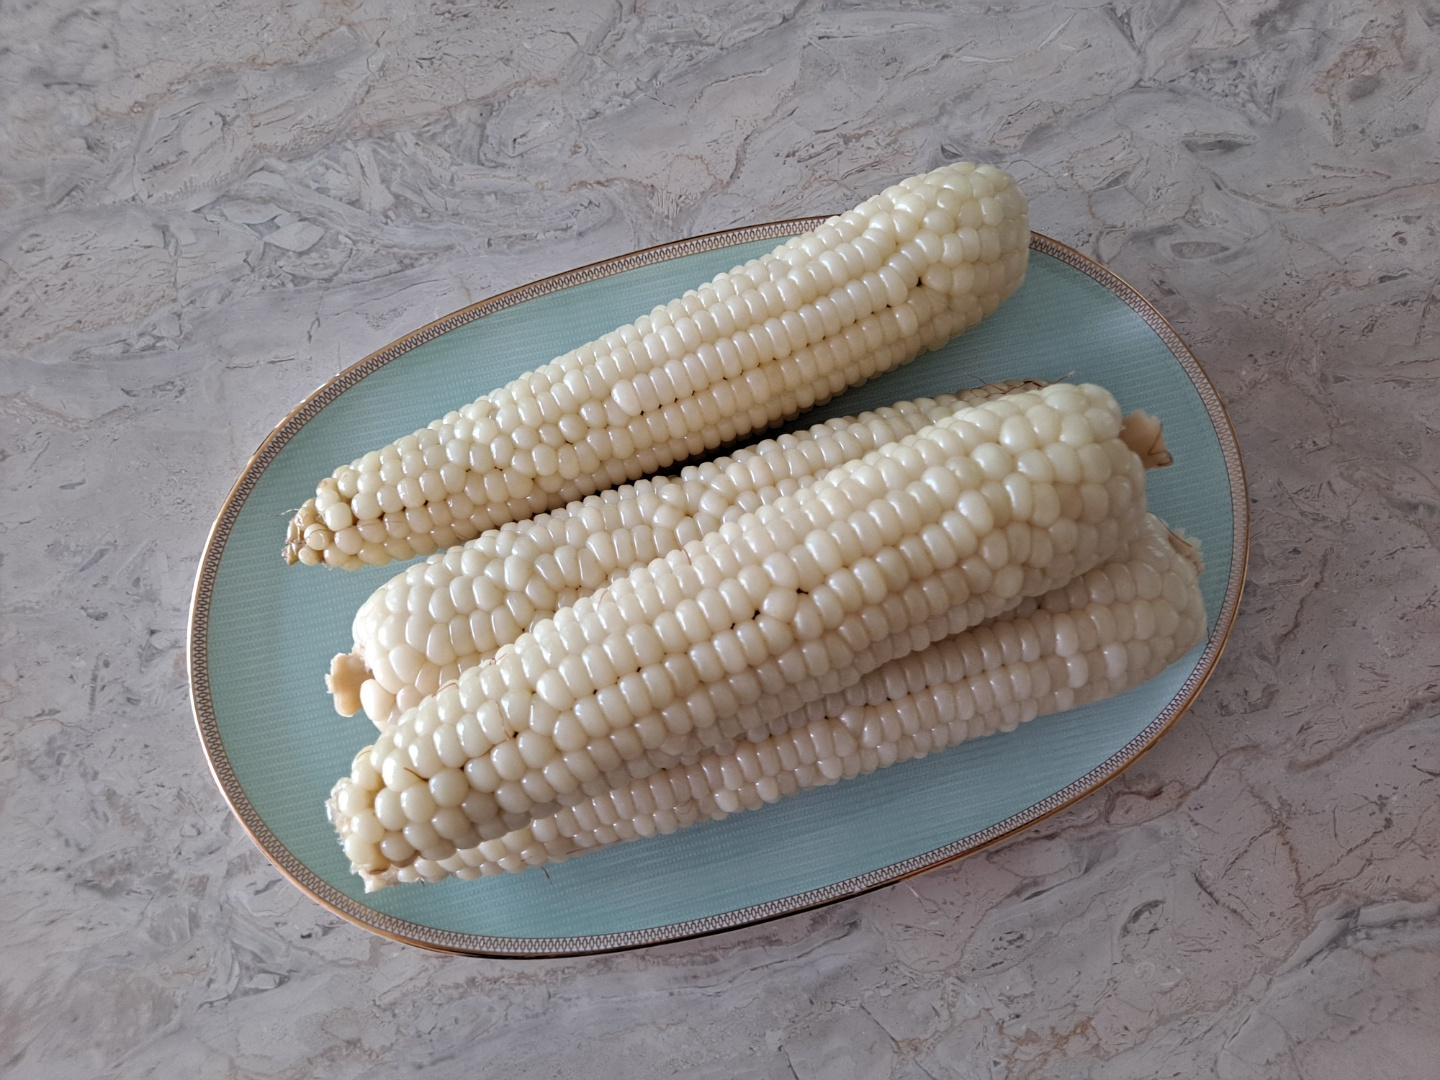
Step 6
Peel back the remaining husks just before eating. This releases the wonderful, sweet aroma of the corn and enhances the overall tasting experience. Enjoying the steaming hot corn, fresh off the heat, is a truly delightful treat!

Step 7
For any leftover cooked corn, carefully remove the kernels from the cob. Store them in an airtight container or a zip-top bag in the freezer. These frozen kernels are perfect for adding to rice dishes for a nutritious boost (like mixed grains), or they can be blended to create a smooth and creamy corn soup.

Step 8
If you wish to freeze already cooked corn for longer storage, ensure it has cooled completely. Once cooled, place the corn into a zip-top bag and freeze. To enjoy later, thaw the corn and then either pan-fry it with a knob of butter until lightly golden or simply warm it up in the microwave for a quick and delicious snack that tastes almost as good as fresh.

Step 9
To freeze uncooked corn, peel off the outer husks, leaving 2-3 inner husks intact. Place the corn in a zip-top bag and freeze. When you’re ready to eat, thaw the corn and then boil it using the same method described above (water, salt, sugar). This will allow you to enjoy the fresh, natural flavor of the corn as if it were just harvested.


