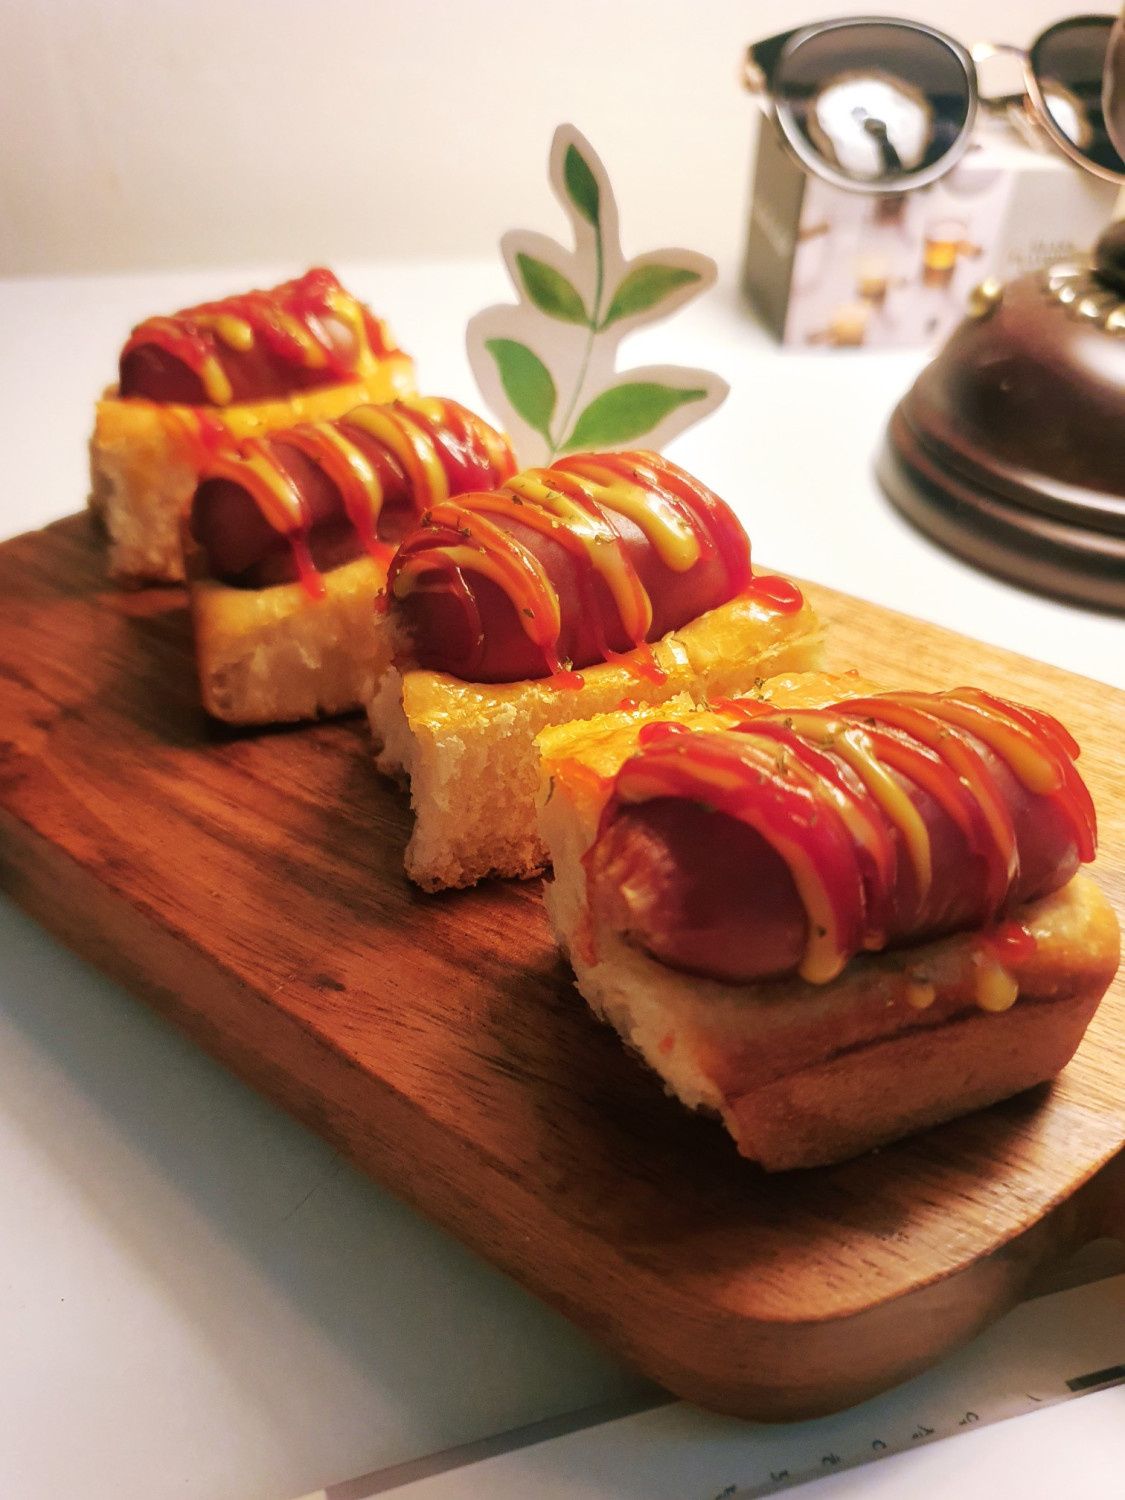
Adorable Mini Sausage Buns
Morning Baking Essential! Cute Vienna Sausage Buns, Bite-Sized & Easy, No Mixer Needed!

A delightful baking recipe using mini sausages from your fridge. Their perfectly bite-sized shape makes them ideal for snacks, disappearing in an instant, and they’re incredibly easy to enjoy without any fuss.
Dough Ingredients- 180g Bread Flour
- 20g Sugar
- 3g Instant Dry Yeast
- 2g Salt
- 15g Unsalted Butter (at room temperature)
- 110g Milk
- 12 Mini Sausages
Cooking Instructions
Step 1
Let’s start with the dough. In warmer weather, you can use cold milk directly. Prepare 110g of milk.

Step 2
Add 3g of instant dry yeast to the prepared milk.

Step 3
Gently whisk the milk and yeast together until combined.

Step 4
It’s always fascinating to watch the yeast activate in the milk, creating little bubbles! Take a moment to enjoy this part.

Step 5
Add 20g of sugar and mix again until evenly incorporated. Sugar acts as food for the yeast, aiding in fermentation.

Step 6
Now, add 180g of bread flour (sifted if possible) and 2g of salt. Mix them in gently. It’s best to add salt with the flour to avoid inhibiting the yeast’s activity directly.

Step 7
Time to knead the dough! The magic of dough is in your hands. Gently work the ingredients together with your hands, kneading until a cohesive, round ball of dough forms.

Step 8
Shape the dough into a ball, cover it with a damp cloth or plastic wrap, and let it rest for about 20 minutes. This resting period allows the gluten to develop.

Step 9
After resting, add 15g of unsalted butter at room temperature to the dough. Knead it in thoroughly until the butter is fully incorporated and the dough becomes smooth and elastic. It might seem to separate at first, but keep kneading!

Step 10
Now, let the dough undergo its first proofing. Place it in a warm environment for about 1 hour, or until it has doubled in size.

Step 11
[Proofing Tip] You can create a warm proofing space inside your microwave. Place a cup of water in the microwave and heat it for about 2 minutes. Carefully remove the hot water, then place your dough inside to proof for 1 hour. If the microwave cools down, reheat the water and place it back inside to maintain warmth. 
Step 12
Check the first proofed dough by gently poking it with a floured finger. If the indentation remains without the dough collapsing or sticking, it’s ready. Gently deflate the dough by pressing it down, then stretch it into a rectangular shape and divide it into 12 equal portions.

Step 13
Divide each portion into approximately 27g pieces. Roll each piece into a smooth ball, ensuring the surface is taut.

Step 14
Cover the shaped dough balls with a damp cloth and let them undergo a second proof for about 20 minutes, or until they puff up slightly.

Step 15
Prepare the dough after the second proof. Gently flatten each ball with a rolling pin to form an oval shape, ready for the sausage.

Step 16
Fold the top third of the oval dough towards the center. (First fold)

Step 17
Now, fold the bottom third of the dough towards the center, overlapping the first fold. (Second fold)

Step 18
You should now have a dough piece folded twice.

Step 19
Pinch the center of the folded dough together gently, as if you’re pinching it. This helps to secure the sausage when you insert it.

Step 20
Place the shaped dough into your prepared baking pan or mold.

Step 21
Arrange the dough pieces in the pan, ensuring there’s a little space between them so they don’t stick together as they bake.

Step 22
Cover the pan again with a damp cloth and let the dough undergo a third proof until it has doubled in size. I placed the pan on top of my oven to maintain warmth during proofing.

Step 23
On this occasion, as I was baking other items, the third proof took about an additional 20 minutes. Proofing times can vary depending on your environment.

Step 24
Once the dough has puffed up nicely after the third proof, gently press a mini sausage (rinsed in hot water) into the center of each dough bun.

Step 25
Prepare an egg wash for a beautiful golden sheen. Separate the egg yolk and whisk it well.

Step 26
Using a pastry brush, carefully coat the surface of the dough buns with the egg yolk mixture. This will give them a lovely color when baked.

Step 27
Now for baking: Preheat your oven to 180°C (350°F) for 10 minutes, then bake the buns at 180°C for 15 minutes. Keep an eye on the color and adjust baking time as needed. Mine were a little pale, so I baked them for an additional 7 minutes. Do the skewer test – insert a skewer into the center; if it comes out clean, they are done.

Step 28
While the buns are baking, prepare your piping bags with ketchup and honey mustard. Fresh Italian parsley can also be a nice garnish.

Step 29
Your adorable and delicious mini sausage buns are complete!


