Aromatic Homemade Plum Jam
How to Make Delicious Plum Jam with Seasonal Green Plums

This year, we have an abundance of green plums, so we’re making plum syrup, plum wine, pickled plums, and even plum jam! This is my first time making plum jam, and it’s surprisingly delicious – perfectly tart and sweet. I think it might be more popular with elders than with children.
Ingredients- 1kg fresh green plums
- 1kg sugar (equal weight to plums)
Cooking Instructions
Step 1
While red plums are typically preferred for jam, I’m using green plums that are ripening. They’re not fully ripe yet and still green, but their flesh has become soft. This will lend a wonderful aroma and flavor to the jam.

Step 2
Remove the pits from the washed plums. Since I don’t have a large quantity, I’m using a knife to carefully extract the pits. Be gentle to avoid damaging the plum flesh.

Step 3
As you can see, there’s quite a bit of flesh! It looks like I have about 1kg of fresh plum pulp. This delicious pulp will be the base for our jam.

Step 4
Prepare an equal weight of sugar to the plums. Sugar helps draw out moisture, acts as a preservative, and is key to the jam’s sweetness.

Step 5
In a bowl, combine the plum flesh and sugar. Mix them thoroughly until evenly coated. Let this mixture sit overnight in a cool place. The sugar will start to dissolve and draw out juice from the plums.

Step 6
After resting overnight, the plums will appear yellowish and slightly shriveled from the sugar. If we were to drain them now, they’d become pickled plums! Thankfully, I decided to make jam today instead. (It’s funny to think they almost ended up in a jar as pickles because I was feeling lazy about making jam!)

Step 7
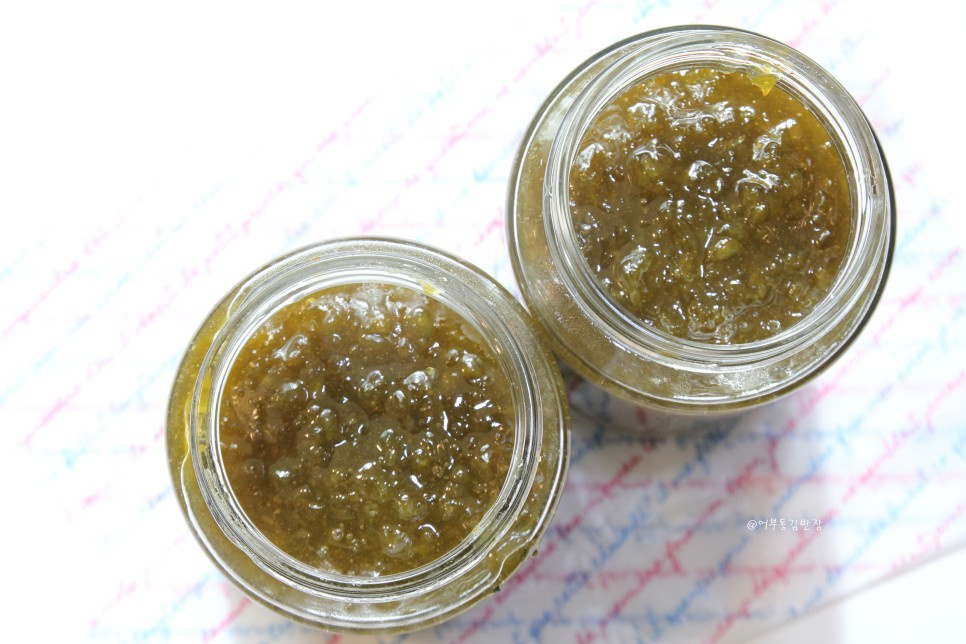
Transfer the sugared plums to a blender. Pulse until roughly chopped – you don’t want a smooth purée, but rather a chunky texture that preserves some of the fruit’s integrity.

Step 8
Leaving the fruit chunks slightly coarse makes the jam more visually appealing and adds a pleasant texture when you bite into it. If you enjoy bits of fruit in your jam, this is the way to go!

Step 9
Pour the roughly chopped plums into a pot and begin cooking over medium-low heat. Cooking gently allows the plum’s natural fragrance to develop without scorching.

Step 10
Making jam requires patience! Keep the heat at medium-low and stir frequently, making sure to scrape the bottom of the pot to prevent sticking. Continue cooking and stirring until the jam reaches your desired consistency. This process is like a race against time!

Step 11
After about 50 minutes, test the jam’s readiness. Drop a small amount onto a cold plate; if it holds its shape and doesn’t spread too much, it’s ready. If it’s still too runny, simmer for a little longer. Once done, ladle the hot jam into sterilized jars, let them cool, and then store them in the refrigerator.


