Authentic Kkakdugi (Cubed Radish Kimchi) Recipe
Homemade Delicious Kkakdugi Recipe

Make your own crispy and flavorful Kkakdugi with fresh radish. This kimchi is a perfect side dish for any meal, holidays, or special occasions.
Main Ingredients- 3 Korean radishes (medium-sized)
- 5 handfuls of coarse sea salt (Korean solar salt)
- 2 stalks of green onion
- 250ml of sparkling water
Seasoning Ingredients- 1 onion
- 1 apple
- 1 knob of ginger (adjust to size)
- 5 Cheongyang chili peppers (adjust to spice preference)
- 5 red chili peppers (for color, remove seeds)
- 2/3 cup anchovy sauce (approx. 120ml)
- 3 Tbsp minced garlic
- 3 cups gochugaru (Korean chili powder, approx. 270g)
- 1 tsp New Sugar (or 1-2 Tbsp sugar)
- 1 onion
- 1 apple
- 1 knob of ginger (adjust to size)
- 5 Cheongyang chili peppers (adjust to spice preference)
- 5 red chili peppers (for color, remove seeds)
- 2/3 cup anchovy sauce (approx. 120ml)
- 3 Tbsp minced garlic
- 3 cups gochugaru (Korean chili powder, approx. 270g)
- 1 tsp New Sugar (or 1-2 Tbsp sugar)
Cooking Instructions
Step 1
Wash the 3 Korean radishes thoroughly to remove any dirt. Then, cut them into bite-sized cubes, approximately 2cm square, for Kkakdugi.

Step 2
Place all the cubed radish into a large basin. Sprinkle about 5 handfuls of coarse sea salt evenly over the radish. It’s important that the salt is distributed uniformly.

Step 3
After sprinkling the salt, gently mix the radish with your hands so the salt is evenly coated. Let the radish sit and pickle for about 40 minutes, until it becomes tender and wilts.

Step 4
While the radish is pickling, prepare the seasoning ingredients. Peel and roughly chop 1 onion and 1 apple. Peel the ginger. Wash and prepare the Cheongyang chilies and red chilies. (Removing seeds from red chilies makes them less spicy and enhances their color).

Step 5
Transfer the chopped onion, apple, ginger, Cheongyang chilies, and red chilies into a blender or a blender jar. Pour in 2/3 cup of anchovy sauce to help the ingredients blend smoothly.

Step 6
Add 3 generous tablespoons of minced garlic to the blender. Blend all the ingredients until a smooth paste is formed. It’s important to achieve a fine, consistent texture for the seasoning paste.

Step 7
Here is the delicious Kkakdugi seasoning paste, smoothly blended. The fragrant aroma is already making your mouth water!

Step 8
Transfer the blended seasoning paste into a large bowl. Add 3 cups of gochugaru (Korean chili powder) to this paste. Mix thoroughly until well combined, creating a seasoning paste with a good consistency, not too dry or too wet.

Step 9
Add 1 tsp of New Sugar to the seasoning for sweetness. (If New Sugar is unavailable, you can substitute with 1-2 Tbsp of regular sugar). Mix all the seasonings thoroughly to complete the Kkakdugi seasoning. We’ve made a generous amount of seasoning. If you have any leftover, store it in an airtight container in the freezer to use when making other kimchis later; it’s very useful!

Step 10
After 40 minutes of pickling, rinse the radish in cool running water a couple of times to remove excess salt. Drain the rinsed radish lightly and place it back into a clean basin.

Step 11
Ladle about 5 scoops of the prepared Kkakdugi seasoning onto the radish. Gently mix the radish and seasoning together until evenly coated. Ensure the seasoning is thoroughly incorporated into the radish.

Step 12
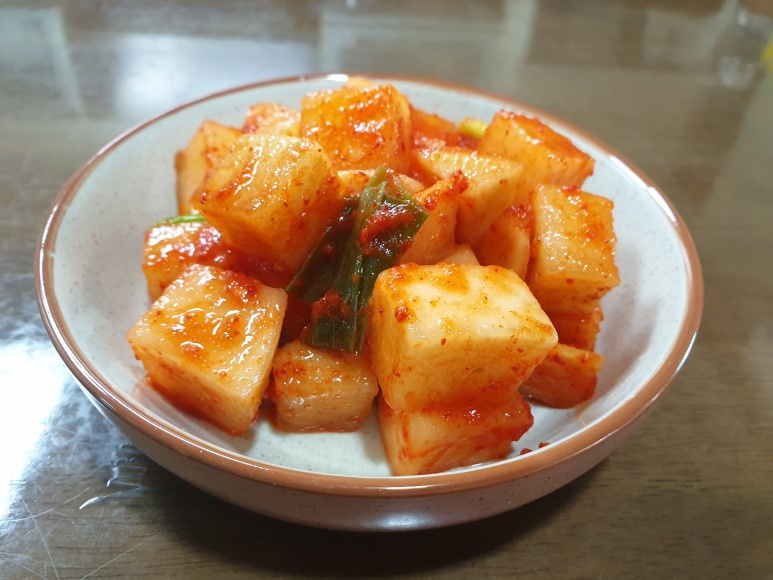
After mixing the radish with the seasoning, add the 2 stalks of green onion, cut into large pieces. Gently mix again with the green onions. This step further enhances the flavor of the Kkakdugi.

Step 13
Your Kkakdugi is almost ready! Taste it and adjust the seasoning by adding a little more anchovy sauce or salt if needed, to suit your preference. Transfer the finished Kkakdugi into a kimchi container, packing it neatly.

Step 14
After packing the Kkakdugi into the container, don’t put it directly into the kimchi refrigerator. First, let it sit at room temperature for about 1 to 2 days to ferment slightly like a ‘geotjeori’ (fresh kimchi). Then, transfer it to the kimchi refrigerator for cool storage.

Step 15
Once transferred to the kimchi refrigerator, store it in a cool place. You can enjoy your crispy and delicious Kkakdugi for a long time. It’s best to let it ripen at room temperature for a day or two before refrigerating for optimal flavor.


