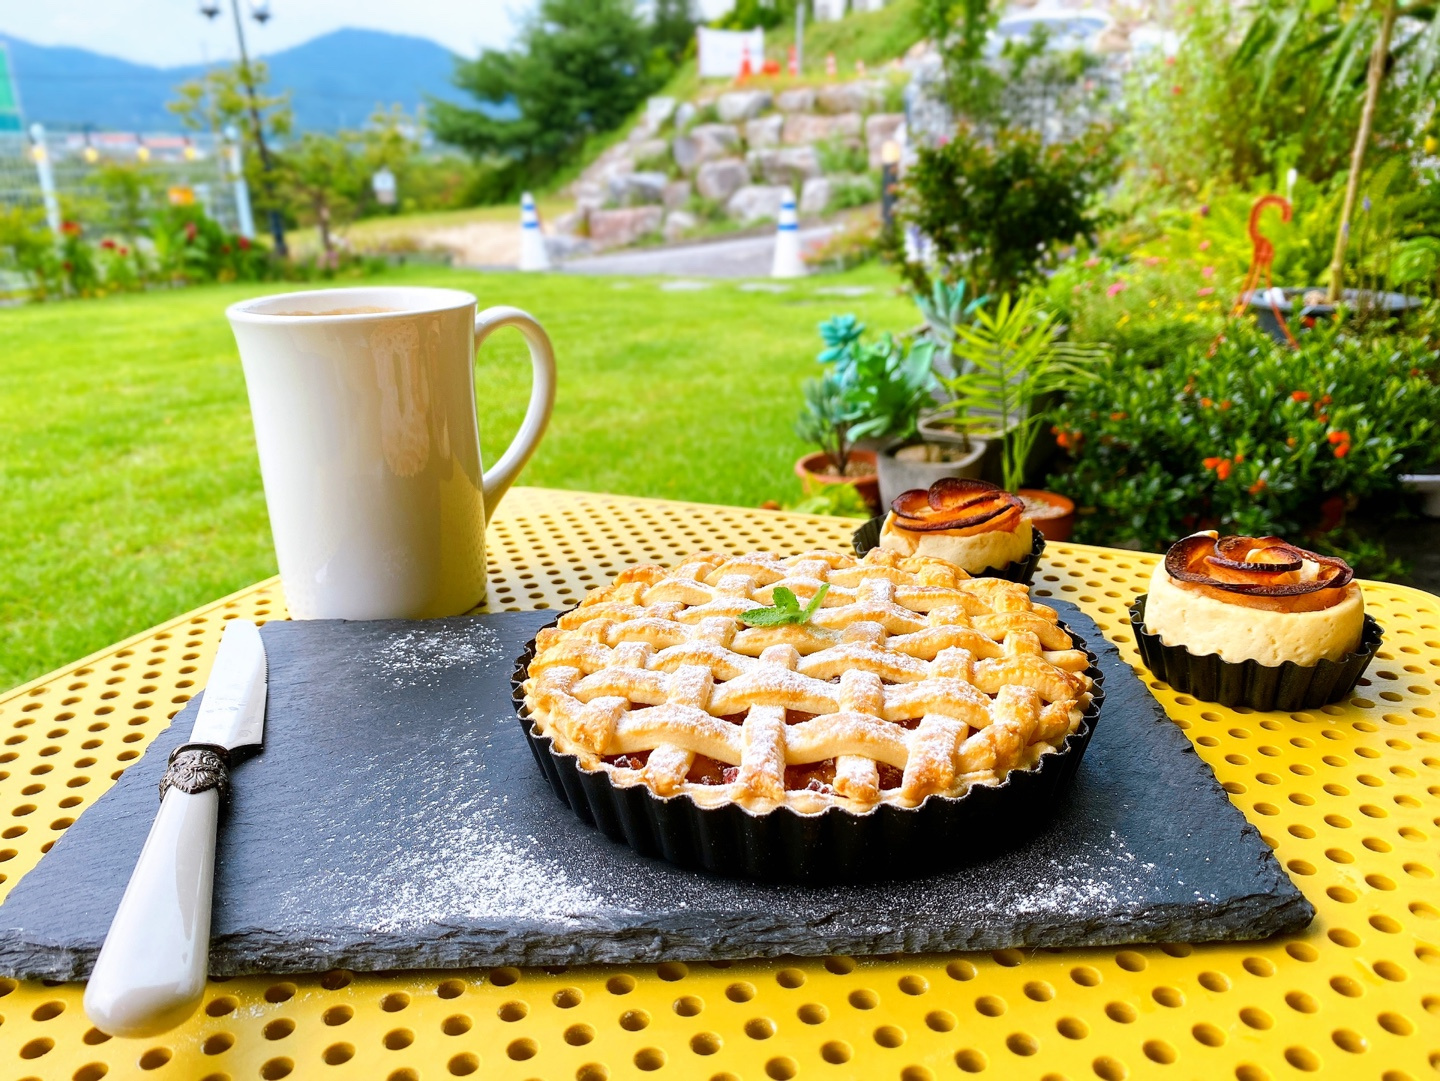
Autumn’s Delight: Crispy & Moist Homemade Apple Pie
Easy and Delicious Homemade Apple Pie Recipe

As autumn arrives, it’s apple season! Make your husband’s favorite apple pie, a perfect treat with a cup of chamomile tea – delightfully crispy on the outside and moist on the inside. Let’s create this easy and simple apple pie with your children!^^
Pie Crust Ingredients- 200g low-gluten flour (cake flour)
- 80g brown sugar
- 120g cold butter, diced
- 1/4 tsp salt
- 2 Tbsp ice-cold water
Apple Filling Ingredients- 2 apples, peeled, cored, and finely chopped
- 1 tsp cinnamon powder
- 1 Tbsp lemon juice
- 1 egg, beaten (for egg wash)
- 2 apples, peeled, cored, and finely chopped
- 1 tsp cinnamon powder
- 1 Tbsp lemon juice
- 1 egg, beaten (for egg wash)
Cooking Instructions
Step 1
First, gather all the ingredients for both the pie crust and the apple filling. For the crust, you’ll need low-gluten flour, sugar, cold butter, salt, and ice-cold water. For the apple filling, prepare the apples, cinnamon powder, lemon juice, and an egg for the wash.

Step 2
In a clean bowl, add 1/4 teaspoon of salt. Salt enhances the flavor of the dough and adds a subtle hint of seasoning.

Step 3
Sift 200g of low-gluten flour into the bowl. Sifting prevents lumps and helps create a smoother, more tender dough.

Step 4
In a separate, larger bowl or on a clean work surface, combine the sifted flour with 120g of cold, diced butter. Keeping the butter cold is crucial for achieving a flaky, crispy pie crust.

Step 5
Using your fingertips, rub the butter into the flour until the mixture resembles coarse breadcrumbs. Work quickly to prevent the butter from melting too much.

Step 6
Once the mixture is crumbly, gradually add 2 tablespoons of ice-cold water, mixing as you go.

Step 7
Gently knead the dough until it just comes together into a smooth ball. Be careful not to overwork it, as this can develop gluten and make the crust tough. Once the dough is formed, wrap it tightly in plastic wrap, flatten it into a disc, and refrigerate for at least 30 minutes to let the butter firm up.

Step 8
While the dough is chilling, let’s make the delicious apple filling. Peel, core, and finely chop 2 apples. Cutting the apples into small pieces ensures they cook evenly and become tender.

Step 9
Place the chopped apples in a saucepan over low heat. Cover and cook, allowing the apples to release their juices and soften.

Step 10
Once the apples begin to release moisture, stir in 1 tablespoon of lemon juice. Lemon juice prevents browning and adds a bright, zesty flavor to the filling.

Step 11
Add 80g of brown sugar and mix well. You can adjust the amount of sugar based on the sweetness of your apples.

Step 12
Continue to cook over low heat until the apple juices have reduced. Then, increase the heat to medium and cook until most of the liquid has evaporated, stirring occasionally. The filling should be thick, not watery, to prevent a soggy bottom crust. Let the filling cool completely.

Step 13
Remove the chilled dough from the refrigerator and divide it in half. Consider how much you’ll need for the bottom crust and the lattice top when dividing.

Step 14
Take one half of the dough and roll it out thinly on a lightly floured surface to about 0.4 cm thickness. This will be for the bottom crust of your pie.

Step 15
Carefully place the rolled-out dough into your pie dish, gently pressing it into the bottom and up the sides. Trim any excess dough around the edges. Use a fork to prick the bottom crust all over; this prevents it from puffing up excessively during baking.

Step 16
Spoon the cooled apple filling evenly over the prepared bottom crust. Try not to overfill, as the filling can bubble and spill over during baking.

Step 17
Roll out the remaining half of the dough to the same thickness (about 0.4 cm). Using a knife or pizza cutter, cut this dough into long, thin strips, about 1 cm wide. You should aim for about 12 strips.

Step 18
Weave these dough strips over the apple filling to create a lattice pattern. Start by laying half the strips parallel to each other, then weave the remaining strips perpendicular to the first set, alternating over and under. (For a visual guide on creating the lattice, you can refer to the YouTube video by ‘Naing Cook’.)

Step 19
Begin by laying the first dough strip horizontally across the filling.

Step 20
Lay the second strip perpendicular to the first, weaving it over and under the initial strips to form a crosshatch pattern.

Step 21
Continue adding strips, alternating the over-and-under pattern to build the lattice.

Step 22
Complete the lattice pattern by laying the final strips, ensuring an even and attractive weave.

Step 23
Tuck in the ends of the lattice strips around the edge of the pie and gently press them against the bottom crust with your thumb to seal. This helps prevent the strips from coming loose during baking.

Step 24
Brush the entire surface of the lattice top evenly with the beaten egg wash. The egg wash gives the pie a beautiful golden-brown color as it bakes.

Step 25
Bake the pie in a preheated oven at 200°C (390°F) for about 30 minutes, or until the crust is golden brown and the filling is bubbling. Baking times may vary depending on your oven. If the top starts to brown too quickly, you can loosely cover it with aluminum foil.

Step 26
Enjoy your freshly baked apple pie! It’s delicious served warm, or cooled with a scoop of vanilla ice cream.


