Cheesy Kimchi Rice (Kang Sik Dang Style)
Kang Sik Dang Kimchi Rice Recipe: Super Easy & Delicious!

Got some sour kimchi? Love mozzarella cheese? If you’re looking for something incredibly simple yet bursting with flavor, you must try this recipe! It’s not too sour, not too sweet, not too salty, and not too spicy – just a melt-in-your-mouth, honey-like deliciousness. Enjoy the perfect harmony of rice, kimchi, and cheese!
Main Ingredients- Green onion: 7cm length
- Sour kimchi: About 2 leaves’ worth
- Mozzarella cheese: Generous amount
- Egg: 1
- Cooked rice: 1 bowl
Seasoning- Soy sauce: 1 Tbsp
- Sugar (or corn syrup): 1 Tbsp
- Gochugaru (Korean chili flakes): 1 Tbsp
- Soy sauce: 1 Tbsp
- Sugar (or corn syrup): 1 Tbsp
- Gochugaru (Korean chili flakes): 1 Tbsp
Cooking Instructions
Step 1
First, rinse the sour kimchi under running water to remove excess spice and tang. Soaking the rinsed kimchi in cool water for about 10-20 minutes will further mellow out the sourness, resulting in a smoother flavor.

Step 2
While the kimchi is soaking, finely mince the green onion. This helps release its fragrant aroma when cooked. Prepare your mozzarella cheese and get ready to fry an egg. Ensure your cooked rice is warm.

Step 3
Heat a generous amount of cooking oil in a pan over medium heat. Add the minced green onion and stir-fry until fragrant, being careful not to burn it. This step builds a flavorful base for your kimchi rice.

Step 4
Squeeze out as much water as possible from the kimchi. Excess moisture can make the final dish watery. Chop the kimchi finely and add it to the pan with the green onions. Stir-fry until the kimchi softens and becomes slightly translucent.

Step 5
Once the kimchi and green onions are well-stirred, add 1 Tbsp of sugar (or corn syrup) and 1 Tbsp of soy sauce. Reduce the heat to low and quickly mix to prevent burning. This balances the sourness of the kimchi with sweetness and umami.

Step 6
Turn off the heat completely. Add 1 bowl of warm cooked rice and 1 Tbsp of gochugaru. Gently mix with a spatula, ensuring the rice grains are coated evenly with the kimchi mixture without mashing them. Gochugaru adds color and a mild hint of spice.

Step 7
Spread the kimchi rice mixture thinly and evenly across the bottom of the pan. Keep the heat on low and allow the rice to slightly crisp and form a gentle crust on the bottom. This adds a delightful texture and nutty flavor.

Step 8
Generously sprinkle the mozzarella cheese over the rice. Plenty of cheese is key to achieving that satisfying cheesy pull.

Step 9
Cover the pan with a lid and cook over very low heat until the cheese is completely melted. The melting cheese will create a creamy, gooey texture that blends beautifully with the rice. If you prefer a crispy bottom like in Kang Sik Dang, you can slightly increase the heat for a bit longer.

Step 10
In a separate pan, lightly grease and fry an egg. A sunny-side-up or over-easy egg is recommended. Breaking the yolk and mixing it into the rice adds richness and moisture.

Step 11
Now it’s time to plate your delicious kimchi rice. While Kang Sik Dang famously folded the rice into a half-moon shape, simply plating it is also wonderful. Carefully slide the kimchi rice onto a plate, using half to form a base and folding the other half over.

Step 12
In Kang Sik Dang, thinly sliced dried seaweed (gim) was often served alongside the rice. Its crispiness complements the kimchi rice wonderfully. Feel free to add it if you like.

Step 13
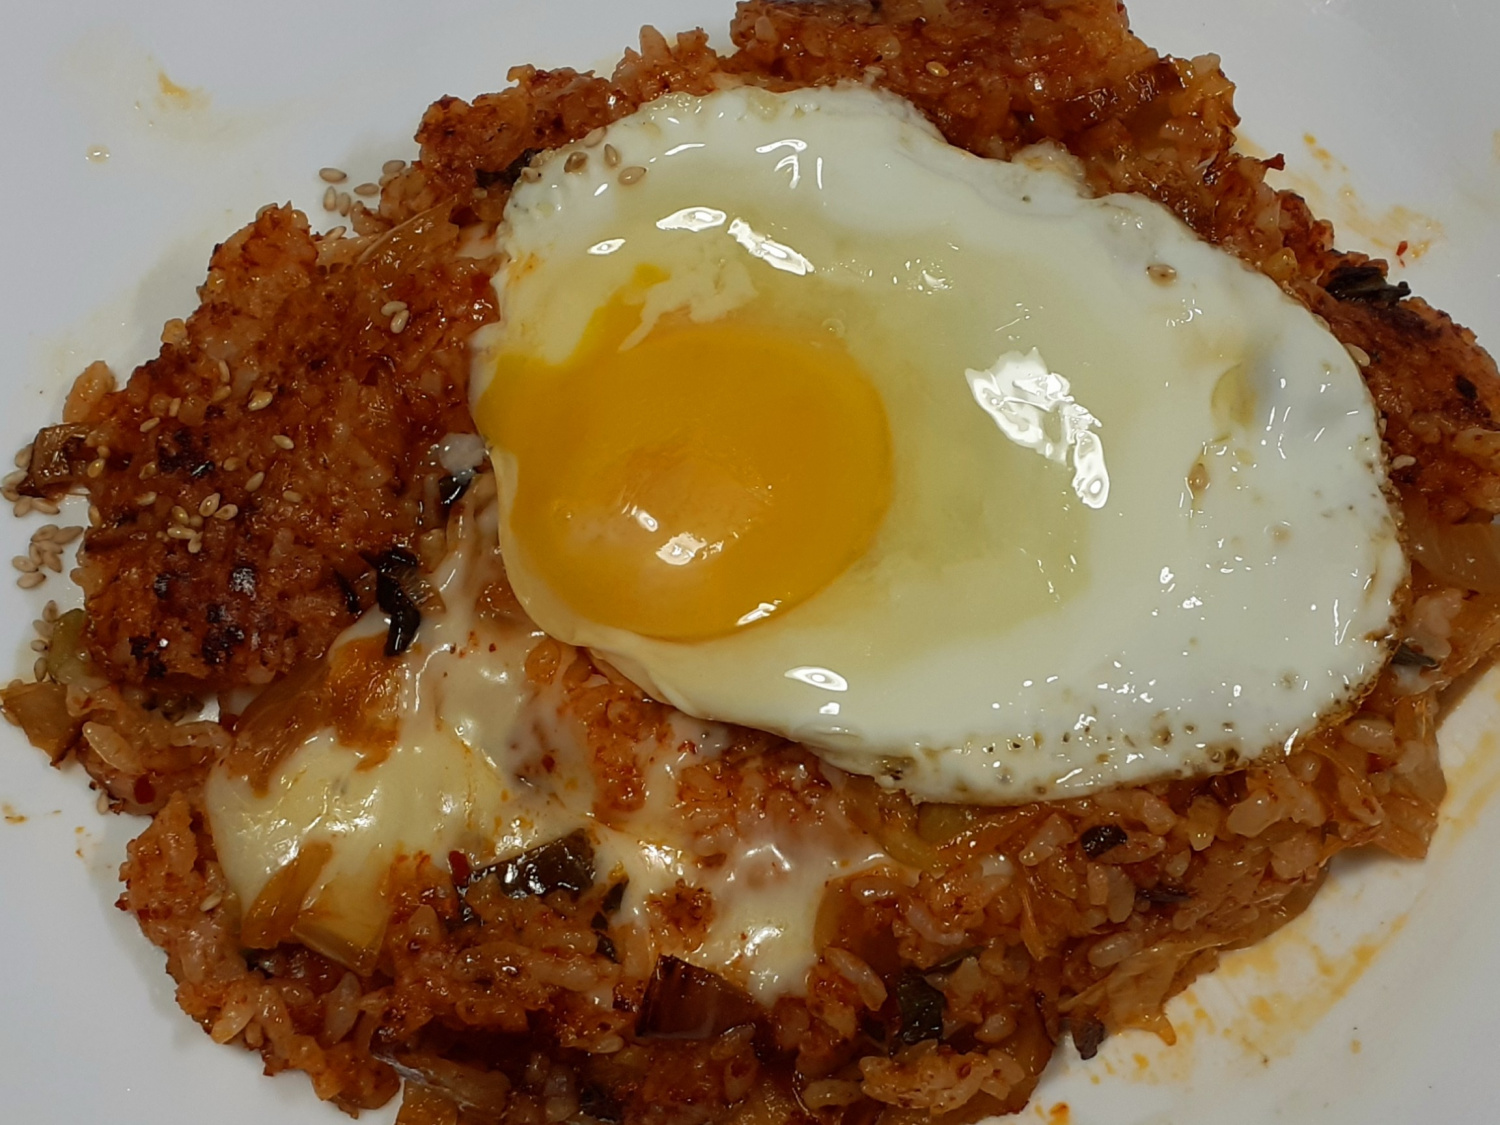
Finally, top the kimchi rice with your perfectly fried egg. The combination of soft rice, stretchy cheese, and a runny yolk is simply divine. Enjoy your culinary creation!


