Cheesy Kimchi Rolls with Pork Belly: A Delicious Fusion Dish
Recreate the Famous Gangneung Restaurant Taste! Special Cheese Kimchi Pork Belly Rolls Recipe

In these times when visiting restaurants can be challenging, why not try recreating your favorite restaurant dishes at home? Today, I’ve made the popular ‘Pork Belly Cheese Kimchi Rolls’ from Gangneung Central Market, which is famous for its long queues. The fantastic combination of chewy pork belly, crisp kimchi, and savory cheese will tantalize your taste buds! For a more detailed step-by-step guide, please refer to the video at https://youtu.be/wswta5IaecA.
Main Ingredients- Thinly sliced pork belly (Daepae Samgyeopsal) 1kg
- Well-fermented kimchi 1/4 head
- 1 Onion
- 1/3 Carrot
- 10 Fresh perilla leaves (깻잎)
- 150g Mozzarella cheese or your preferred cheese (shape doesn’t matter!)
Special Soy Sauce Ingredients- Dried Jujubes 7-8 pcs
- Dried Kelp (about 5x5cm) 1 piece
- 1 Apple (cored and quartered)
- 5 slices Fresh Ginger
- 1/2 stalk Green Onion (white parts mainly)
- 3 Korean green chilies (adjust for spice preference)
- 1 cup Soy Sauce (200ml)
- 950ml Water
- Dried Jujubes 7-8 pcs
- Dried Kelp (about 5x5cm) 1 piece
- 1 Apple (cored and quartered)
- 5 slices Fresh Ginger
- 1/2 stalk Green Onion (white parts mainly)
- 3 Korean green chilies (adjust for spice preference)
- 1 cup Soy Sauce (200ml)
- 950ml Water
Cooking Instructions
Step 1
First, prepare the thinly sliced pork belly, also known as ‘Daepae Samgyeopsal’. Any type of mozzarella cheese will work perfectly, so feel free to use what you have at home. Whether it’s shredded or in blocks, it all tastes great!

Step 2
When making the special soy sauce, if you have homemade seasoned soy sauce already stored, you can use that directly instead of boiling a new batch. The Korean tiny chili peppers (‘Jwitonggochu’) are optional and won’t significantly affect the taste if omitted.

Step 3
It’s time to make the soy sauce. In a pot, combine the water, dried jujubes, kelp, quartered apple, ginger slices, green onion, Korean green chilies, and soy sauce. Bring it to a boil over medium-high heat for about 20 minutes, then reduce the heat to low and simmer for another 20 minutes to develop a deep flavor. After simmering, strain out all the solids, leaving only the seasoned soy sauce.

Step 4
Squeeze out the excess liquid from the kimchi and then slice it thinly into fine shreds. Julienne the onion and carrot to a similar thickness. For the shredded kimchi, mix it with a little sugar and sesame oil, gently massaging it to soften the flavor.

Step 5
Heat a little oil in a pan and sauté the julienned onion and carrot until they become translucent. Add a pinch of salt (about two pinches) to lightly season and enhance the natural sweetness of the vegetables.

Step 6
Now, let’s roll everything up like a Kimbap! Lay 3-4 slices of pork belly overlapping to form a flat sheet. Then, layer the seasoned kimchi, perilla leaf, cheese, and the sautéed onion and carrot. Try not to make the rolls too thick, as this will make them easier to cook through and ensure they are cooked evenly. Roll them up tightly so the filling doesn’t spill out.

Step 7
In a separate bowl, combine 1/2 cup of the previously made soy sauce with 3 tablespoons of sugar, 2 tablespoons of corn syrup (or rice syrup), 1 tablespoon of cooking wine (mirin), and 1/4 cup of vinegar. Mix well to create a delicious sauce. No need to boil or reduce this sauce; it’s ready to use.

Step 8
Preheat a wide pan over medium-low heat. Once hot, place the rolled pork belly pieces onto the pan. Cooking over excessively high heat can burn the outside while leaving the inside undercooked, so control the heat carefully and cook slowly.

Step 9
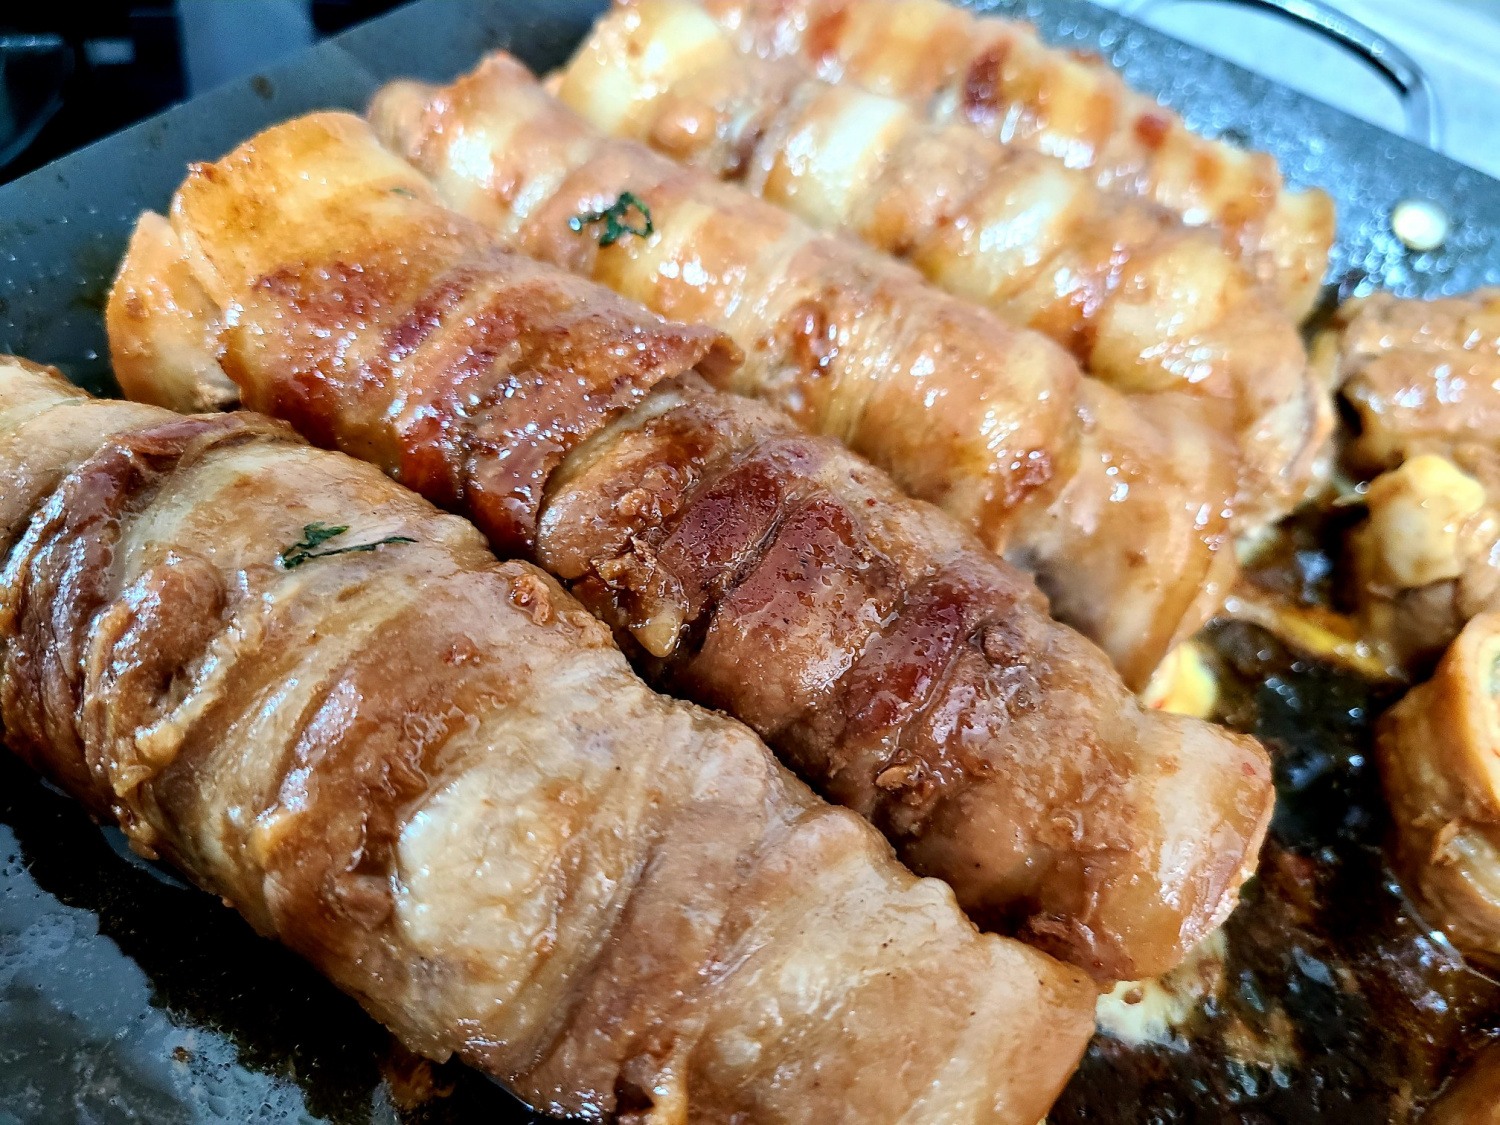
When the pork belly is golden brown and cooked evenly on all sides, start spooning the prepared sauce over the rolls. The sauce will coat the meat, giving it a beautiful sheen and a richer flavor. Continue cooking until the sauce has slightly reduced and thickened, coating the rolls nicely.

Step 10
These Cheese Kimchi Pork Belly Rolls are best stored in the refrigerator and then quickly pan-fried just before serving, ensuring they are as delicious as if freshly made! Serve them with a side of warm rice for a truly satisfying meal.


