Cheesy Rice Delight
=Ultra Creamy Cheesy Rice=

Inspired by the viral Cheesy Rice recipe from Yammu on ManDeu recipe platform, I tried recreating it! This dish is a delightful fusion of gooey cheese and a sweet & spicy sauce, guaranteed to be a hit with everyone from kids to adults. A simple yet impressive meal that I highly recommend!
Main Ingredients- Generous amount of Mozzarella cheese
- Sliced cheese, to your liking
- Canned corn kernels, 6 Tbsp
- Cooked rice, 1 bowl
Cooking Instructions
Step 1
First, let’s prepare the special sauce that brings this Cheesy Rice to life! In a small bowl, combine 2 Tbsp of gochujang, 2 Tbsp of ketchup, and 0.5 Tbsp of sugar. Mix well until smooth, ensuring there are no lumps. The balance of sweet and spicy is key, so don’t hesitate to taste and adjust to your preference!

Step 2
When using canned corn, it’s important to drain out as much liquid as possible. You can pour the corn into a sieve to drain, or gently press it with paper towels to remove excess moisture. Any remaining water can make the rice soggy.

Step 3
In a bowl with 1 bowl of cooked rice, add the drained corn kernels and the prepared special sauce. Gently mix everything together with your hands or a spoon, being careful not to mash the rice grains. Ensure the sauce is evenly distributed. Feel free to add a little more sauce if you prefer a stronger flavor.

Step 4
Now, let’s prepare the pan for melting the cheese. Drizzle 0.5 Tbsp of sesame oil into a non-stick frying pan and heat it over low heat. Tilt the pan slightly to spread the oil evenly across the surface; this helps prevent the rice from sticking later on.

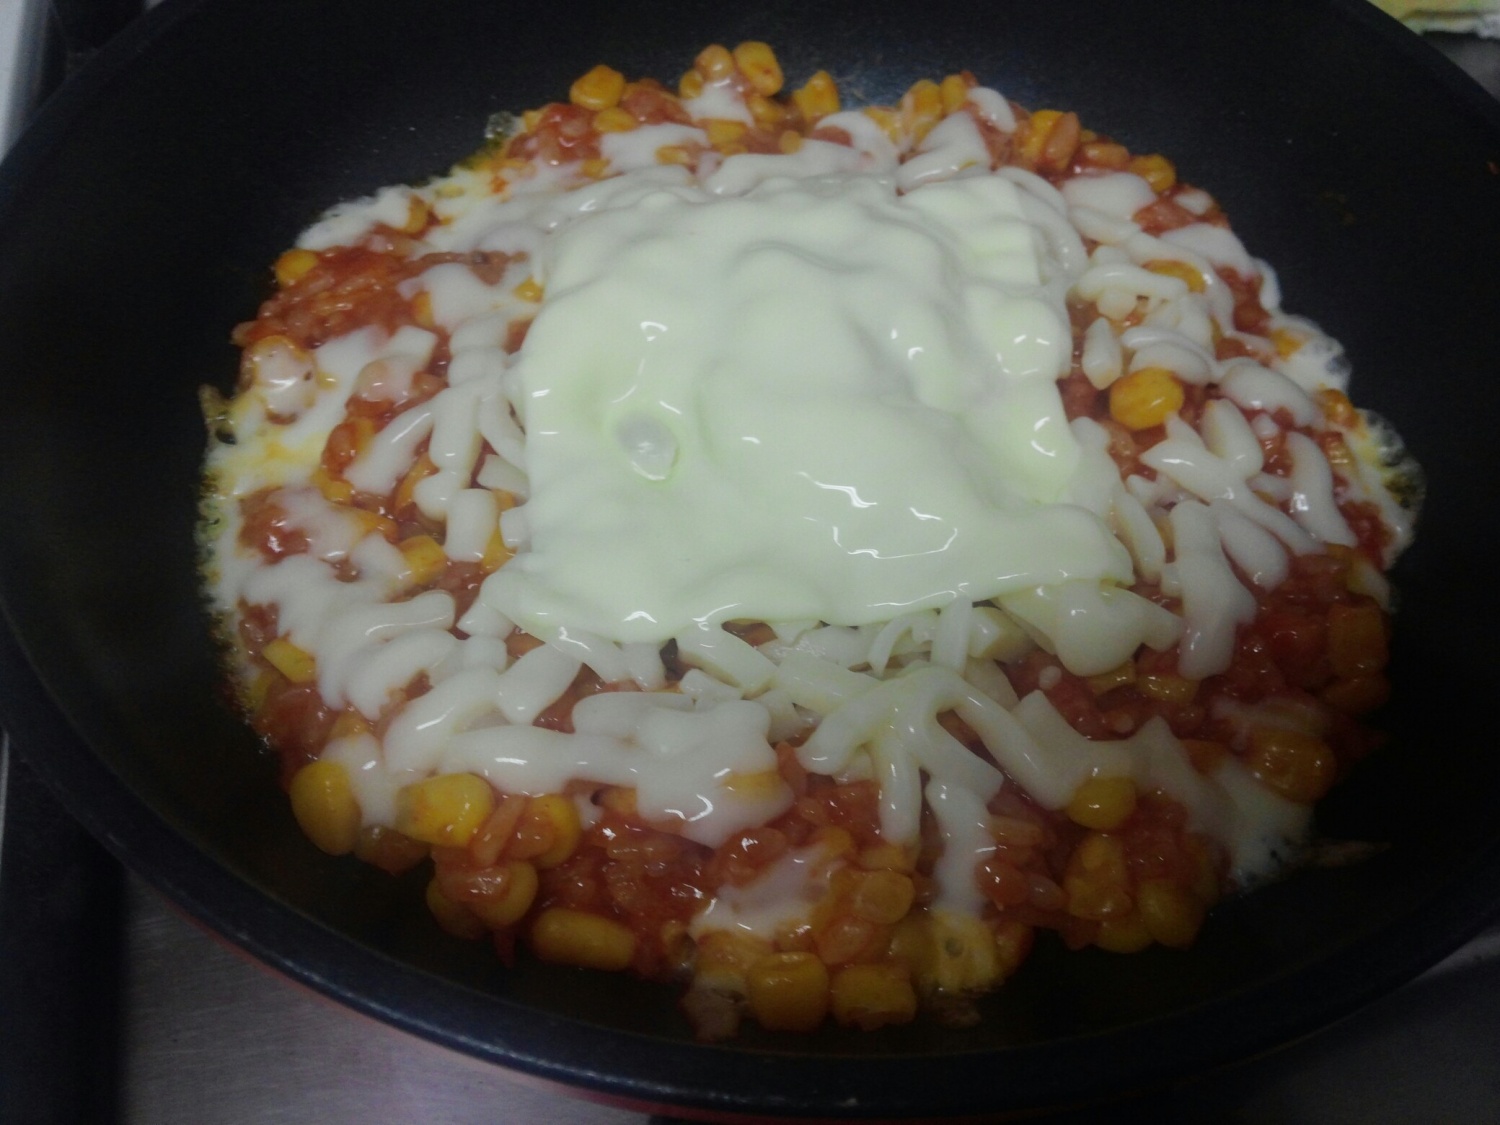
Step 5
Spread the seasoned rice evenly onto the sesame oil-coated pan. Generously top the rice with the mozzarella cheese and sliced cheese. Don’t be shy with the cheese – a good amount will ensure that wonderfully satisfying cheesy pull!

Step 6
Cover the pan with a lid and let the cheese melt slowly over medium-low heat. Be mindful of the heat; too high and the rice might burn. Patience is key here, and soon you’ll be greeted by the tempting aroma of melting cheese.

Step 7
Once you hear a gentle sizzling sound, like ‘tada-dak,’ indicating the cheese is melting and the rice is starting to crisp up, reduce the heat to low. This low heat allows the bottom layer of rice to become slightly crispy, adding a delightful subtle ‘scorched rice’ flavor without burning. Keep an eye on it to ensure it doesn’t scorch.

Step 8
When the cheese is fully melted and the rice at the bottom is lightly crisped, turn off the heat. Your Cheesy Rice is ready! While it’s delicious served directly from the pan, transferring it to a nice plate makes for an even more appealing presentation.

Step 9
Wow! Look at that glorious cheese pull! The visual appeal alone is mouthwatering. The combination of the sweet and spicy rice with the rich, savory cheese is truly sensational.

Step 10
Finally, crumble the 3 sheets of roasted seaweed over the top of the cheesy rice. The seaweed adds an extra layer of umami and texture, enhancing the overall flavor profile. Now, all that’s left is to mix it all together and enjoy!

Step 11
This Cheesy Rice is incredibly easy to make but delivers on taste magnificently! One bite, and you’ll be thinking, ‘I absolutely have to make this again!’ It’s a crowd-pleaser that everyone will adore. Give it a try!


