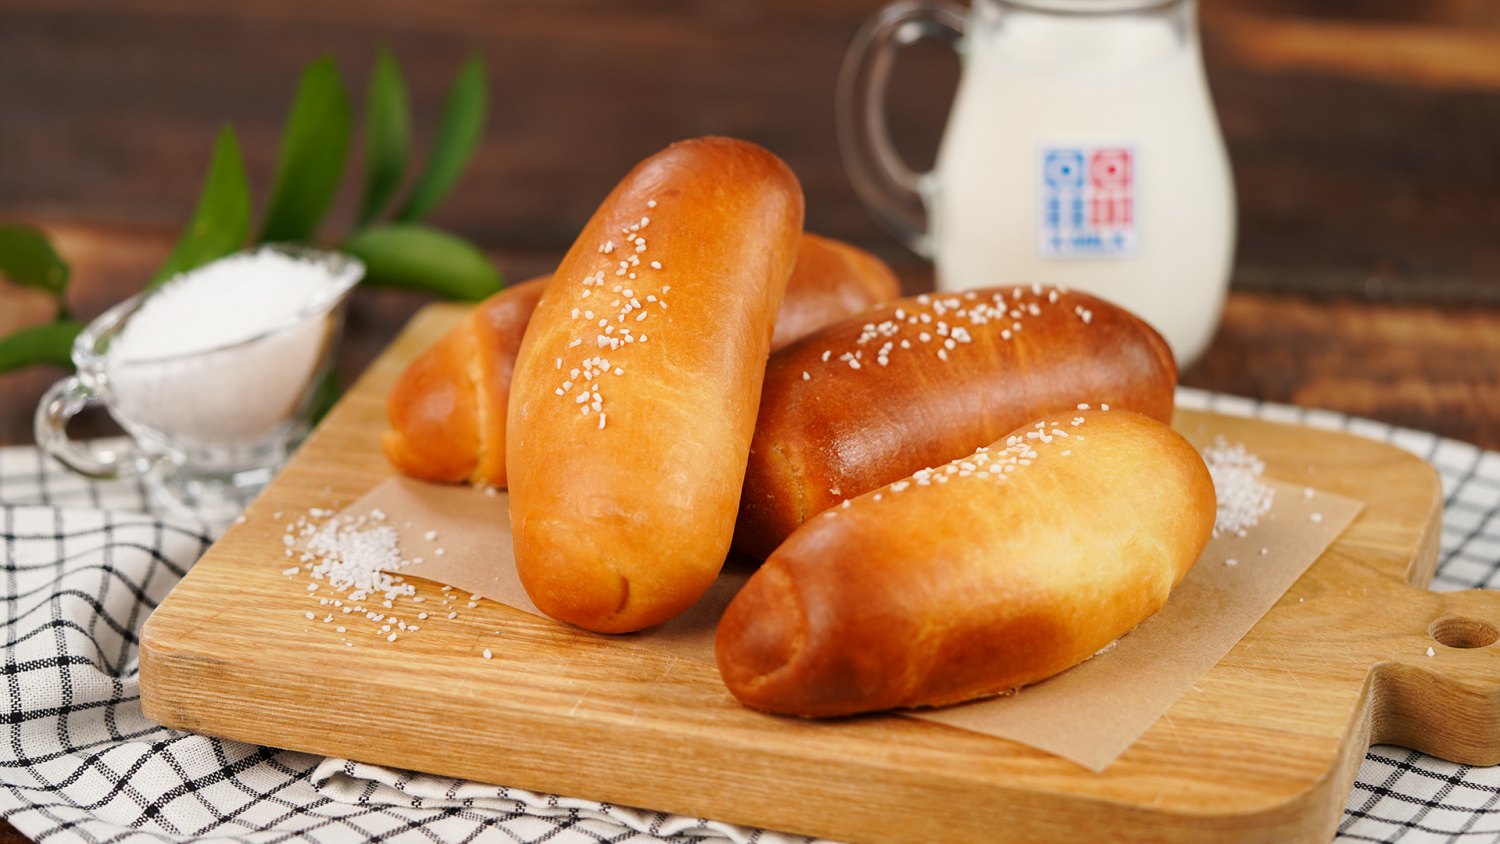
Chewy and Savory Artisan Salt Bread
Tired of Waiting Lines and Sold-Out Signs? Make Your Own Salt Bread!

Are you weary of the long queues outside bakeries, only to be met with a ‘Sold Out’ sign? For everyone who’s experienced the frustration of waiting for or missing out on the ever-popular salt bread, this recipe is for you! Now, you can recreate that irresistible chewy texture and rich, savory flavor right in your own home. Enjoy freshly baked salt bread without the wait!
Dough Ingredients- 150ml Warm Milk (around body temperature)
- 1 large Egg
- 50g Sugar
- 6g Instant Dry Yeast
- 250g Bread Flour
- 50g Cake Flour
- 5g Salt
- 40g Butter, softened at room temperature
Cooking Instructions
Step 1
In a bowl, combine the warm milk with sugar and yeast. Stir gently until the sugar dissolves completely. This helps activate the yeast.

Step 2
In a separate bowl, sift together the bread flour and cake flour. Make a well in the center and add the salt around the edges. (Avoid direct contact between salt and yeast, as it can inhibit yeast activity).

Step 3
Pour the activated yeast mixture and the room-temperature egg into the flour mixture. Mix with a spatula or your hands until just combined and no dry flour is visible.

Step 4
Transfer the dough to a clean work surface. Begin kneading by pushing and folding the dough with the palm of your hand. Continue kneading for about 10-15 minutes until the dough becomes elastic and smooth, developing a good gluten structure.

Step 5
Once the dough has developed elasticity, add the softened butter. Continue kneading until the butter is fully incorporated into the dough and it becomes smooth and pliable again. It’s crucial to knead until the butter is seamlessly blended.

Step 6
Shape the dough into a ball, place it in a lightly oiled bowl, and cover with plastic wrap. Let it rest in a warm place for about 2 hours for the first proofing. The dough should double in size.

Step 7
Gently punch down the dough to release the gas after the first proof. Divide the dough into 6 equal portions and shape each into a ball. Cover them with plastic wrap or a damp cloth and let them rest for 20 minutes at room temperature. This intermediate rest allows the gluten to relax, making the dough easier to shape.

Step 8
Lightly flatten each rested dough ball into an oval shape. Place one piece of butter (about 20g) in the center of each flattened dough. Fold the two opposite sides of the dough over the butter and pinch the edges together to seal it securely, ensuring no butter leaks out.

Step 9
Place the shaped salt breads on a baking sheet lined with parchment paper. Cover them loosely with plastic wrap or a damp cloth and let them proof for about 40 minutes at room temperature (second proofing). Once proofed, gently brush the surface of the dough with milk for a golden-brown finish when baked.

Step 10
Sprinkle coarse sea salt (like pearl salt) generously over the surface of the dough. The salt adds a wonderful crunchy texture and savory contrast, but if you don’t have it, you can omit it. It contributes to the signature look of salt bread.

Step 11
Bake in a preheated oven at 180°C (350°F) for approximately 20 minutes, or until golden brown. As soon as the breads come out of the oven, brush the tops with a little more butter while they are still hot. This adds an extra layer of richness and shine. Enjoy immediately for the best flavor and texture!


