Classic Plain Scones
The Most Basic Plain Scone Recipe

Your first step towards mastering a variety of scones! These classic plain scones are crispy on the outside and tender on the inside, perfect for practicing at home. This foundational recipe can be adapted to create your own unique scone flavors.
Ingredients- 300g cake flour (low-gluten flour)
- 6g baking powder
- 30g sugar
- 2g salt
- 60g unsalted butter, softened at room temperature
- 50g egg, beaten (about 1 medium egg)
- 100g cold milk
Cooking Instructions
Step 1
Measure out all your ingredients. Lightly beat the egg in a small bowl and set aside. Ensure your butter is softened to room temperature.

Step 2
In a large bowl, combine the dry ingredients: cake flour, baking powder, sugar, and salt. Sift them together 2-3 times. Sifting helps to aerate the flour and prevent lumps, leading to a lighter scone texture.

Step 3
Add the softened, room-temperature butter, cut into small cubes, to the sifted dry ingredients.

Step 4
Using your fingertips or the palms of your hands, rub the butter into the flour mixture until it resembles coarse breadcrumbs or small peas. Avoid overmixing; you want small pieces of butter to remain for flakiness. (Alternatively, you can use a food processor for this step).

Step 5
Pour the beaten egg and cold milk into the flour and butter mixture.

Step 6
Using a spatula or a dough scraper, gently mix the ingredients until just combined and no dry flour is visible. It’s crucial not to overwork the dough, as this can result in tough scones and diminish their characteristic crumbly texture.

Step 7
The key to achieving that signature crumbly texture in scones is to avoid overmixing the dough. Mix only until the ingredients come together into a cohesive mass.

Step 8
Transfer the dough to a piece of plastic wrap. Shape it into your desired scone form (e.g., a flat disc or rectangle) and wrap it tightly. Refrigerate for at least 30 minutes. This chilling period allows the gluten to relax, resulting in a more tender scone.

Step 9
Once the dough has chilled sufficiently, remove it from the refrigerator. Cut it into your desired shapes using a knife or cookie cutters. For even pieces, ensure your knife is sharp.

Step 10
Arrange the cut scones on a baking sheet lined with parchment paper or a silicone baking mat. Brush the tops of the scones with any remaining beaten egg. This egg wash will give them a beautiful golden-brown sheen when baked.

Step 11
Bake in a preheated oven at 190°C (375°F) for 15 to 20 minutes. Check the scones at the 15-minute mark. If they haven’t reached a desirable golden-brown color, continue baking for an additional 2-5 minutes. Keep an eye on them to prevent burning.

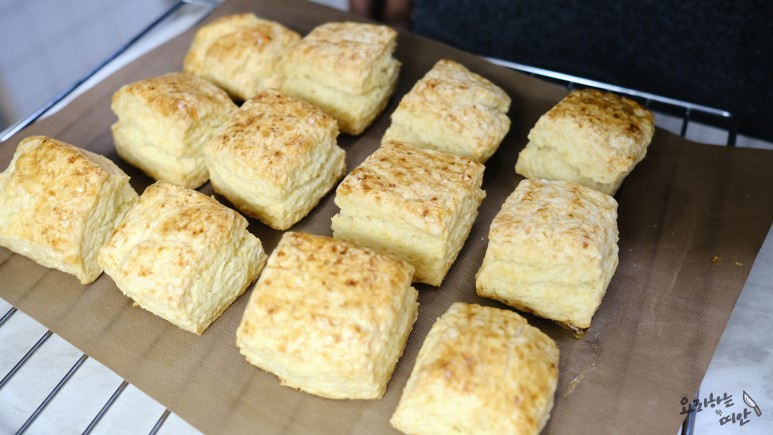
Step 12
Congratulations! Your delicious classic plain scones are ready. Enjoy them warm for a delightful treat, or let them cool and serve with jam, clotted cream, or your favorite accompaniments.


