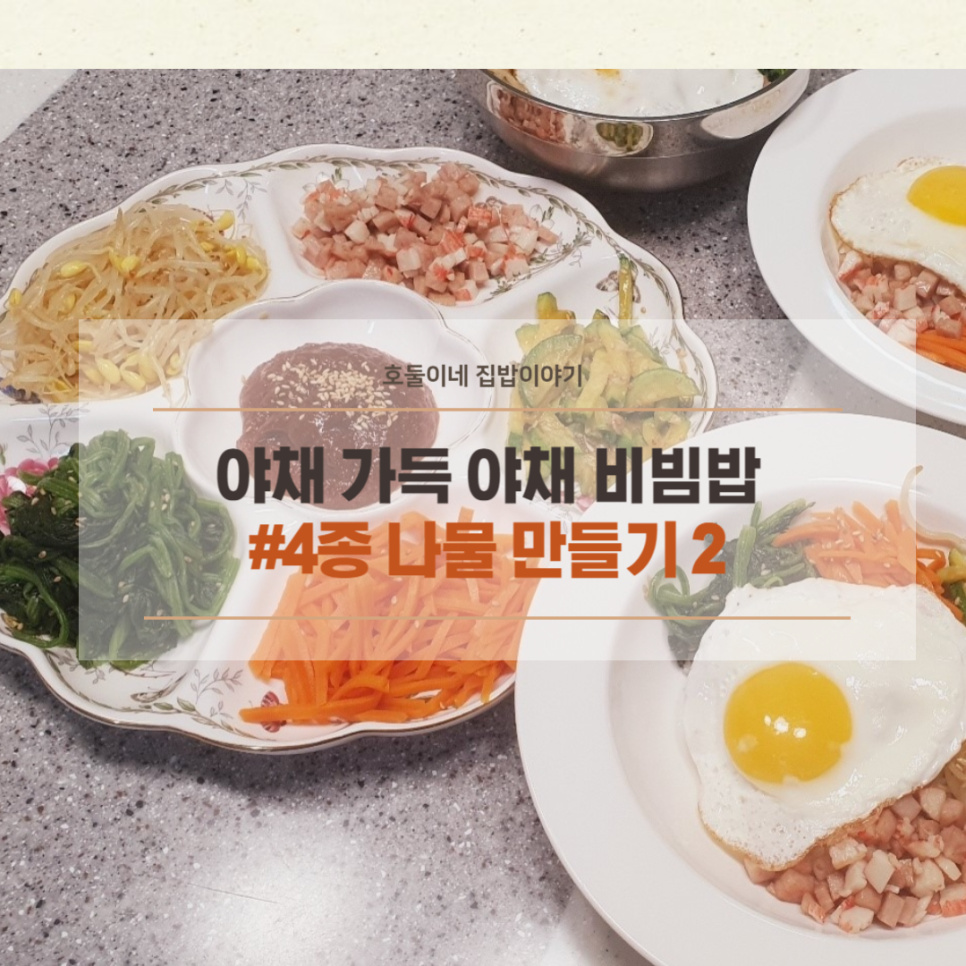
Colorful Vegetable Bibimbap
Crafting Bibimbap Delights: How to Make Seasoned Bean Sprouts & Stir-fried Zucchini

Hello from Hodulmom! I’m busy preparing delicious ingredients for a vibrant vegetable bibimbap. Today, I’ll guide you through making two essential components: seasoned bean sprouts and stir-fried zucchini. With two ingredients already done, I’m ready to quickly mix and sauté the remaining vegetables to complete this delightful bibimbap.
Main Ingredients- 1 bag Bean Sprouts (approx. 300g)
- 1/2 Zucchini
- 1/2 can Spam (approx. 120g)
- 2 Imitation Crab Sticks
Cooking Instructions
Step 1
Let’s start with the seasoned bean sprouts. In a pot, bring enough water to generously cover the bean sprouts to a boil. Add 1 tablespoon of coarse sea salt to the boiling water. Adding a bit of salt when blanching bean sprouts helps maintain their crisp texture.

Step 2
While the water is boiling, rinse the bean sprouts thoroughly under running water and drain them well. Once the water is at a rolling boil, add the bean sprouts and cover the pot. Blanch them for just one boiling cycle; be careful not to overcook, as they can become mushy. Immediately rinse the blanched bean sprouts in cold water to cool them down, which will further enhance their crispness.

Step 3
Place the drained bean sprouts in a bowl. Now, let’s season them deliciously! Here’s how to make the seasoning for the bean sprouts:

Step 4
Bean Sprout Seasoning: Mix 0.5 Tbsp minced garlic, 1 Tbsp soy sauce for soup (or a pinch of salt), 1 Tbsp sesame oil, and 1 Tbsp toasted sesame seeds. Gently mix everything together with your hands. Finish by sprinkling generously with toasted sesame seeds for an extra nutty flavor.

Step 5
Crispy and delicious seasoned bean sprouts are ready! Your third bibimbap component is beautifully prepared. 🙂

Step 6
Next, we’ll make the stir-fried zucchini, which will be another ingredient for our bibimbap. Slice the zucchini thinly, about 0.5 cm thick. It’s best to slice them not too thick for bibimbap.

Step 7
Julienne the sliced zucchini into thin strips of similar thickness. Pretty cuts make for a visually appealing bibimbap.

Step 8
Heat 1 Tbsp of cooking oil in a pan over low heat. Add 0.5 Tbsp of minced garlic and sauté gently until fragrant. Be careful not to burn the garlic, as you want to infuse the oil with its aroma.

Step 9
Once the garlic is fragrant, add all the julienned zucchini to the pan and stir-fry over medium heat. The key is to stir-fry just until the zucchini is slightly tender, not mushy.

Step 10
Time to season the zucchini. For this bibimbap ingredient, mix 0.5 tsp salt, 0.5 tsp salted shrimp (saeujeot), and 1 Tbsp yeondu (or use soy sauce/soup soy sauce) and stir-fry briefly.

Step 11
When the zucchini becomes slightly translucent and tender, turn off the heat. Finish by adding 1 Tbsp sesame oil and 1 Tbsp toasted sesame seeds. The aromatic sesame oil and nutty seeds will elevate the flavor of the zucchini.

Step 12
The visually appealing and delicious stir-fried zucchini is complete! Your fourth bibimbap ingredient is now wonderfully prepared.

Step 13
We’ll also use up some leftover Spam and imitation crab sticks from the fridge for our bibimbap. A quick sauté will bring out their flavors.

Step 14
Dice the Spam and imitation crab sticks into small, bite-sized pieces. Place them in a dry pan (no oil) and cook as if pan-frying. This method removes excess grease and results in a tastier, more savory flavor.

Step 15
Ta-da! All five delicious bibimbap ingredients are now ready! The vibrant colors are already making my mouth water.

Step 16
Arranging these generously prepared ingredients around a dollop of gochujang in the center creates a truly appetizing bibimbap base.

Step 17
In a large bowl, add a generous portion of hot white rice. Arrange the prepared vegetable ingredients attractively around the rice. Top with a perfectly fried egg, and drizzle with a bit of sesame oil for a beautiful finish.

Step 18
Serving it this beautifully made the children excited, and they ate it with more enthusiasm because it looked so pretty! My second child, in particular, was fascinated by the plate, exclaiming, ‘Did we have such a pretty plate in our house?’ I think I’ll have to serve food on this plate more often! Hahaha

Step 19
Now it’s time to add your preferred amount of gochujang and mix everything together for a delicious meal! The spicy and sweet sauce, fresh vegetables, and savory rice grains come together for an incredibly tasty bite. 🙂


