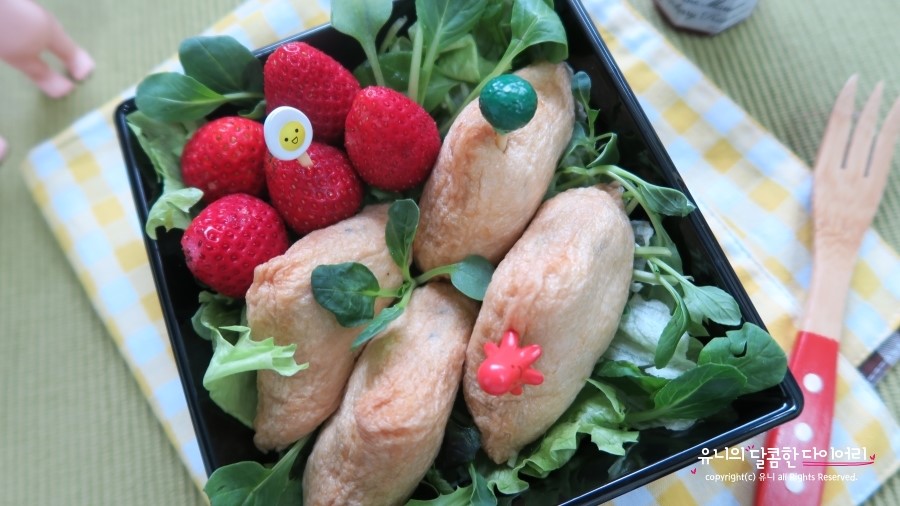
Colorful Vegetable-Packed Inari Sushi
Delicious Inari Sushi Made Easy with Fridge Veggies

This recipe is incredibly simple, but I’ll show you how to make it even healthier and more delicious by incorporating leftover vegetables from your fridge! It’s a fantastic way to use up ingredients and create a nutritious meal.
Ingredients- 1 pack Inari sushi kit (includes sushi rice seasoning and toppings)
- Assorted vegetables (e.g., carrots, broccoli, bell peppers)
- Black sesame seeds (optional)
Cooking Instructions
Step 1
First, let’s prepare the vegetables. Carrots take longer to cook than broccoli, so it’s best to cook them separately. Wash the carrots, chop them into small pieces, and add them to boiling water. Once they’ve softened slightly, add the chopped broccoli and blanch it for a short time. Be careful not to overcook them, as they can become mushy.

Step 2
While the vegetables are cooking, let’s get ready to assemble the inari sushi. Take out the sushi rice seasoning and any toppings from your inari sushi kit.

Step 3
Here are the contents of the inari sushi kit: you’ll see the fried tofu pouches, the seasoning packet for the rice, and sometimes dried vegetable toppings. We’ll start by seasoning the rice using the provided sauce.

Step 4
Pour the sushi rice seasoning from the kit over the prepared rice. Gently mix it in with a spatula or rice paddle, ensuring the rice grains don’t clump together.

Step 5
Now, it’s time to finely chop the cooked or blanched vegetables. Use a knife and cutting board to dice them into small, uniform pieces. If you have a vegetable chopper, this step will be much quicker and easier!

Step 6
Add the seasoning packet along with the vegetable toppings to the rice. This will enhance the flavor and add a nice texture.

Step 7
Mix in the finely chopped vegetables and the black sesame seeds for a nutty flavor and attractive appearance. This adds color and extra nutrition to your rice!

Step 8
And there you have it – delicious seasoned sushi rice! You won’t need to add any extra salt. The fried tofu pouches are usually seasoned themselves, and the included vinegar seasoning provides sufficient flavor. Taste it; it should already be perfectly seasoned. If you prefer a stronger taste, you can add a tiny bit more seasoning.

Step 9
Now, let’s prepare the fried tofu pouches. These are typically already seasoned and soft. Be careful not to squeeze out too much moisture, as this can cause them to tear easily. Gently rinse them under running water, then lightly press them with your hands to remove excess water. You want them to be moist inside, but not dripping. Squeeze until they are no longer dripping.

Step 10
Take about a tablespoon of the seasoned rice and gently shape it into a ball with your hands. Aim for a size slightly smaller than a golf ball.

Step 11
Carefully place the shaped rice ball into one of the prepared fried tofu pouches. Gently press the rice into the inner cavity of the tofu.

Step 12
Avoid overfilling the tofu pouches with rice, as this can cause them to split or the rice to spill out. Fill them about two-thirds full. This will make it much easier to shape them nicely and prevent them from tearing. Don’t pack the rice too tightly; place it gently.


