Crisp and Refreshing Summer Delight: Yeolmu Eolgari Kimchi
Making Delicious Yeolmu Eolgari Kimchi: The Ultimate Summer Palate Booster

This Yeolmu Eolgari Kimchi, made with fresh summer radish and young napa cabbage, boasts an incredibly crisp texture and refreshing taste! It’s not only delicious on its own but also a versatile condiment perfect for making spicy Bibim Guksu (Korean spicy noodles) or a hearty Bibimbap. Revive your appetite lost to the heat with this ultimate recipe!
Main Ingredients- 1 bunch fresh Yeolmu (young radish)
- 1 bunch crisp Eolgari (young napa cabbage)
- 1 medium onion
- 10 stalks green onions (scallions)
- 1 cup coarse sea salt (for brining)
- 2 Cheongyang peppers (red ones optional, for color)
- 1 Tbsp toasted sesame seeds
Kimchi Seasoning- 1 bowl cooked rice flour paste (for thickening)
- 1 Tbsp minced garlic
- 1 tsp ginger juice
- 6 Tbsp gochugaru (Korean chili powder, adjust to spice preference)
- 1/2 pear
- 1 Tbsp chili enzyme
- 1 Tbsp apple enzyme
- 3 Tbsp saeu-jeot (fermented shrimp paste)
- 2 Tbsp myeolchi-aekjeot (fermented anchovy fish sauce)
- Salt to taste (or soy sauce)
- 1 bowl cooked rice flour paste (for thickening)
- 1 Tbsp minced garlic
- 1 tsp ginger juice
- 6 Tbsp gochugaru (Korean chili powder, adjust to spice preference)
- 1/2 pear
- 1 Tbsp chili enzyme
- 1 Tbsp apple enzyme
- 3 Tbsp saeu-jeot (fermented shrimp paste)
- 2 Tbsp myeolchi-aekjeot (fermented anchovy fish sauce)
- Salt to taste (or soy sauce)
Cooking Instructions
Step 1
Let’s start making the delicious summer special, Yeolmu Eolgari Kimchi!

Step 2
Trim the tough outer leaves and any woody ends from the Yeolmu. Cut both the Yeolmu and Eolgari into bite-sized pieces, about 5-6 cm long.

Step 3
Rinse the prepared Yeolmu and Eolgari thoroughly under running water about three times. Let the excess water drain well before placing them in a colander to air dry.

Step 4
In a large bowl, combine the drained Yeolmu and Eolgari. Sprinkle the coarse sea salt evenly and gently toss to coat. Let them brine until the vegetables soften and become pliable.

Step 5
While the vegetables are brining, prepare the kimchi seasoning. Meticulous seasoning is the foundation of delicious kimchi!

Step 6
In a separate bowl, combine all the seasoning ingredients: rice flour paste, minced garlic, ginger juice, gochugaru, chili enzyme, apple enzyme, saeu-jeot, myeolchi-aekjeot, and a pinch of salt. Mix well. Peel, core, and finely grate or blend the pear, then add it to the mixture for extra sweetness and a refreshing flavor.

Step 7
Wash the green onions, onion, and chili peppers (both green and red) thoroughly. Using colorful chili peppers will make the kimchi look even more appealing.

Step 8
Cut the green onions into approximately 2 cm lengths. Slice the onion into thin strips or your desired thickness. Deseed the chili peppers and slice them thinly on an angle. Prepping the vegetables like this makes mixing with the seasoning much easier.

Step 9
All the ingredients and seasonings are now ready! It’s a mouthwatering combination just looking at it.

Step 10
Allow the Yeolmu and Eolgari to brine for about 1 hour and 30 minutes, flipping them once halfway through. The brining time can vary slightly depending on the room temperature, so monitor the vegetables’ condition. (Tip: Be careful not to over-brine, as it can make them mushy.)

Step 11
The vegetables are properly brined when you can gently bend a stalk and it folds without breaking. If it’s still stiff, it needs more time; if it snaps, it’s been over-brined. Check their texture.

Step 12
Gently rinse the well-brined Yeolmu and Eolgari in cold water two or three times to remove excess salt. Avoid rinsing too vigorously, as this can diminish the crispness. After rinsing, place them back in the colander and drain thoroughly. (Draining takes about 20 minutes.)

Step 13
Transfer the drained Yeolmu and Eolgari to a large bowl. Add the prepared seasoning mixture and the chopped vegetables (green onions, onion, chili peppers).

Step 14
Now, put on gloves and gently toss everything together, ensuring the seasoning coats the vegetables evenly. Avoid kneading or squeezing too hard, as this can result in a raw taste; a light, gentle mixing is key. Taste and adjust the seasoning with salt or soy sauce if needed, according to your preference.

Step 15
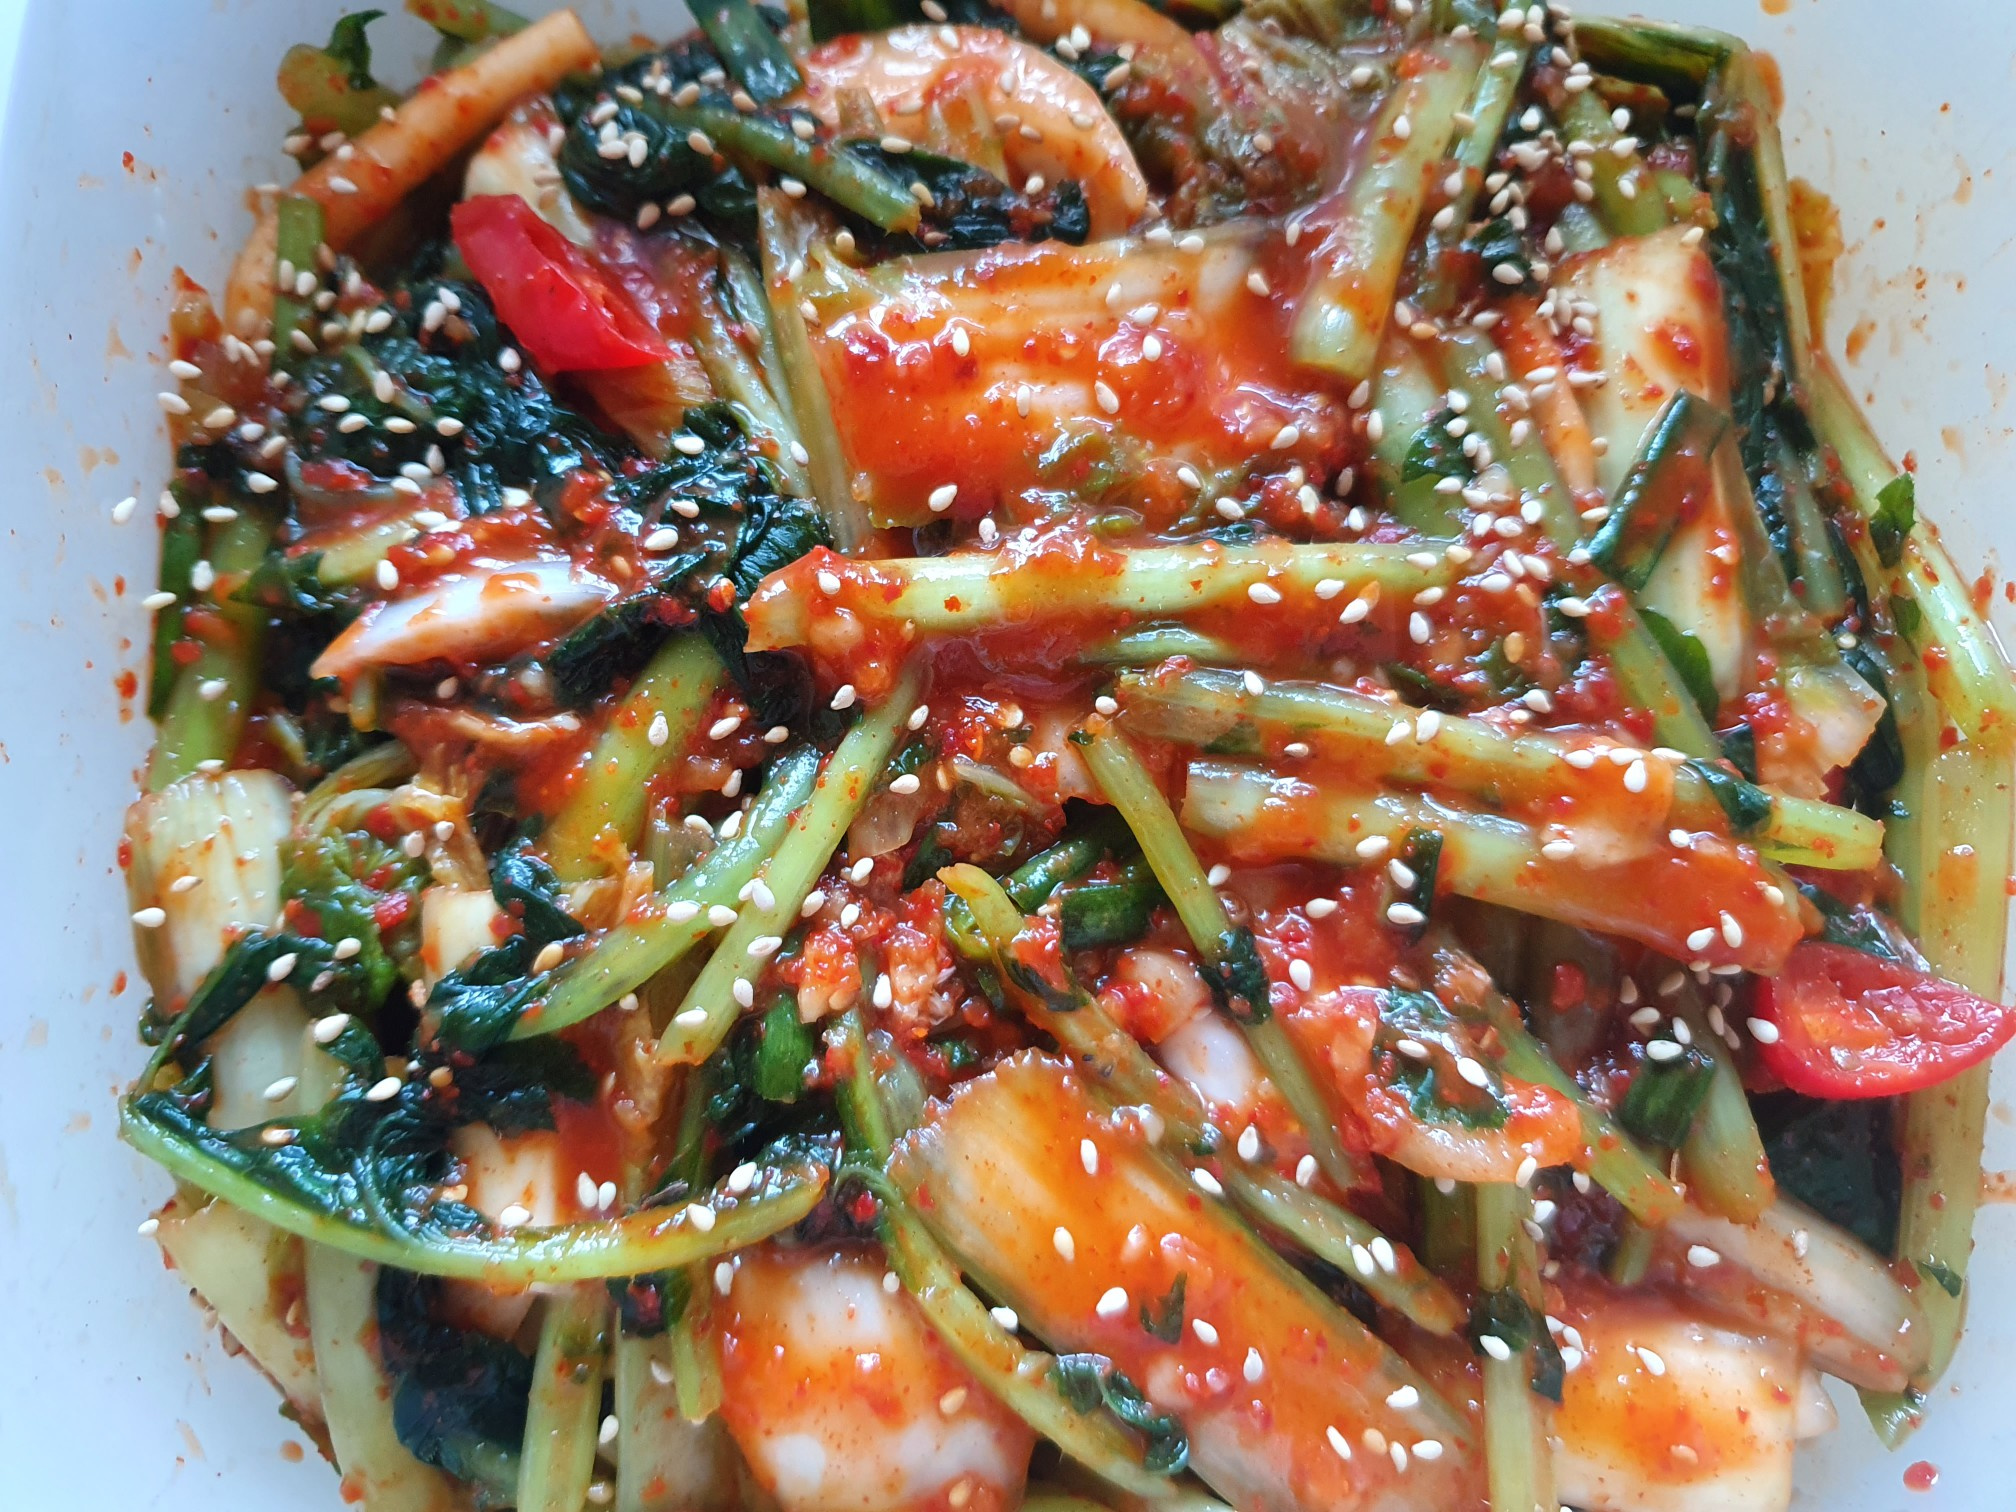
Finally, sprinkle the toasted sesame seeds generously over the kimchi. The sesame seeds add a wonderful aroma and nutty flavor.

Step 16
There you have it – your delicious Yeolmu Eolgari Kimchi is complete! Its crisp texture and refreshing taste will surely stimulate your appetite.

Step 17
Transfer the finished Yeolmu Eolgari Kimchi into an airtight container and store it in the refrigerator. It’s delicious to eat right away, or you can let it ferment for a deeper, more complex flavor.


