Crisp and Refreshing Summer Delight: Yeolmu Kimchi Recipe
How to Make Refreshing Yeolmu Kimchi, a Summer Staple

The first signs of summer are appearing, and with them, fresh yeolmu (young radish)! Crisp and refreshing yeolmu kimchi is an absolute must-have for the summer table. Raw yeolmu, simply tossed with gochujang and sesame oil, is incredibly delicious in bibimbap. That’s why on days we make yeolmu kimchi, we always prepare some raw yeolmu bibimbap too. Even if you’re not making kimchi, I highly recommend buying some of this tender, delicious young radish and trying it in a bibimbap dish!
Kimchi Ingredients- 2 bunches fresh Yeolmu (young radish)
- 2 handfuls Scallions
Salting the Yeolmu- 5 Tbsp coarse sea salt
- 1 cup water
Making the Rice Flour Paste- 2 cups water
- 4 Tbsp glutinous rice flour
Kimchi Seasoning- 1 apple
- 1 onion
- 5 red chili peppers
- 1 1/3 cups Gochugaru (Korean chili powder)
- 4 Tbsp minced garlic
- 1/2 Tbsp minced ginger
- 2/3 cup fish sauce (e.g., anchovy sauce)
- 5 Tbsp plum extract (Maesil-cheong)
- Sesame seeds
- 5 Tbsp coarse sea salt
- 1 cup water
Making the Rice Flour Paste- 2 cups water
- 4 Tbsp glutinous rice flour
Kimchi Seasoning- 1 apple
- 1 onion
- 5 red chili peppers
- 1 1/3 cups Gochugaru (Korean chili powder)
- 4 Tbsp minced garlic
- 1/2 Tbsp minced ginger
- 2/3 cup fish sauce (e.g., anchovy sauce)
- 5 Tbsp plum extract (Maesil-cheong)
- Sesame seeds
- 1 apple
- 1 onion
- 5 red chili peppers
- 1 1/3 cups Gochugaru (Korean chili powder)
- 4 Tbsp minced garlic
- 1/2 Tbsp minced ginger
- 2/3 cup fish sauce (e.g., anchovy sauce)
- 5 Tbsp plum extract (Maesil-cheong)
- Sesame seeds
Cooking Instructions
Step 1
Start by preparing the yeolmu. If the roots are heavily soiled, it’s a good idea to rinse them first to remove most of the dirt. I begin by washing the root ends thoroughly. Then, gently rinse the leafy parts under running water.

Step 2
Use the back of a knife to gently scrape off any fine roots from the yeolmu roots. Trim off the very thin ends. Scrape away any dirt or debris caught between the leaves and the roots.

Step 3
Some people cut the yeolmu before salting, but it’s also great to salt them whole and cut them later. For 2 bunches of yeolmu, I used about 5 Tbsp of coarse sea salt. If you want them to salt faster, you can use a bit more salt, but make sure to rinse them thoroughly afterward.

Step 4
Place one bunch of yeolmu in a large bowl or container, then sprinkle salt over it. Add the second bunch of yeolmu on top and sprinkle with more salt.

Step 5
Pour 1 cup of water over the yeolmu to help the salting process.

Step 6
Let the yeolmu salt for about 1 to 2 hours, flipping them gently once or twice in between. They should become pliable and bend easily when ready.

Step 7
Now, let’s make the glutinous rice flour paste, which adds body and a subtle sweetness to the kimchi. Combine 2 cups of water and 4 Tbsp of glutinous rice flour in a pot. (You can also use regular wheat flour.)

Step 8
Whisk the flour and water well to prevent lumps, then place over low heat. Stir continuously until it thickens to a thin porridge consistency. It’s important to let the paste cool completely before using it.

Step 9
For the seasoning, I’m using blended onion, apple, and red chili peppers. The apple adds a natural sweetness and fragrance, but you can omit it if you prefer. If you don’t have red chilies, you can increase the amount of gochugaru. Finely blend 1 apple, 1 onion, and 5 red chili peppers.

Step 10
In a large bowl, combine the blended ingredients with 1 1/3 cups of gochugaru, 4 Tbsp minced garlic, 1/2 Tbsp minced ginger, 2/3 cup fish sauce, and 5 Tbsp plum extract. Add the completely cooled rice flour paste.

Step 11
Mix all the seasoning ingredients thoroughly until well combined. Taste and adjust the seasoning if needed, adding more fish sauce or a pinch of salt.

Step 12
Gently rinse the salted yeolmu under running water just once. Since we didn’t use an excessive amount of salt, it won’t be overly salty. Drain the water lightly and cut the yeolmu into bite-sized pieces, about 2-3 inches long.

Step 13
Cut the scallions into similar lengths as the yeolmu, about 2-3 inches, and add them to the mix.

Step 14
Add the prepared seasoning mixture to the yeolmu and scallions in the kimchi container or large bowl.

Step 15
Gently mix everything together. Avoid mashing the yeolmu; instead, use your hands to lightly toss and fold the ingredients, ensuring the seasoning coats everything evenly. The goal is to keep the yeolmu crisp.

Step 16
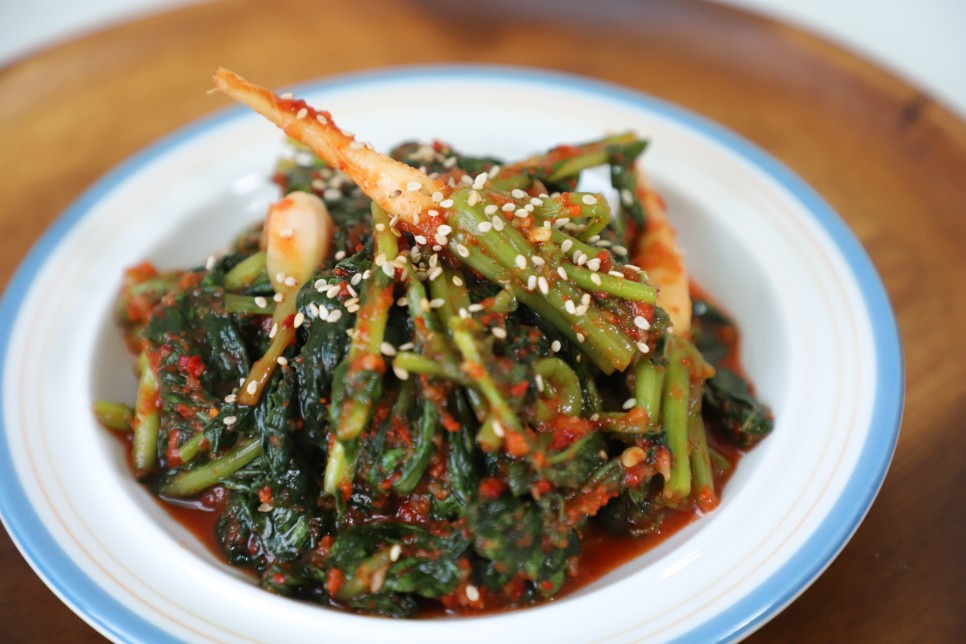
Your delicious yeolmu kimchi is ready! Store it in an airtight container. While it’s delicious right away, letting it sit at room temperature for half a day before refrigerating will allow the flavors to meld beautifully. These days, the yeolmu isn’t too spicy, so it’s enjoyable fresh. After two days, it tasted wonderfully crisp and refreshing!


