Crisp and Sweet & Sour Homemade Cucumber and Radish Pickles
Super Easy Homemade Cucumber and Radish Pickles Recipe

With an abundance of cucumbers and radishes from my garden, I decided to make these refreshingly crisp, sweet, and sour pickles before they could spoil! ♡ They are a perfect side dish that stimulates the appetite.
Main Ingredients- 1/5 radish (approx. 200g)
- 1 cucumber (approx. 200g)
- 3 slices of beetroot (for color and health benefits)
Sweet & Sour Pickle Brine- 1 cup vinegar (200ml)
- 1 cup sugar (200g)
- 2 cups water (400ml)
- 0.5 Tbsp coarse salt (5g)
- 1 Tbsp pickling spice (for aromatic flavor!)
- 1 cup vinegar (200ml)
- 1 cup sugar (200g)
- 2 cups water (400ml)
- 0.5 Tbsp coarse salt (5g)
- 1 Tbsp pickling spice (for aromatic flavor!)
Cooking Instructions
Step 1
Wash the cucumbers thoroughly. Then, hold them with both hands and rub them gently with coarse salt. This helps to remove any impurities or stickiness hidden between the ridges and softens the prickly skin, resulting in a cleaner pickle.

Step 2
Brush off any dirt from the radish under running water. Use a vegetable peeler to thinly peel the outer skin.

Step 3
After cleaning, place the radish and cucumbers in a colander and allow them to drain completely. (I made a large batch from my garden harvest, but the recipe quantities are for about 2-3 servings; feel free to adjust.)

Step 4
Prepare the sweet and sour brine, which is key to the pickle’s flavor. Using the same measuring cup, measure out 1 cup of vinegar and 1 cup of sugar. This 2:1:1 ratio (water:sugar:vinegar) is the golden ratio for pickles, so adjust it according to the amount you’re making for delicious results. 🙂

Step 5
Measure out the remaining brine ingredient: 2 cups of water, using the same measuring cup.

Step 6
This spice blend is called ‘pickling spice.’ It adds that characteristic rich and delicious pickle aroma. However, your pickles will still be great without it, so feel free to omit it if you don’t have it or don’t prefer a strong spice flavor. I used it to achieve a deeper flavor profile!

Step 7
Combine the measured vinegar, sugar, water, coarse salt (0.5 Tbsp), and pickling spice (1 Tbsp) in a saucepan. Bring it to a boil. To prevent the brine from boiling over while you’re preparing the vegetables, you can keep it on medium-low heat, or simply boil it after prepping the vegetables as it heats up quickly. ~♡

Step 8
Sterilizing your pickling jars is essential. Place the jars in a pot of cold water and then bring the water to a boil. Starting with cold water prevents the glass from cracking due to sudden temperature changes. Don’t forget to sterilize the lids too! ~♡

Step 9
Cut the drained radish into bite-sized pieces. Rectangular shapes or long strips, similar to commercially available ‘chicken radish,’ are convenient for eating.

Step 10
Slice the cucumbers into rounds or lengthwise strips. If slicing them lengthwise, it’s recommended to remove the seedy core. The seeds can soften easily, making the pickle brine cloudy and potentially reducing its shelf life. ~♡

Step 11
Once the sterilized jars are completely dry, pack the prepared radish and cucumber tightly into them. Layering the cucumbers and radishes alternately, as shown in the right-hand photo, makes it easy to retrieve different types of pickles without mixing them up. ~♡

Step 12
I also added beetroot, which I grew myself. As you can see, the beautiful red beetroot is considered a ‘superfood’ with many health benefits, including antioxidant and anti-inflammatory properties, and helps regulate blood pressure and blood sugar. It also adds a lovely natural pink hue to the pickles, enhancing their visual appeal. ~♡

Step 13
Pour the boiling hot pickle brine over the vegetables in the jars. Pouring the hot brine immediately helps to maintain the crispness of the vegetables and prevents the pickles from becoming mushy, ensuring they stay fresh longer. ~♡ (You can strain out the spices like pickling spice if you prefer, or leave them in. I removed them for easier eating.) ~♡

Step 14
After pouring the brine, seal the jars tightly and turn them upside down. This process helps to create a vacuum seal inside the jar using the heat, which significantly improves the shelf life of the pickles. Ensure the lids are securely closed to prevent any leaks. ~♡ When you open the jar after it’s fermented and hear a ‘pop’ or ‘hiss,’ it means the vacuum seal was successful!

Step 15
The pickles have a slightly yellowish tint because I used brown sugar. If you use white sugar, you’ll achieve a much clearer and brighter pink color. You can also adjust the amount of beetroot to control the intensity of the pink color, creating your desired shade. ~♡

Step 16
This is the color of the pickles right after they’ve been made. It’s best to let them sit at room temperature for about 2 days to ferment before storing them in the refrigerator. ~♡

Step 17
This is how the pickles look on the third day, after fermenting for two days. The cucumber’s fresh green color is well-preserved, and the beetroot has beautifully infused its vibrant red color, making them look appetizing. ~♡

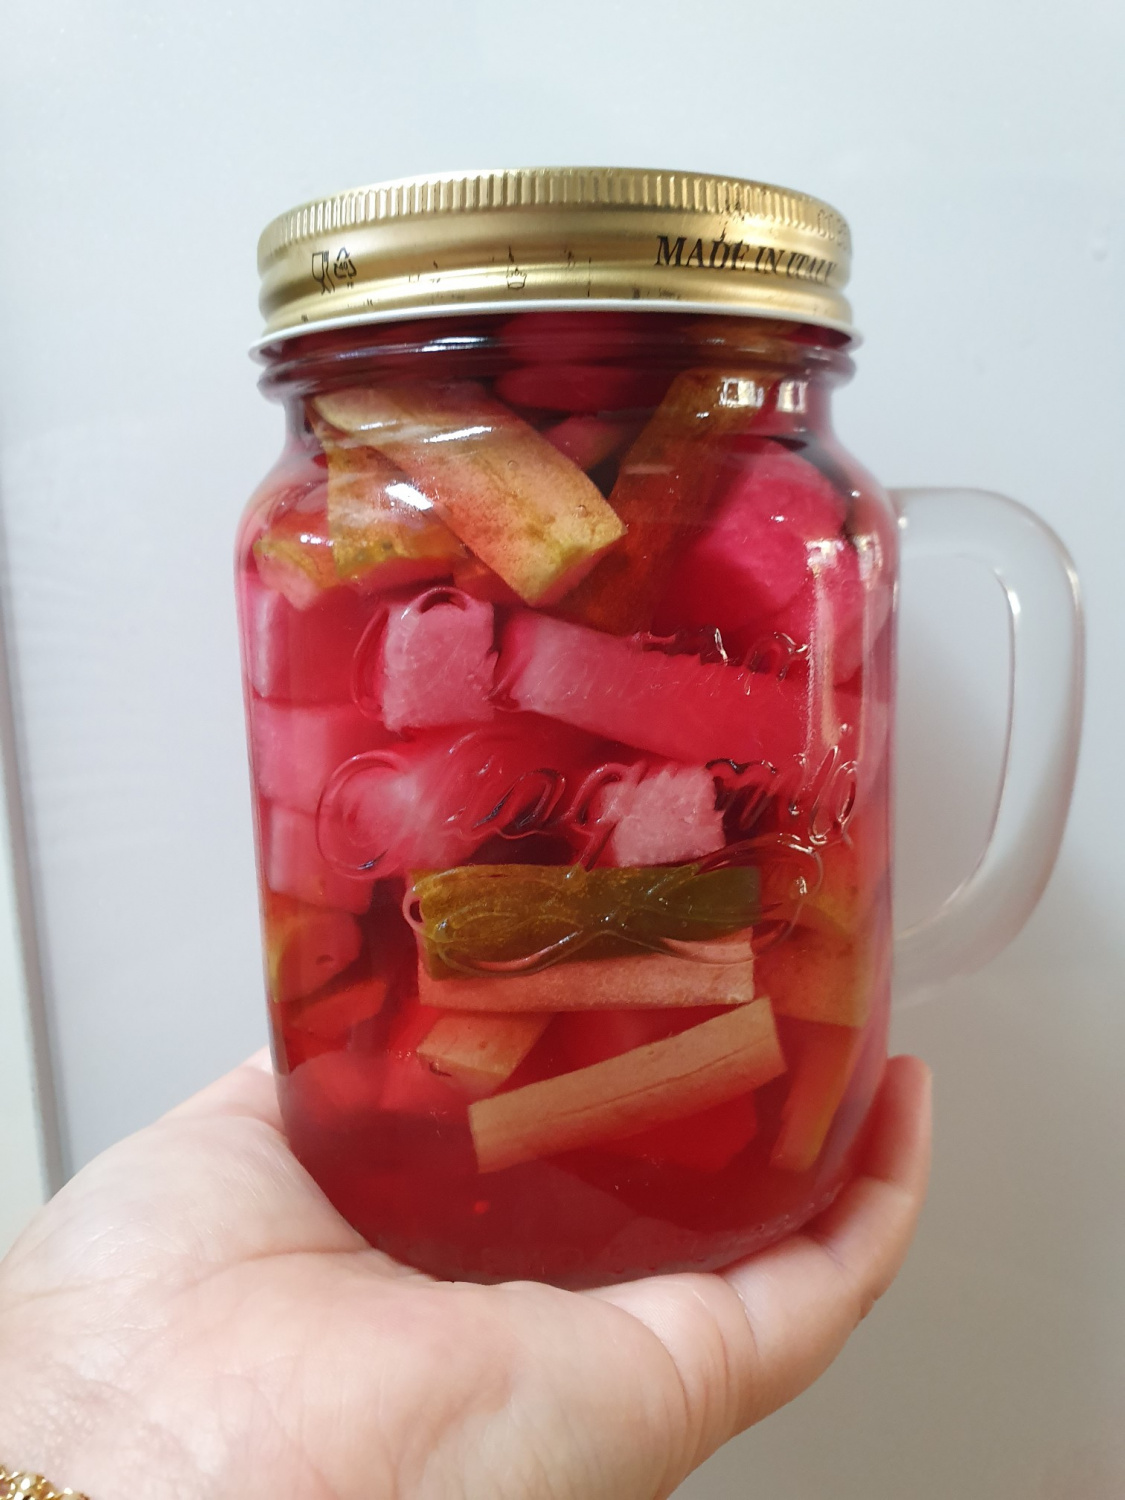
Step 18
Here’s a view of the pickles from the largest jar. The deep red color is due to the generous amount of beetroot I added for its health benefits, such as helping with high blood pressure and diabetes. Enjoy these delicious homemade pickles that are as good for you as they are tasty! :)♡


