Crispy and Delicious Old-Fashioned Oil Tteokbokki
Nostalgic Snack: Easy Oil Tteokbokki

Relive the nostalgic taste of childhood snacks from the schoolyard with this homemade Oil Tteokbokki! The tteok (rice cakes) are crispy on the outside and chewy on the inside, coated in a savory and slightly sweet sauce that makes them incredibly addictive. It’s surprisingly simple, so anyone can easily follow along!
Main Ingredients- 2 cups tteokbokki tteok (rice cakes, measured with a paper cup)
- 1/2 stalk green onion
Cooking Instructions
Step 1
Rinse the tteokbokki tteok thoroughly under running water and prepare 2 cups (using a paper cup). If you used frozen tteok, let them thaw at room temperature beforehand. Finely chop the 1/2 stalk of green onion.

Step 2
In a wide bowl, add 1.5 Tbsp of soy sauce to create the sauce base.

Step 3
Add 1 Tbsp of sugar to this, and also add the finely chopped green onion.

Step 4
Add 1 Tbsp of sesame oil for a nutty aroma and 2 Tbsp of cooking oil to help it stir-fry smoothly.

Step 5
Finally, add 1 Tbsp of gochugaru for a touch of spiciness and mix all the seasoning ingredients well until evenly combined.

Step 6
Pour the prepared tteok and the sauce mixture into a pan and begin to stir-fry over medium-low heat. Be careful with the heat, as high heat can easily burn the tteok or cause the sauce to stick and burn. At first, the tteok may appear white as the sauce hasn’t fully coated them.

Step 7
As you continue to stir-fry, the delicious sauce will gradually absorb into the tteok, and they will turn a more appetizing color. Stir occasionally to prevent the tteok from sticking together.

Step 8
Once the surface of the tteok is lightly golden and cooked to perfection, turn off the heat and finish.

Step 9
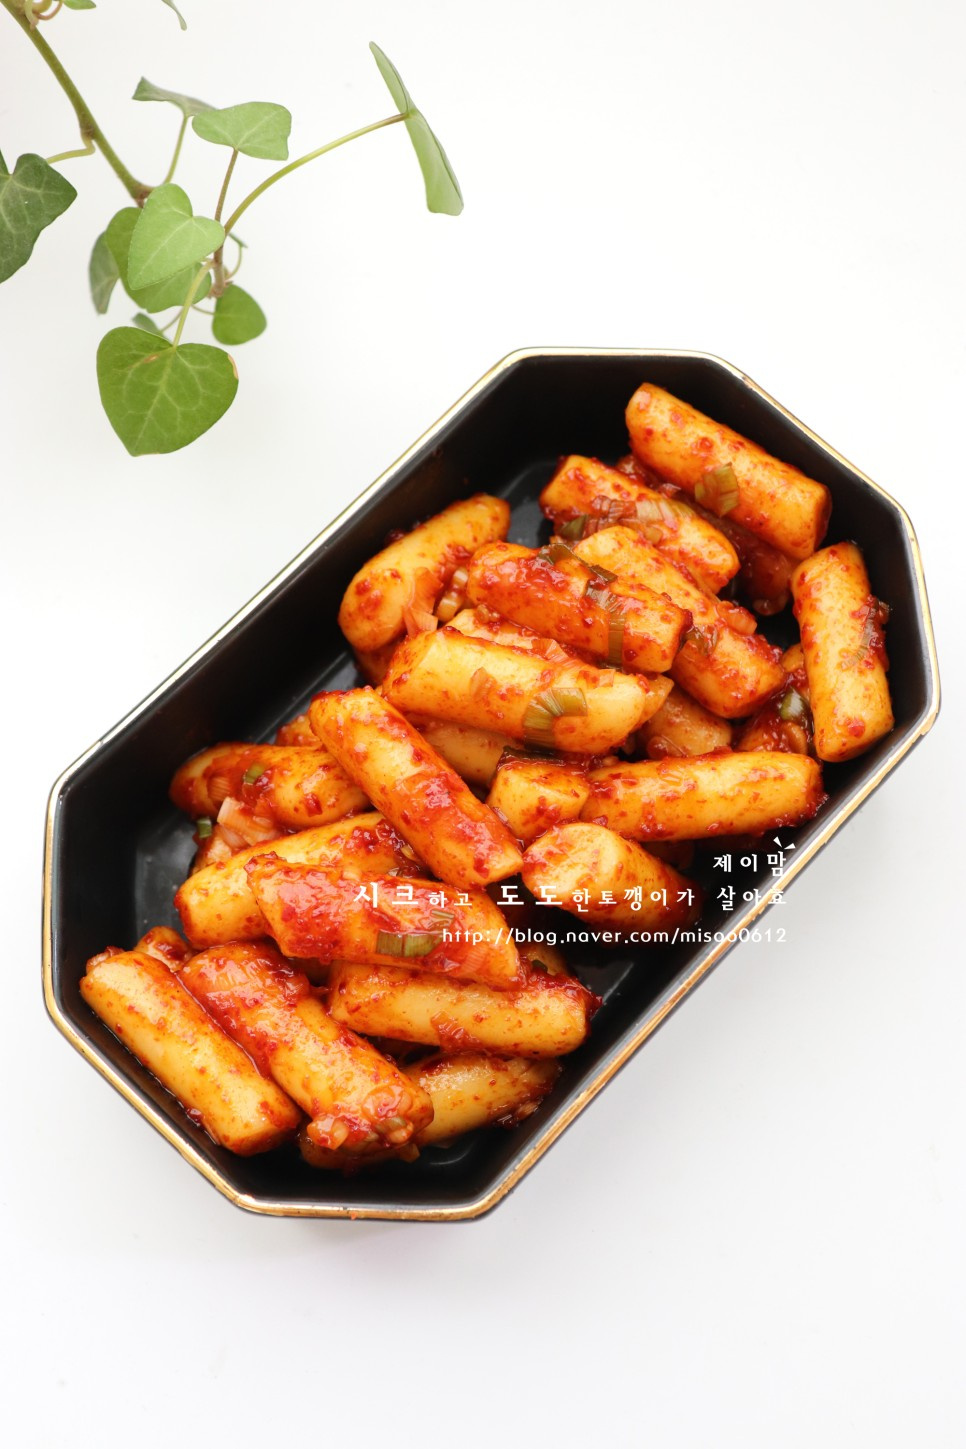
Enjoy your homemade, nostalgic Oil Tteokbokki! It’s best enjoyed warm right after cooking.


