Crispy Gkanpunggi (Korean Sweet and Sour Fried Chicken)
Mastering Gkanpunggi: A Homemade Sweet, Spicy, and Crispy Delight

This is a personalized adaptation of Chef Yeo Kyung-rae’s recipe, modified to my own style. It’s a Gkanpunggi recipe designed for anyone to easily follow at home. Experience the irresistible crisp exterior and juicy interior of Gkanpunggi in your own kitchen!
Main Ingredients- 300g boneless chicken thigh meat
- 200g soaked starch (for batter)
- 1/2 white part of a leek
- 1/4 bell pepper (use various colors for visual appeal)
- 2 Korean chili peppers (cheongyang peppers)
- 1 Tbsp minced garlic
- 1 Tbsp chili oil
- A small piece of ginger (finely minced or juiced)
- 1 Tbsp rice wine (cheongju)
- 1/2 egg (to adjust batter consistency)
- Pinch of salt
- Pinch of black pepper
Gkanpunggi Sauce- 1 Tbsp plum syrup (maesilcheong)
- 3 Tbsp water
- 2 Tbsp soy sauce
- 1 Tbsp oyster sauce
- 2 Tbsp sugar
- 2 Tbsp vinegar
- 1 Tbsp additional plum syrup (for adjusting sweetness)
- 1 Tbsp plum syrup (maesilcheong)
- 3 Tbsp water
- 2 Tbsp soy sauce
- 1 Tbsp oyster sauce
- 2 Tbsp sugar
- 2 Tbsp vinegar
- 1 Tbsp additional plum syrup (for adjusting sweetness)
Cooking Instructions
Step 1
First, carefully debone the chicken thigh meat. Removing the bones makes it easier to eat and helps the sauce penetrate better.

Step 2
Cut the deboned chicken thighs into bite-sized pieces. If they are too large, they may take longer to cook through.

Step 3
Finely mince a small piece of ginger or extract its juice, then mix it with 1 Tbsp of rice wine (cheongju). This ‘ginger wine’ effectively removes any gamey odor from the chicken.

Step 4
Remove the stems from the Korean chili peppers and slice them diagonally. This will add a spicy kick and aroma.

Step 5
Peel the outer layer of the leek’s white part and slice it finely. This will contribute a fragrant flavor to the dish.

Step 6
Remove the seeds and stems from the bell pepper, then dice it into small pieces similar in size to the chicken. This adds color and a refreshing crunch.

Step 7
In a bowl with the prepared chicken, add a pinch of salt, a pinch of black pepper, and the prepared ginger wine. Gently mix and marinate for about 10 minutes to allow the flavors to meld.

Step 8
Add 200g of soaked starch and 1/2 egg to the marinated chicken. Mix until a cohesive batter forms, ensuring it adheres well to the chicken pieces.

Step 9
Preheat your frying oil to about 170°C (338°F). To test the temperature, drop a small amount of batter into the oil; if it floats to the surface after about 2 seconds, the oil is ready. Too low will result in soggy chicken, too high will burn it.

Step 10
Carefully add the battered chicken pieces to the preheated oil and fry until golden brown. Avoid overcrowding the pan, as this can lower the oil temperature; fry in batches if necessary.

Step 11
Remove the chicken from the oil after the first fry and let it rest for a moment. Then, increase the oil temperature to about 180°C (356°F) and fry the chicken again briefly. This double-frying technique ensures a super crispy exterior and a moist interior.

Step 12
In a small bowl, combine all the sauce ingredients: 1 Tbsp plum syrup, 3 Tbsp water, 2 Tbsp soy sauce, 1 Tbsp oyster sauce, 2 Tbsp sugar, and 2 Tbsp vinegar. Stir until the sugar is dissolved.

Step 13
Heat 1 Tbsp of chili oil in a pan over medium heat. Add 1 Tbsp of minced garlic and sauté until fragrant. Then, add the sliced leeks, bell peppers, and Korean chili peppers, stir-frying until the vegetables are slightly tender.

Step 14
Pour the prepared Gkanpunggi sauce into the pan with the sautéed vegetables and bring it to a simmer. Let it cook until the sauce thickens slightly, then reduce the heat to low.

Step 15
Add the double-fried chicken to the sauce and toss quickly to coat evenly. Be careful not to overcook, as this can make the batter soggy.

Step 16
Just before turning off the heat, drizzle in a little sesame oil for added aroma and give it a final quick toss. This enhances the overall flavor profile.

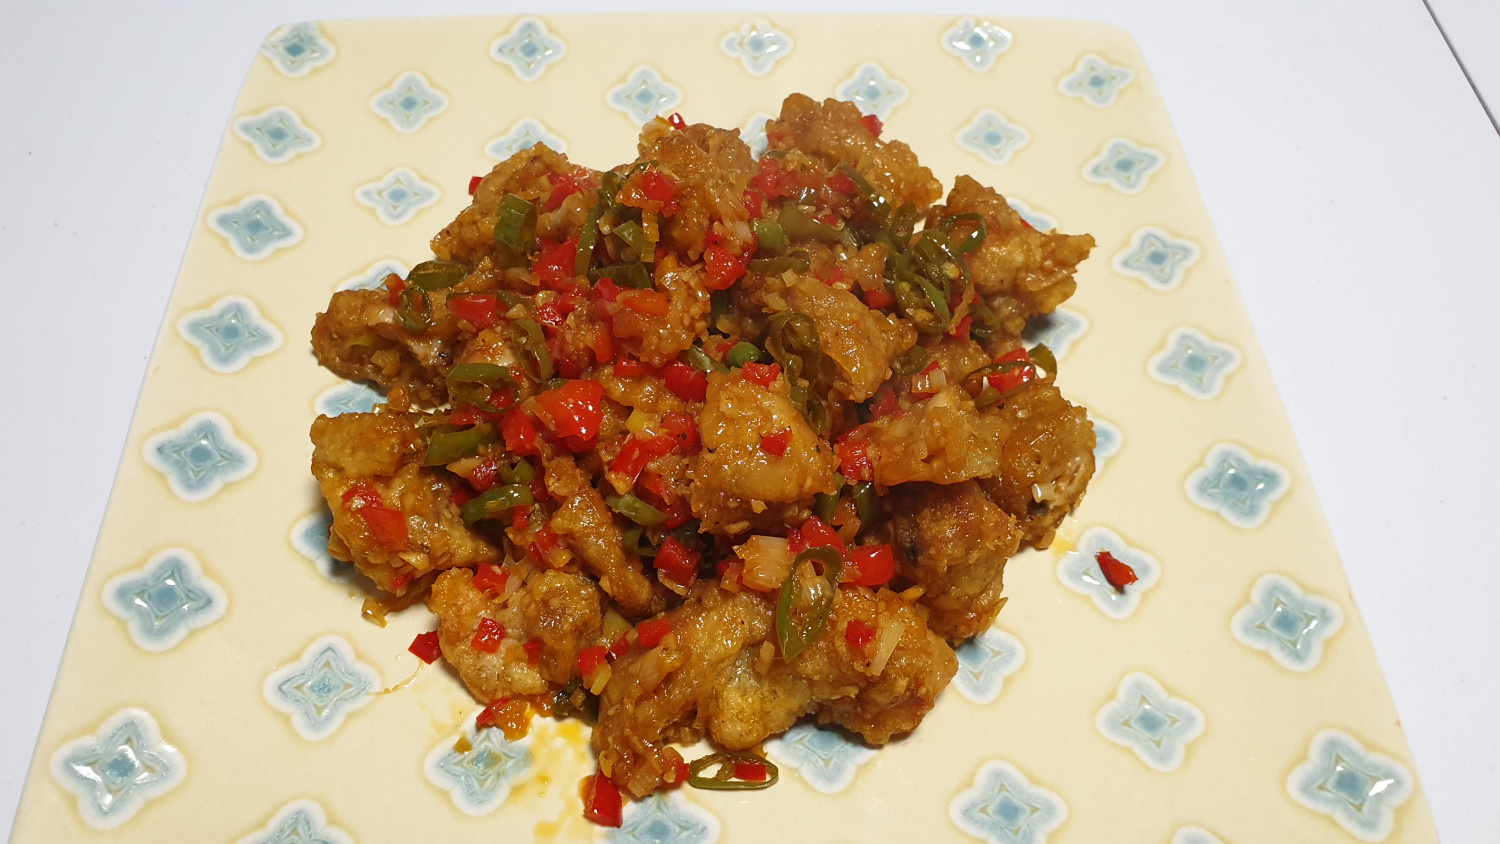
Step 17
Transfer the finished Gkanpunggi to a serving plate. Your delicious, sweet, spicy, and crispy Gkanpunggi is ready to be enjoyed! It’s best served immediately while hot.


