Crispy Homemade Sablé Cookies: A Simple & Delicious Baking Recipe
How to Make Sablé Cookies: Easy Home Baking Recipe for a Sweet Snack

I baked some delicious cookies after a long time! I usually love baking bread and cookies at home, but the hot weather made me too lazy to do anything. Then, I suddenly craved a savory and crispy cookie, so I fired up my oven after a while. Confirmed, my oven is still alive!^^ This is a quick and super simple recipe that doesn’t involve complicated steps, perfect for making delightful, crunchy cookies in no time. They are wonderfully buttery and crisp, making them an ideal snack!
Cookie Dough Ingredients- 300g unsalted butter, softened to room temperature
- 180g granulated sugar
- 450g cake flour, sifted
- 68g wheat germ (or whole wheat flour), unsifted
Cooking Instructions
Step 1
The first step to making perfect cookie dough is preparing your butter. Cold butter straight from the fridge won’t mix well, so make sure to take it out about an hour beforehand to let it soften to room temperature. You want it to reach a ‘pommade’ consistency, soft and spreadable like mayonnaise. This ensures it blends smoothly with other ingredients, leading to a better cookie texture.

Step 2
Once your butter is softened, add the sugar and whisk them together until the mixture becomes light in color and fluffy, similar to a creamy texture. It’s important to mix thoroughly during this stage so that the sugar granules dissolve somewhat. This will result in a softer cookie overall.

Step 3
Now, let’s prepare the dry ingredients. Sift the cake flour at least twice using a fine-mesh sieve. This aerates the flour, removes any lumps, and helps it incorporate more evenly into the butter mixture, contributing to a tender cookie crumb.

Step 4
Wheat germ will add a delightful nutty flavor and a pleasant, slightly chewy texture. If you prefer an even smoother texture, you can sift it as well. However, I chose to leave it unsifted to enhance its distinct nutty character and satisfying bite. This step really elevates the cookie’s flavor profile.

Step 5
Add the sifted cake flour and the wheat germ to the butter-sugar mixture. Gently mix everything together using a spatula or your hands until just combined and no dry streaks of flour remain. Be careful not to overmix, as this can develop gluten and make your cookies tough. The dough might seem a bit sticky at this point.

Step 6
Gather the dough into a ball and chill it in the freezer for about 15 minutes. This step makes the dough firmer and much easier to handle and slice. If the dough is too soft, it will be difficult to shape and cut cleanly. While you can shape the cookies by hand before baking, chilling them briefly will allow you to slice them into uniform pieces. I shaped mine into round logs before freezing.

Step 7
After chilling, take the dough out of the freezer and slice it into uniform rounds, about 1 cm (or roughly 1/2 inch) thick. If you shaped the dough into logs, cut them into desired coin shapes. For an extra touch of sweetness and visual appeal, you can gently roll the cut surfaces in granulated sugar. Using coarse sugar can add a nice crunch!

Step 8
Bake in a preheated oven at 160°C (320°F) for approximately 30 minutes. Oven temperatures can vary, so it’s a good idea to check the cookies after about 25 minutes and adjust the baking time as needed. For my oven, 160°C for 30 minutes yielded the best results. When placing the cookies on the baking sheet, leave ample space between them, as they will spread while baking. Even with spacing, they might stick a bit. For perfectly shaped cookies, ensure generous spacing!

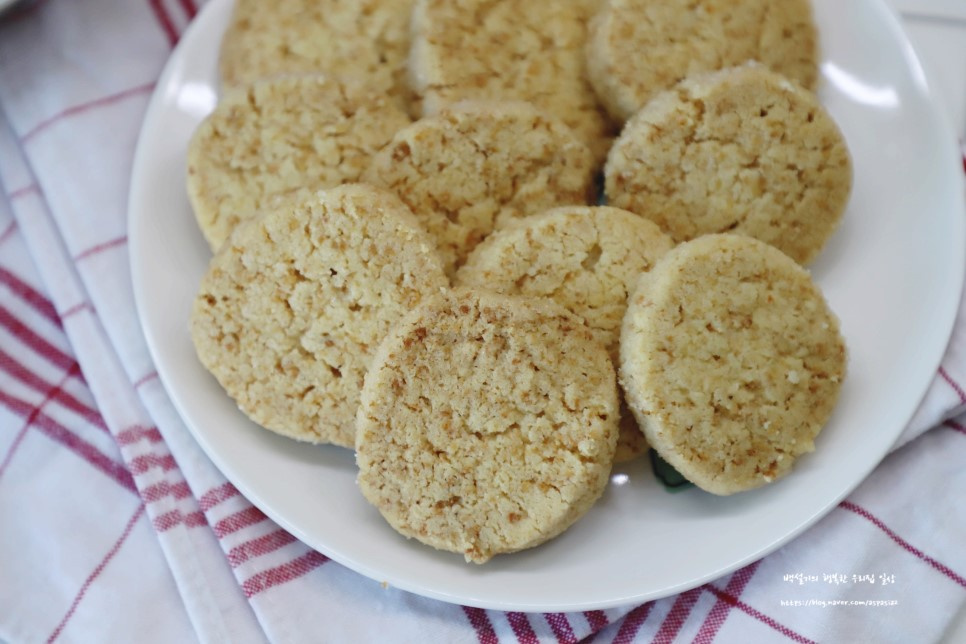
Step 9
Once baked, transfer the hot sablé cookies from the baking sheet to a wire rack. Allow them to cool completely. This cooling process is crucial for achieving that signature crispiness. Once cooled, store them in an airtight container to maintain their delightful crunch.


