Crispy & Juicy Air Fryer Chicken
Make Deliciously Crispy and Moist Chicken at Home with Your Air Fryer

Chicken dishes are almost always a guaranteed hit! While fried or seasoned chicken is undeniably tasty, preparing it yourself at home for your children offers a sense of wholesome goodness. Made with just milk and herb salt, it’s certainly healthier than store-bought options! The ingredients are affordable, and you can enjoy a very satisfying meal. Don’t be intimidated by your air fryer; embrace it and use it often! ^^
Main Ingredients- 500g chicken drumsticks
- 500g chicken wings
Cooking Instructions
Step 1
Begin by thoroughly washing the chicken drumsticks and wings under running water. For the wings, trim off any excess fatty pieces or remove any stray feather remnants to ensure a clean preparation.

Step 2
Place the washed chicken drumsticks and wings in a bowl. Pour enough white milk to submerge the chicken pieces and let them soak for about 30 minutes. Soaking in milk is a great way to tenderize the meat and eliminate any unwanted gamey odors.

Step 3
After the milk soak, rinse the chicken pieces lightly under running water. Pat them completely dry with paper towels. For the drumsticks, make a few shallow cuts (about 2-3) into the meat to help the seasonings penetrate deeper during cooking.

Step 4
Generously sprinkle herb salt and a pinch of black pepper over the dried chicken pieces. Gently massage the seasonings into the chicken, ensuring an even coating. Let the chicken marinate for about 1 hour in the refrigerator to allow the flavors to meld.

Step 5
Take a large resealable plastic bag and add 1 cup of the chicken fry mix. Add the marinated drumsticks to the bag. Holding the top of the bag securely with one hand, use your other hand to gently tap or shake the bag. This method ensures the coating is evenly distributed and prevents clumps, creating a light, crispy layer. (Note: For the chicken wings, you can choose to skip the coating and roast them as is for a different texture. Feel free to experiment!)

Step 6
Arrange the coated chicken drumsticks in the air fryer basket, making sure they do not overlap. Place them in a preheated air fryer set at 180°C (350°F) and cook for 20 minutes.

Step 7
After the initial 20 minutes, carefully remove the drumsticks, turn them over, and return them to the air fryer. Cook for another 20 minutes at 180°C (350°F). (It’s recommended to cook in two batches for even cooking.) Please note that air fryer temperatures and cooking times can vary by model, so it’s crucial to check the chicken’s doneness periodically. Ensure it’s golden brown and cooked through.

Step 8
Now, place the chicken wings (coated or uncoated, as per your preference) into the air fryer basket, again ensuring they aren’t overlapping. Cook at 180°C (350°F) for 15 minutes.

Step 9
After 15 minutes, take the wings out, flip them over, and cook for an additional 15 minutes at 180°C (350°F). (Similar to the drumsticks, cooking wings in batches is advisable for optimal results.) Be aware that this multi-stage cooking process might take a bit longer, but the delicious outcome is well worth the wait!

Step 10
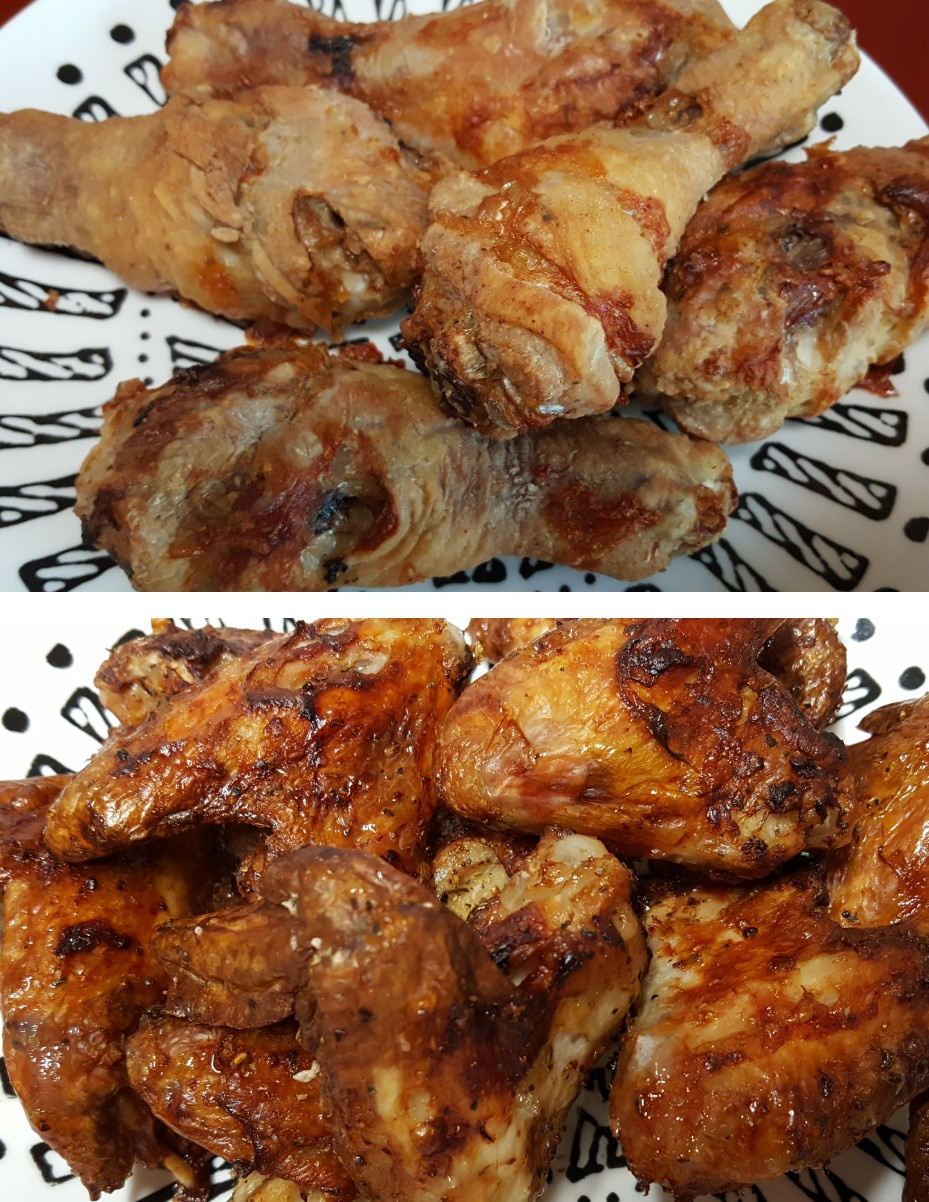
Voila! Your perfectly golden-brown, crispy, and juicy homemade air fryer chicken is ready. The drumsticks, coated in fry mix, offered a wonderfully crisp exterior and generous, flavorful meat. The wings, without the coating, were deliciously crisp and light. My children specifically requested only drumsticks for next time, as they found them more substantial to eat! Enjoy creating your own delicious chicken variations.


