Crispy Kkakdugi (Cubed Radish Kimchi) Made Easy – No Rice Paste Needed!
How to Make Delicious Kkakdugi Without Rice Paste, Even for Beginners!

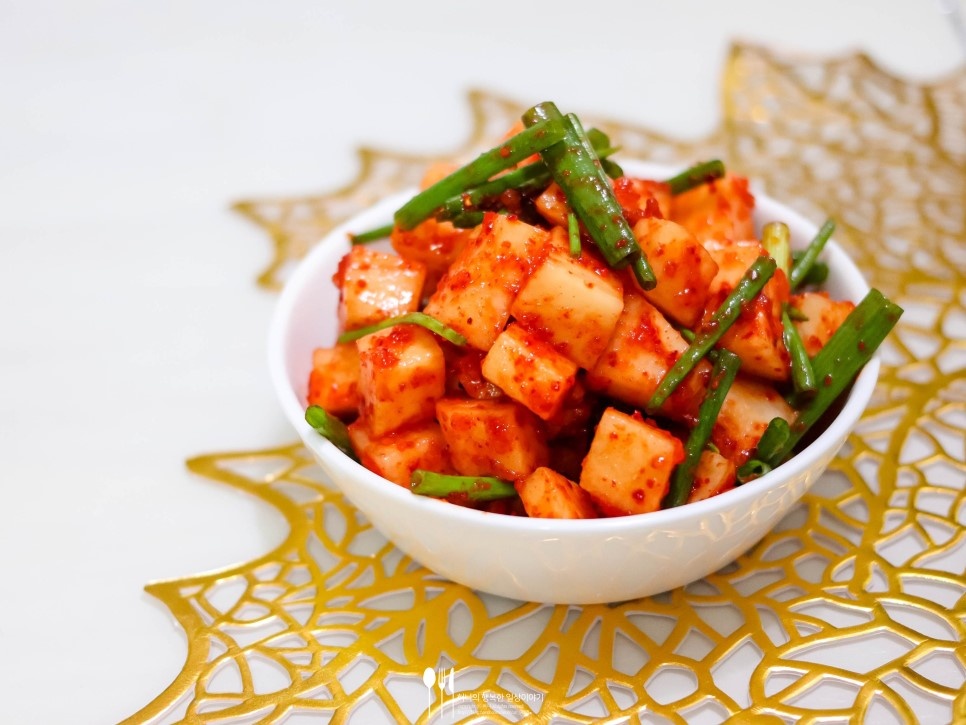
I made Kkakdugi for the first time at home, and I was surprised at how easy and delicious it turned out! You can make wonderfully crispy and tasty Kkakdugi even without using rice paste. Try making this simple yet flavorful Kkakdugi!
Main Ingredients- 1 large Korean radish (mu)
- 1-2 handfuls of green onions (approx. 100-150g)
- Coarse sea salt (for salting the radish)
- Water (if needed for rinsing the radish)
Cooking Instructions
Step 1
First, wash the radish thoroughly and lightly peel off any blemishes. Cut the radish into bite-sized cubes, about 2 to 2.5 cm. If they’re too small, they can become mushy easily. Sprinkle coarse sea salt evenly over the cut radish and let it salt for at least 30 minutes, or longer if the radish pieces are large. Stir the radish halfway through for even salting. (TIP: Adjust salting time based on radish size. For 500 won coin size, 30 mins is good; for larger pieces, 40-50 mins.) Cut the green onions into bite-sized pieces, about 3-4 cm long. (I cut them smaller to match my radish cubes.)

Step 2
After salting for at least 30 minutes, drain the radish well using a colander. Do not rinse the radish with cold water after salting, as this will wash away the flavor. Place the drained radish in a large bowl. Add 5 Tbsp of gochugaru (Korean chili flakes) and gently mix to coat the radish evenly with color. This step helps the seasoning to distribute smoothly without clumping.

Step 3
Now it’s time to add the remaining seasoning ingredients and mix everything together. Wearing disposable gloves makes this process much cleaner. Add 2 Tbsp minced garlic, 3 Tbsp sugar, 1 tsp minced ginger (optional), 2-3 Tbsp fish sauce, and 1 Tbsp of the finely chopped salted shrimp. (TIP: While fish sauce alone is good, adding a little salted shrimp significantly deepens the umami flavor and makes the Kkakdugi much tastier. Salted shrimp is a must for delicious Kkakdugi!)

Step 4
Once all the seasonings are well mixed into the radish, add the prepared green onions and gently mix again. Avoid vigorous mixing to prevent the green onions from getting crushed. Just lightly combine them with the radish.

Step 5
Your freshly made Kkakdugi is ready to eat, but it will taste even better after a bit of fermentation! First, transfer the Kkakdugi to an airtight container and let it sit at room temperature for about a day. During this time, beneficial bacteria will start to work, allowing the Kkakdugi to ferment and develop flavor. The next day, refrigerate it. After about 2-3 days in the refrigerator, you’ll be able to enjoy truly delicious Kkakdugi! Experience the magic of Kkakdugi, as its flavor deepens with time. ^^ㅎㅎ


