Crispy Nurungji Bingsu with Savory Chamdream Rice
Homemade Nurungji Bingsu Using Our Native ‘Chamdream’ Rice Variety

Craving a special summer treat at home? We’ve created a delightful Nurungji Bingsu (scorched rice shaved ice) using ‘Chamdream’ rice, a unique Korean rice variety known for its rich, nutty flavor. This rice’s characteristic savory taste makes it perfect for a refreshing dessert. Enjoy this simple yet delicious treat, combining the delightful crunch of scorched rice with the cool creaminess of shaved ice, right in your own kitchen!
Bingsu Base Ingredients- 1 cup Chamdream Rice
- 1 cup Water
- 1 carton (900ml-1L) Milk
Cooking Instructions
Step 1
First, let’s prepare the base for our Bingsu: the rice! Cook 1 cup of ‘Chamdream’ rice with 1 cup of water. This will create a deliciously savory and aromatic rice, characteristic of the ‘Chamdream’ variety. A 1:1 rice-to-water ratio is recommended for the best texture.

Step 2
While the rice is cooking, prepare to freeze the milk, which will become our refreshing shaved ice. You can freeze the entire carton of milk, or if you have a Bingsu maker, freeze it in a shape suitable for your machine. If you plan to break the frozen milk using a rolling pin or spoon, pour the milk into a resealable plastic bag and spread it thinly before freezing. This will make it much easier to crush later. Place it in the freezer until completely solid.
Step 3
Now, it’s time to make the Nurungji (scorched rice) that adds a unique texture and flavor to our Bingsu. Spread the freshly cooked ‘Chamdream’ rice thinly in a pan over low heat. Cook slowly, stirring and flipping occasionally, until golden brown and crispy. Be careful not to burn it. Spreading it thinly will make it easier to break apart later.

Step 4
Once the Nurungji is nicely browned and crispy, let it cool completely. It’s important for it to be thoroughly cooled to maintain its crunchy texture. You can place it on a cooling rack.
Step 5
While the Nurungji is cooling, take the frozen milk out of the freezer and break it into small pieces. If you froze it thinly in a bag, you can easily crush it with a rolling pin or the back of a spoon. This method allows you to create a fluffy, snow-like texture even without a dedicated Bingsu machine. Aim for pieces that aren’t too large.

Step 6
Break the completely cooled Nurungji into bite-sized pieces as well. It’s best to break it into pieces that still offer a satisfying chew, rather than making it into fine crumbs. You can adjust the size according to your preference.

Step 7
Now, let’s assemble the Bingsu! In a wide bowl or Bingsu dish, generously pile the crushed frozen milk. Artfully arrange the broken, crispy Nurungji pieces on top.

Step 8
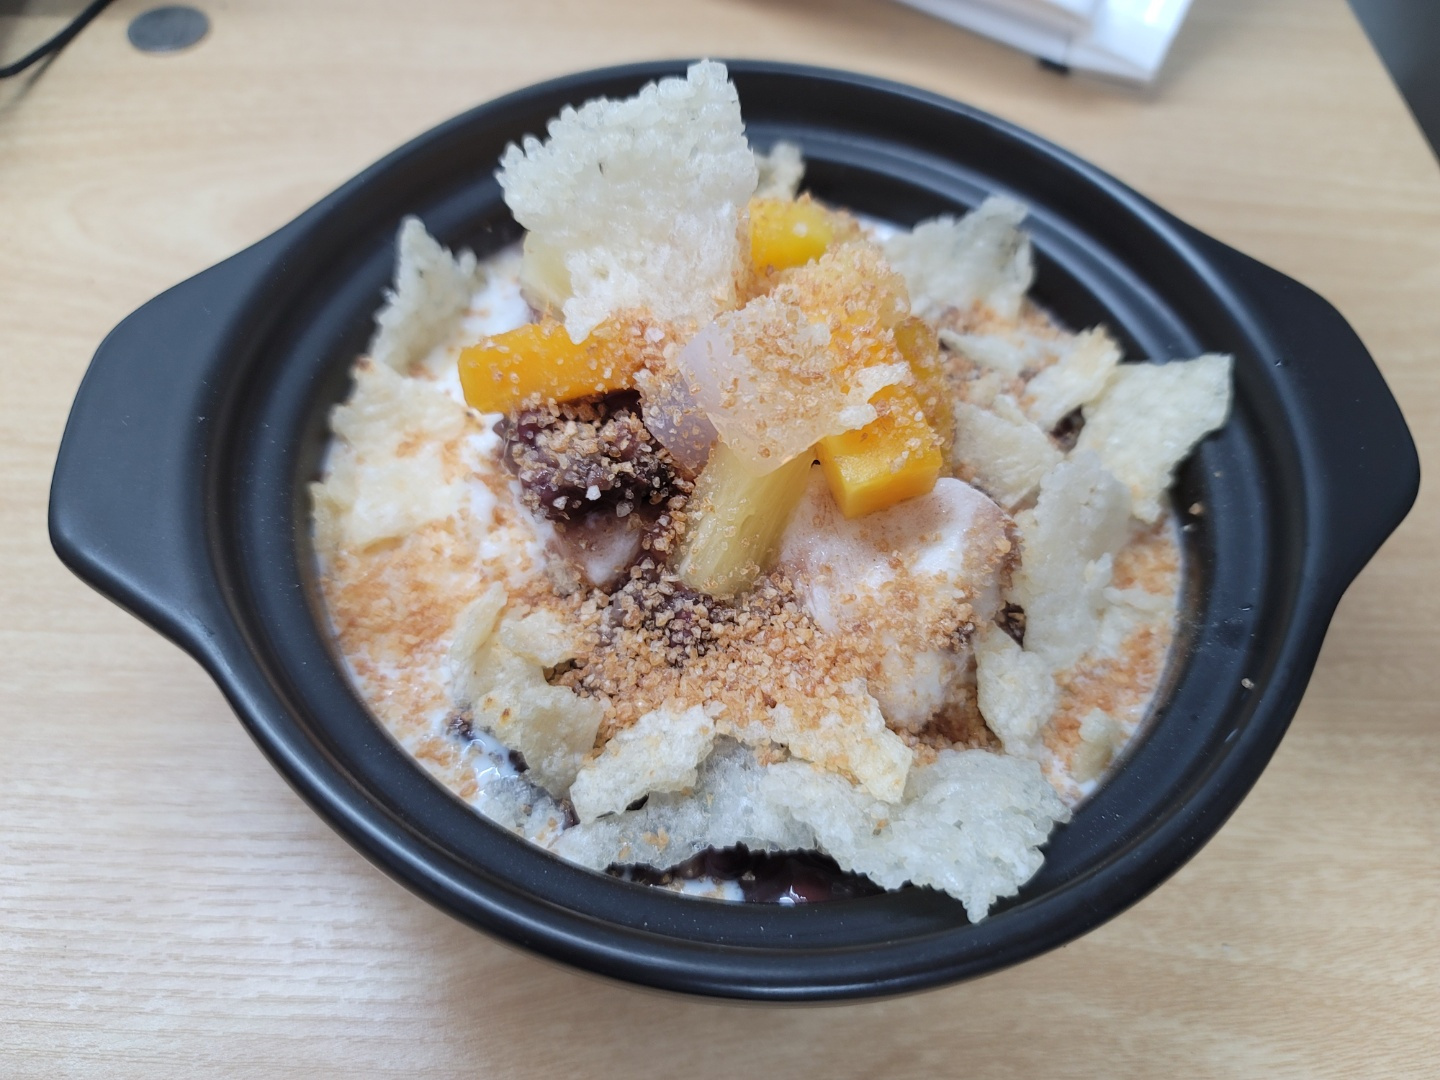
You can enhance your basic Nurungji Bingsu with your favorite toppings for an even more delightful experience! We’ve added sweet red bean paste (pat) and refreshing cocktail fruits. For a final decorative touch, place a few larger Nurungji pieces on top. Your delicious ‘Chamdream Rice Nurungji Bingsu’ is now ready to be enjoyed – a special homemade treat that rivals any cafe!


