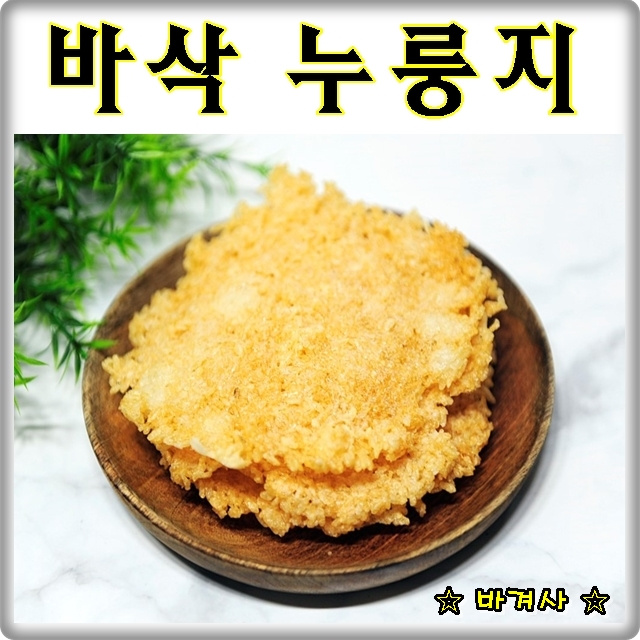
Crispy Nurungji (Scorched Rice) Made Easy with an Air Fryer
Crispy Nurungji: A Quick and Easy Air Fryer Recipe

Traditionally, making nurungji at home involves patiently pan-frying rice over low heat until it becomes a crispy disc. However, this recipe introduces a modern twist using an air fryer to achieve perfectly crispy and flavorful nurungji in a fraction of the time. Enjoy this easy-to-make treat with just a few simple ingredients.
Essential Ingredients- Chilled cooked rice (about 150-200g)
- A little water (for spreading the rice)
- 1 sheet of parchment paper
Cooking Instructions
Step 1
Start by gently reheating the chilled rice from the refrigerator in the microwave for about 1 minute. This will loosen the rice grains, making them easier to spread thinly later.

Step 2
Prepare a small amount of water. This will be used to lightly moisten your hands or the rice itself, preventing it from sticking and helping to achieve a smooth, even layer.

Step 3
Line the air fryer basket with a sheet of parchment paper. To ensure the rice spreads evenly and fits well, trace the shape of the air fryer basket’s bottom onto the parchment paper and trim it accordingly. This also helps keep the paper in place.

Step 4
Place the warmed rice onto the prepared parchment paper. Lightly dampen your hands with water and gently press and spread the rice into a thin, even layer, no thicker than 0.5 cm. The thinner the layer, the crispier your nurungji will be. Ensure there are no thick clumps.

Step 5
Preheat your air fryer to 180°C (350°F) and set the timer for 20 minutes. This initial cooking period will help to dry out and lightly toast the rice.

Step 6
After 20 minutes, carefully check the rice. If the top is golden brown, carefully remove the parchment paper with the rice. Now, place the rice directly into the air fryer basket (without parchment paper) and cook for an additional 10 minutes. This second, direct cooking phase will ensure the bottom becomes perfectly crispy. Keep an eye on it to prevent burning.


