Crispy Nurungji (Scorched Rice) Recipe: Perfect for Using Leftover Rice
Make Simple Nurungji with Leftover Rice & Enjoy a Hearty Meal!

Have leftover cooked rice that you don’t want to freeze? This recipe is perfect for you! Make crispy and savory nurungji (scorched rice) that you can then boil into a comforting soup. It’s a quick and easy meal solution for busy mornings or when you need something simple and satisfying. Ideal for students living alone too!
Ingredients- Leftover cooked rice: About 1.5 cups (approx. 200g)
Cooking Instructions
Step 1
First, prepare your leftover cooked rice. Gently break apart any clumps with your hands or lightly moisten the rice with a little water. This helps to spread the rice evenly in the pan, ensuring a better nurungji. Spread the prepared rice thinly and evenly in a non-stick frying pan. It’s crucial to use low heat for this step. Slow cooking on gentle heat prevents burning and results in delicious nurungji.

Step 2
After about 20 minutes, you’ll notice the nurungji starting to lift slightly from the pan. Once the edges begin to turn golden brown, it’s time to flip it. Gently slide a spatula or turner under the nurungji; you’ll feel it easily coming loose. This is the perfect moment to flip it.

Step 3
Carefully flip the nurungji over. Wow, look at that appetizing golden-brown color! It’s already looking delicious. Flipping is easier than it looks, so give it a gentle try.

Step 4
Once flipped, the residual heat from the pan will cook the other side relatively quickly. Continue to cook on low heat until the second side is also golden brown. Once both sides are nicely browned, your nurungji is ready. Remember to check it periodically to make sure it doesn’t burn!

Step 5
Now, let’s make a delicious nurungji soup using your homemade nurungji! Break the finished nurungji into a few pieces and place them in a pot.

Step 6
If you have leftover nurungji, store it in an airtight container or a zip-top bag at room temperature. This way, you can easily grab and boil it whenever you need a quick meal. Making extra is a great idea for future convenience!

Step 7
Place the nurungji pieces neatly into your storage container. Handle them gently to prevent breaking them too much.

Step 8
To make the nurungji soup, add water to the pot with the nurungji pieces and simmer for about 10 to 15 minutes. The rice grains will soften and break down, creating a thick and savory broth. You can add a pinch of salt to taste if desired.

Step 9
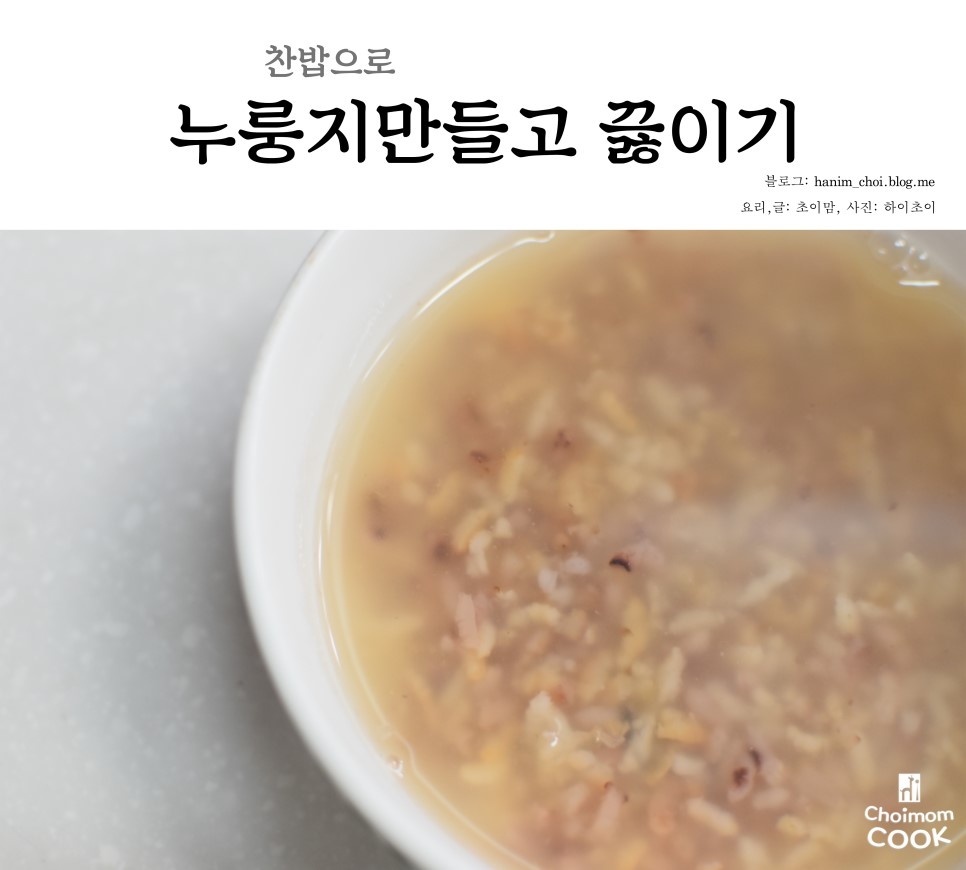
It cooks up so quickly! On a busy morning, a warm and hearty bowl of nurungji soup makes a perfect meal. It’s especially convenient for those living alone who can prepare nurungji in advance and then quickly boil it. Enjoy a tasty meal without complex cooking!

Step 10
Your delicious nurungji soup is ready! The rich, savory aroma and the soft texture of the cooked rice grains make for a wonderful meal. It’s a simple yet nutritious and satisfying dish. Enjoy!


