Crispy Seolleongtang-Style Kkakdugi (Cubed Radish Kimchi)
The Ultimate Guide to Making Delicious Kkakdugi at Home: A Golden Recipe

Kkakdugi, a quintessential Korean kimchi, is a beloved staple on any table! Its satisfying crunchy texture and rich, savory flavor make it irresistible to kimchi lovers. We often make kkakdugi at home just as frequently as napa cabbage kimchi. While there are many recipes out there, I’m here to share a special method that truly captures the essence of kkakdugi, inspired by the style served in traditional seolleongtang (beef bone soup) restaurants. Prepare to master delicious kkakdugi with this recipe!
Main Ingredients- 1.5-1.6kg Korean radish (Mu)
Salting Ingredients- 3 Tbsp coarse sea salt (approx. 45g)
- 2 Tbsp sugar (approx. 20g)
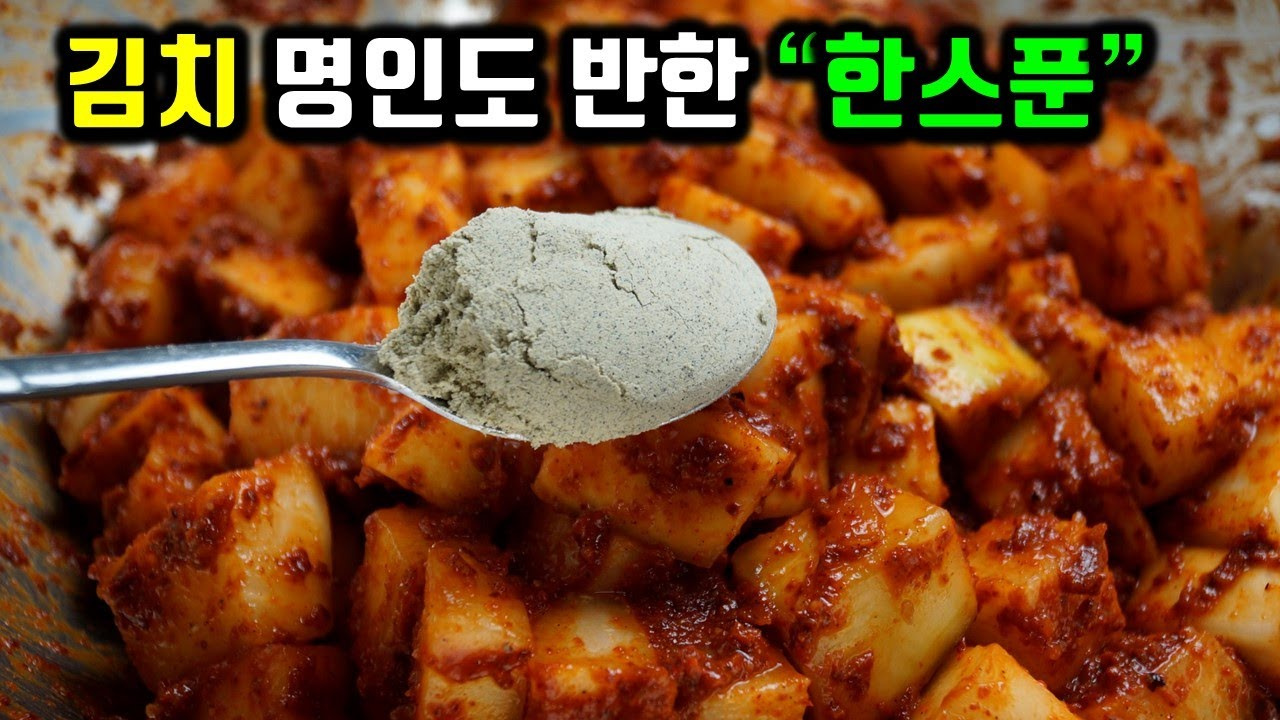
Seasoning Ingredients- 7 Tbsp gochugaru (Korean chili flakes, approx. 49g)
- 5 Tbsp fish sauce (anchovy-based, approx. 40g)
- 1 Tbsp minced garlic (approx. 20g)
- 1/3 Tbsp minced ginger
- 1/3 tsp MSG (optional, approx. 7g, or 1/3 Tbsp ginger powder, approx. 2g)
- 1/4 onion (approx. 50-60g)
- 1 Tbsp cooked rice (approx. 40g)
- 5 Tbsp water (approx. 40g)
- 1 Tbsp rice flour (or glutinous rice flour)
- 3 Tbsp coarse sea salt (approx. 45g)
- 2 Tbsp sugar (approx. 20g)
Seasoning Ingredients- 7 Tbsp gochugaru (Korean chili flakes, approx. 49g)
- 5 Tbsp fish sauce (anchovy-based, approx. 40g)
- 1 Tbsp minced garlic (approx. 20g)
- 1/3 Tbsp minced ginger
- 1/3 tsp MSG (optional, approx. 7g, or 1/3 Tbsp ginger powder, approx. 2g)
- 1/4 onion (approx. 50-60g)
- 1 Tbsp cooked rice (approx. 40g)
- 5 Tbsp water (approx. 40g)
- 1 Tbsp rice flour (or glutinous rice flour)
Cooking Instructions
Step 1
Prepare one large, fresh Korean radish. Cut it into approximately 3-4cm cubes. Aim for a thickness that’s not too thin, as this helps maintain a crisp texture and prevents it from becoming mushy.

Step 2
Place the cubed radish into a large bowl. Sprinkle the coarse sea salt evenly over the radish pieces. The salt will draw out moisture, ensuring a satisfying crunch.

Step 3
Add 2 tablespoons of sugar. If you’re using a radish that tends to be bitter, especially those harvested in autumn, adding about half a teaspoon of artificial sweetener (like Neosugar) can effectively neutralize bitterness and enhance flavor.

Step 4
Let the radish salt for about 1 hour and 30 minutes. During this time, turn the radish pieces every 20-30 minutes to ensure even salting. If your radish is particularly firm, less watery, or if you’ve cut the cubes larger, you may need to extend the salting time by an additional 20-30 minutes.

Step 5
While the radish is salting, let’s prepare the flavorful seasoning paste. Combine all the ingredients listed under ‘Seasoning Ingredients’ in a bowl. It’s best to use medium-coarse gochugaru for a good texture and vibrant color. Add the fish sauce; anchovy fish sauce is traditional, but you can also use sand lance (kkannari) fish sauce for a cleaner, refreshing taste if preferred.

Step 6
Add 1 tablespoon of minced garlic. Garlic is a key ingredient that adds depth and aroma to the kkakdugi seasoning.

Step 7
Add minced ginger. Use about 1/3 the amount of garlic, approximately 7g. If you don’t have fresh ginger, you can conveniently use ginger powder instead, about 1/3 tablespoon (approx. 2g). Ginger powder is great because it’s always on hand and simplifies the kimchi-making process.

Step 8
Chop 1/4 onion into manageable pieces and place it in a blender. Add 5 tablespoons of water. These ingredients will blend to create a smoother, more integrated seasoning base.

Step 9
Add 1 heaping tablespoon of cooked rice to the blender. I’m using mixed grain rice here, but regular white rice works perfectly fine. Also, add 1 tablespoon of rice flour (or glutinous rice flour). This flour, along with the rice, acts as a binder and helps the kimchi ferment smoothly and develop a delicious depth of flavor, similar to how glutinous rice paste is used in other kimchis.

Step 10
If you don’t have rice flour, no worries! You can substitute it with 50g of unsweetened soy milk. This will provide a similar binding and fermenting aid.

Step 11
Scoop about 2 tablespoons of the blended onion mixture into your main seasoning bowl. You can add the remaining blended mixture later if you find the seasoning needs more spice or saltiness. If the blender mixture is too thick to blend smoothly, add a little more water.

Step 12
MSG (miwon) is optional. If you desire that extra savory kick, similar to store-bought kimchi, add a tiny pinch. Now, thoroughly mix all the seasoning ingredients together until well combined. Ensure there are no clumps of gochugaru.

Step 13
Rinse the salted radish lightly under cold running water 1-2 times. After rinsing, place the radish cubes in a colander and let them drain for at least 30 minutes. Thoroughly draining the water is crucial to prevent the kkakdugi from becoming watery and to allow the seasoning to adhere well.

Step 14
Add about 90% of the prepared seasoning paste to the drained radish. Gently mix and knead the radish with your hands, ensuring each piece is well-coated with the seasoning. Taste and adjust if needed; if the color is lacking or the flavor is too mild, add the remaining 10% of the seasoning.

Step 15
Kkakdugi tastes best after it has fermented a bit. Transfer the seasoned kkakdugi into an airtight container. For best results, let it sit at room temperature for about 24 hours in winter, or 12 hours in summer. Then, refrigerate for 2-3 days before enjoying. This allows the flavors to meld and develop beautifully.

Step 16
After 2-3 days, it’s time to enjoy your perfectly fermented, cool, and delicious kkakdugi! For an even richer flavor, consider letting it ferment for about a week. Enjoy your crisp and refreshing homemade kkakdugi with your meals!


