Crispy & Sweet Homemade Bread Rusks
Crunchy Bread Rusks: A Simple Homemade Treat!

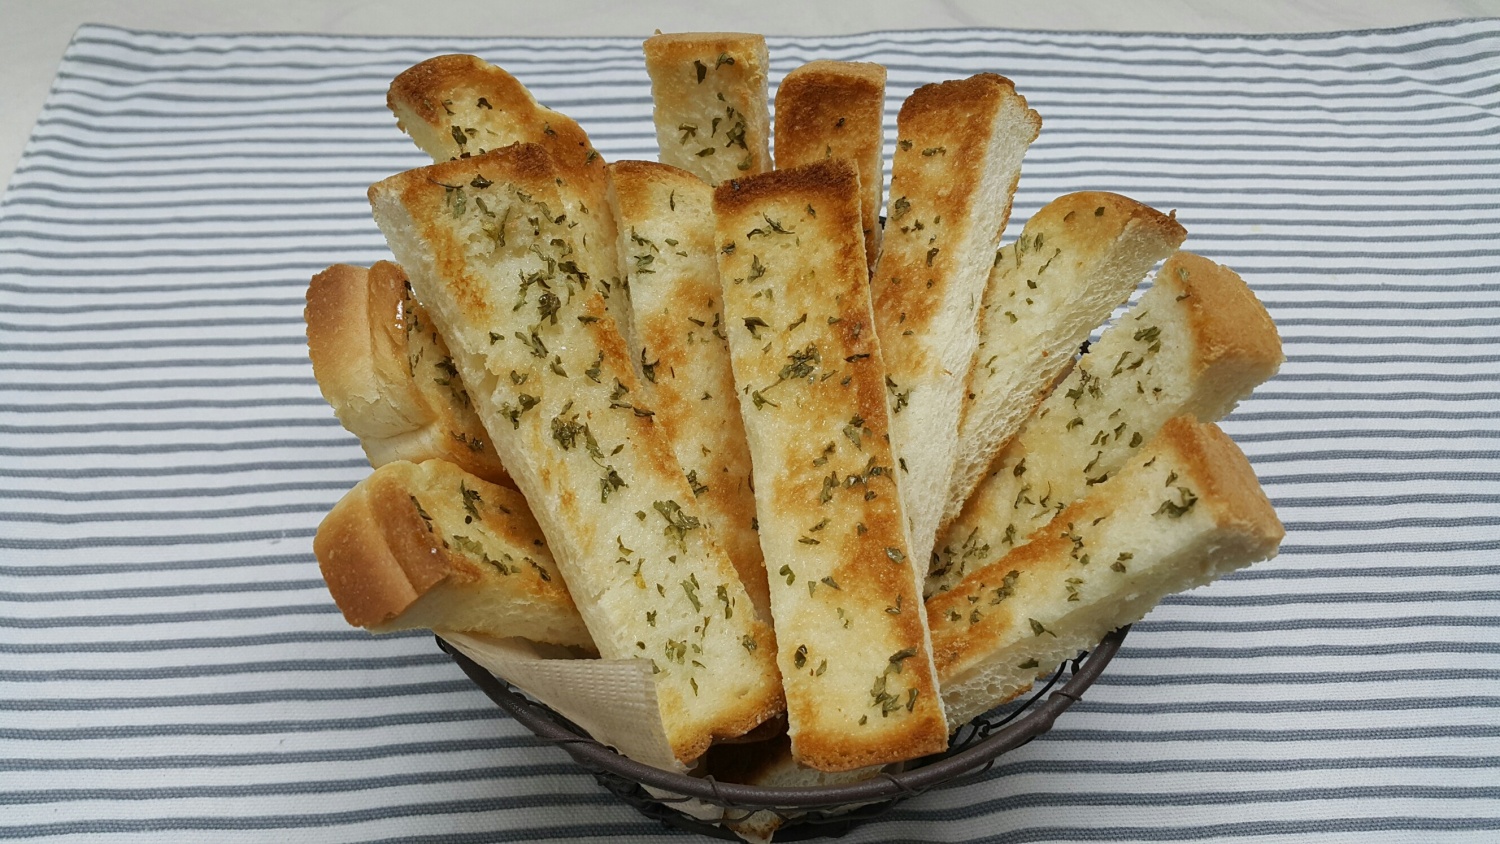
Enjoy these delightfully crispy, sweet, and savory bread rusks, perfect with your coffee or tea! They’re so irresistible, you’ll keep reaching for more. This recipe is a fantastic way to use up leftover bread and create a wonderful dessert. Follow along for a simple and satisfying treat!
Ingredients for Rusks- 3 slices of bread (slightly stale bread works best)
- 3 Tbsp sweetened condensed milk
- 1 Tbsp unsalted butter, melted (easily melted in the microwave for about 20 seconds)
- A pinch of dried parsley flakes (for sprinkling)
Cooking Instructions
Step 1
First, prepare your bread slices. Cut each slice of bread into 4 equal pieces. Aim for bite-sized pieces; if they’re too small, they might burn during baking.

Step 2
Now, let’s make the sweet and flavorful sauce for the rusks. In a small bowl, melt 1 tablespoon of butter by microwaving it for about 20 seconds until smooth. Add 3 tablespoons of sweetened condensed milk and a pinch of dried parsley flakes. Whisk everything together with a spoon or whisk until well combined.

Step 3
Brush the prepared bread pieces generously with the condensed milk and butter mixture. Using a pastry brush will make this easier. Ensure each piece is evenly coated for the best flavor and texture.

Step 4
Line a baking sheet with parchment paper or lightly grease it. Arrange the coated bread pieces on the baking sheet, making sure they don’t overlap. This ensures even baking and maximum crispiness.

Step 5
Time to bake! Preheat your oven to 180°C (350°F). Place the bread slices in the preheated oven and bake for about 6 minutes. Baking time may vary depending on the thickness of your bread and your oven’s performance. Keep an eye on them until they turn a golden brown color. Once done, remove them from the oven and let them cool slightly; they will become even crispier as they cool!


