Delicious Kimchi Fried Rice Recipe
How to Make the Best Kimchi Fried Rice with Less-Than-Perfect Kimchi

Don’t worry if your kimchi wasn’t perfectly fermented! This recipe transforms even mediocre kimchi into a spectacular kimchi fried rice. With a little extra gochugaru (Korean chili powder) and sugar, you can revive the kimchi’s flavor and create an unforgettable dish. The harmonious blend of rice and kimchi, enhanced by savory sesame oil and a sunny-side-up egg, makes for a perfect meal. It’s a taste you’ll want to enjoy every day, not just on special occasions. Let’s get started!
Key Ingredients- 100g Ripe Kimchi (generous portion recommended)
- 1.5 Tbsp Grapeseed Oil (for stir-frying)
- 1 tsp Sugar (to mellow the kimchi’s sourness)
- 1/2 Tbsp Fine Gochugaru (Korean chili powder, for color and a hint of spice)
- 1/4 tsp Dried Shrimp Powder (for an umami boost)
- 1 Bowl Warm Cooked Rice (cold rice works too)
- A dash of Sesame Oil (for nutty aroma!)
- 1 Fried Egg (optional, for visual appeal and extra flavor)
Cooking Instructions
Step 1
Heat 1.5 tablespoons of grapeseed oil in a pan over medium heat. Add 100g of kimchi, chopped into bite-sized pieces. Stir in 1 teaspoon of sugar, 1/2 tablespoon of fine gochugaru, and 1/4 teaspoon of dried shrimp powder. Sautéing at this stage will mellow the kimchi’s sourness and allow the seasonings to meld beautifully.

Step 2
Continue to stir-fry the kimchi over medium-low heat until it softens and develops a vibrant color. The moisture will evaporate, concentrating the flavors. Make sure to stir occasionally to prevent burning.

Step 3
Add 1 bowl of warm cooked rice to the pan with the sautéed kimchi. Gently break up any clumps of rice with your spatula. Lightly season the rice with just a pinch or two of salt. Remember, the kimchi is already seasoned, so taste and adjust as needed.

Step 4
Using your spatula, gently toss and stir-fry the rice and kimchi together, ensuring each grain of rice is coated with the flavorful kimchi mixture without mashing the rice. This step is crucial for even flavor distribution. Finally, drizzle in a dash of sesame oil according to your preference for an added nutty aroma.

Step 5
Gather the kimchi fried rice to one side of the pan and flatten it evenly. Leave it undisturbed over low heat for about 1-2 minutes, allowing the bottom layer to become slightly crispy and golden brown, similar to making nurungji (scorched rice). This step enhances the overall flavor profile.

Step 6
Carefully transfer the kimchi fried rice to a serving plate. If any bits are stuck to the bottom of the pan, scrape them up and add them to the plate for extra flavor. Shape the rice nicely on the plate.

Step 7
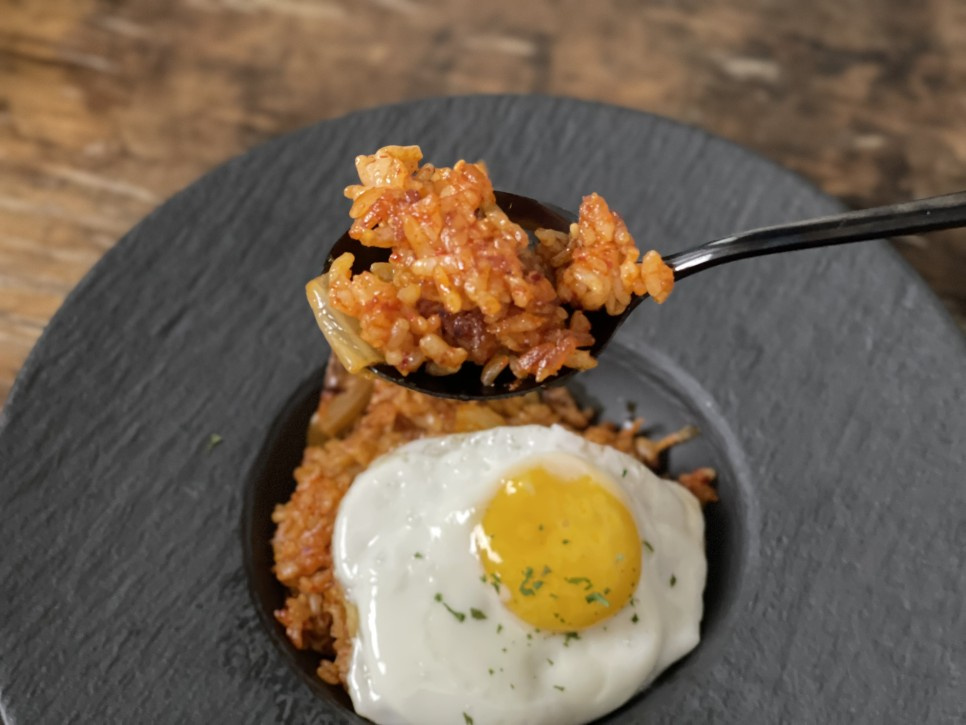
For the final touch, top the kimchi fried rice with a beautifully fried sunny-side-up egg. Bursting the yolk and mixing it into the rice is pure bliss! Enjoy your delicious creation!


