Delicious Pickled Perilla Leaves (Kkaennip Ji) Recipe
Savory Pickled Perilla Leaves

Today, I’m introducing a fantastic side dish that you can enjoy for a long time – Pickled Perilla Leaves (Kkaennip Ji)! It’s incredibly easy for beginners to follow, and it’s the perfect dish to awaken your appetite on hot days when you might not feel like eating. This flavorful condiment is a true rice companion!
Main Ingredients- 20 bundles of fresh perilla leaves
- 1 onion
- 1/2 carrot
Perilla Leaf Brine Sauce- 1 cup soy sauce
- 1/2 cup dried anchovy broth
- 3 tablespoons gochugaru (Korean chili flakes)
- A little minced garlic (adjust to taste)
- Sesame seeds (plenty)
- 1 tablespoon sesame oil
- 1 cup soy sauce
- 1/2 cup dried anchovy broth
- 3 tablespoons gochugaru (Korean chili flakes)
- A little minced garlic (adjust to taste)
- Sesame seeds (plenty)
- 1 tablespoon sesame oil
Cooking Instructions
Step 1
Wash the fresh perilla leaves thoroughly under running water. It’s crucial to rinse them carefully to remove any dirt or debris. After washing, drain them completely in a colander. Leaving excess water can make the pickled leaves mushy.

Step 2
Peel and thinly julienne the onion and carrot. Finely shredding the vegetables ensures they absorb the sauce well and are pleasant to eat with the perilla leaves.

Step 3
In a deep bowl, combine 1 cup of soy sauce and 1/2 cup of cool dried anchovy broth. Mix them well to create the base for your delicious pickling sauce.

Step 4
To the soy sauce base, add 3 tablespoons of gochugaru, a bit of minced garlic, a generous amount of sesame seeds, and 1 tablespoon of fragrant sesame oil. Stir everything together until well combined. Finally, add the thinly julienned onion and carrot to the sauce and mix once more to complete your brining mixture.

Step 5
Take the drained perilla leaves one by one and gently brush or spread the prepared sauce onto each leaf. Ensure both sides of the perilla leaves are evenly coated with the sauce. Be gentle while applying the sauce to avoid tearing the delicate leaves.

Step 6
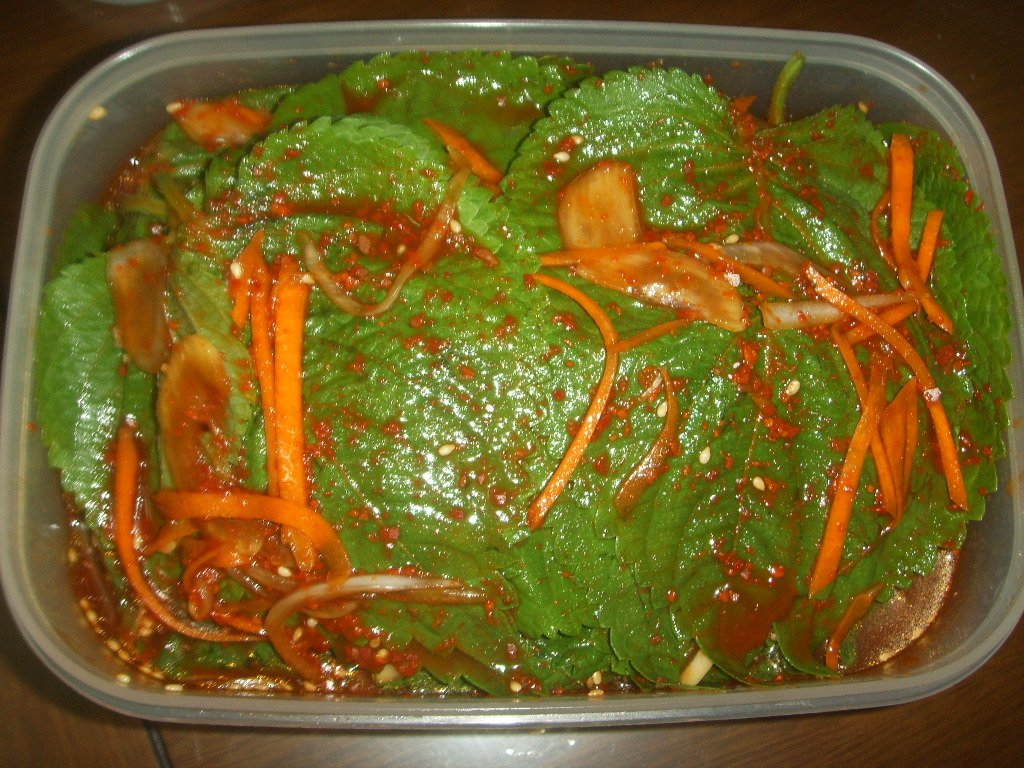
Layer the sauced perilla leaves neatly into your storage container. Don’t discard any leftover sauce in the bowl; pour it over the layered perilla leaves to ensure they are well-coated and the flavors meld beautifully.

Step 7
And there you have it – your delicious Pickled Perilla Leaves are ready! They are tasty to eat right away, but for an even richer flavor, refrigerate them for about a day to let the sauce fully infuse. Enjoy them as a perfect side dish for rice or in your lunchbox!


