Delicious Soy-Braised Chicken: Perfect Side Dish & Snack Recipe
Savory and Sweet Soy-Braised Chicken

Don’t let chicken in your fridge go to waste! Make this delicious soy-braised chicken, a perfect side dish for meals or a tasty snack when you’re craving something savory and slightly sweet. It’s a dish that everyone from kids to adults will love, and it’s a great way to clear out your fridge while making your table more abundant!
Main Ingredients- 4 boneless, skinless chicken thigh pieces (cut into bite-sized pieces)
- 1 boneless, skinless chicken breast piece (cut into bite-sized pieces)
- 1 stalk green onion (cut into large pieces)
- 3 cloves garlic (thinly sliced or minced)
Braising Sauce- 5 Tbsp soy sauce
- 2 Tbsp cooking wine (like Mirin)
- 2 Tbsp corn syrup
- 1 Tbsp sugar
- 5 Tbsp soy sauce
- 2 Tbsp cooking wine (like Mirin)
- 2 Tbsp corn syrup
- 1 Tbsp sugar
Cooking Instructions
Step 1
Heat a generous amount of cooking oil in a wide pan over medium heat until hot. A well-heated pan prevents the chicken from sticking and helps it brown beautifully.

Step 2
Add the chicken breast first, as it takes longer to cook. Placing it skin-side down will help it crisp up nicely.

Step 3
Once the chicken breast is partially cooked, add the boneless chicken thighs to the pan. Arrange them so they cook evenly.

Step 4
While the chicken is cooking, thinly slice the garlic. If you prefer a stronger garlic flavor, mince it instead.

Step 5
When the chicken turns a beautiful golden-yellow color, flip it over. This step helps to seal in the juices, keeping the chicken moist inside.

Step 6
Add the sliced garlic to the pan. Add a little more cooking oil and turn the heat to high. Quickly stir-fry the chicken and garlic to bring out their aroma.

Step 7
Be careful not to burn the garlic while stir-frying. (At this point, I almost burnt the garlic due to a lapse in attention, but managed to rescue it quickly!)

Step 8
Don’t panic! Lower the heat to medium. It’s important to adjust the heat to ensure the garlic and sauce cook evenly without burning.

Step 9
Now, pour the soy sauce around the edges of the pan. Increase the heat back to high and let the sauce bubble up. This will infuse the chicken with a deep, smoky flavor.

Step 10
Be cautious as high heat can burn the sauce. Gently toss or flip the chicken to ensure it absorbs the soy sauce mixture evenly.

Step 11
As the sauce begins to thicken slightly, add the cooking wine (Mirin). Mirin helps to remove any gamey smell from the chicken and enhances its flavor.

Step 12
(Just a note: This is pepper, not fermented shrimp paste! If you heard about fermented shrimp paste, I’ll definitely recommend a great spot in Sorae Port, Incheon, if you ever get the chance to visit!)

Step 13
Add the corn syrup and sugar. Pour in 1 cup of water (using a paper cup as a measure). Reduce the heat to low, cover the pan, and let it simmer until the chicken is tender and the flavors have melded beautifully.

Step 14
Oh, I almost forgot! Prepare the green onion.

Step 15
Add the roughly chopped green onion to the braising chicken. The subtle sweetness and aroma of the green onion will further enhance the dish.

Step 16
Doesn’t the soy-braised chicken simmering away look delicious?

Step 17
Simmer for about 15 minutes, or until the sauce has sufficiently coated the chicken. Turn off the heat. Be careful not to overcook, or it might become too salty. Taste and adjust seasoning if needed.

Step 18
Remove the braised chicken from the pan. Let it cool slightly, then cut it into bite-sized pieces.

Step 19
While the chicken is cooling, add 1 more tablespoon of sugar to the remaining sauce in the pan and simmer it a bit longer to thicken. This will deepen the savory flavor of the sauce.

Step 20
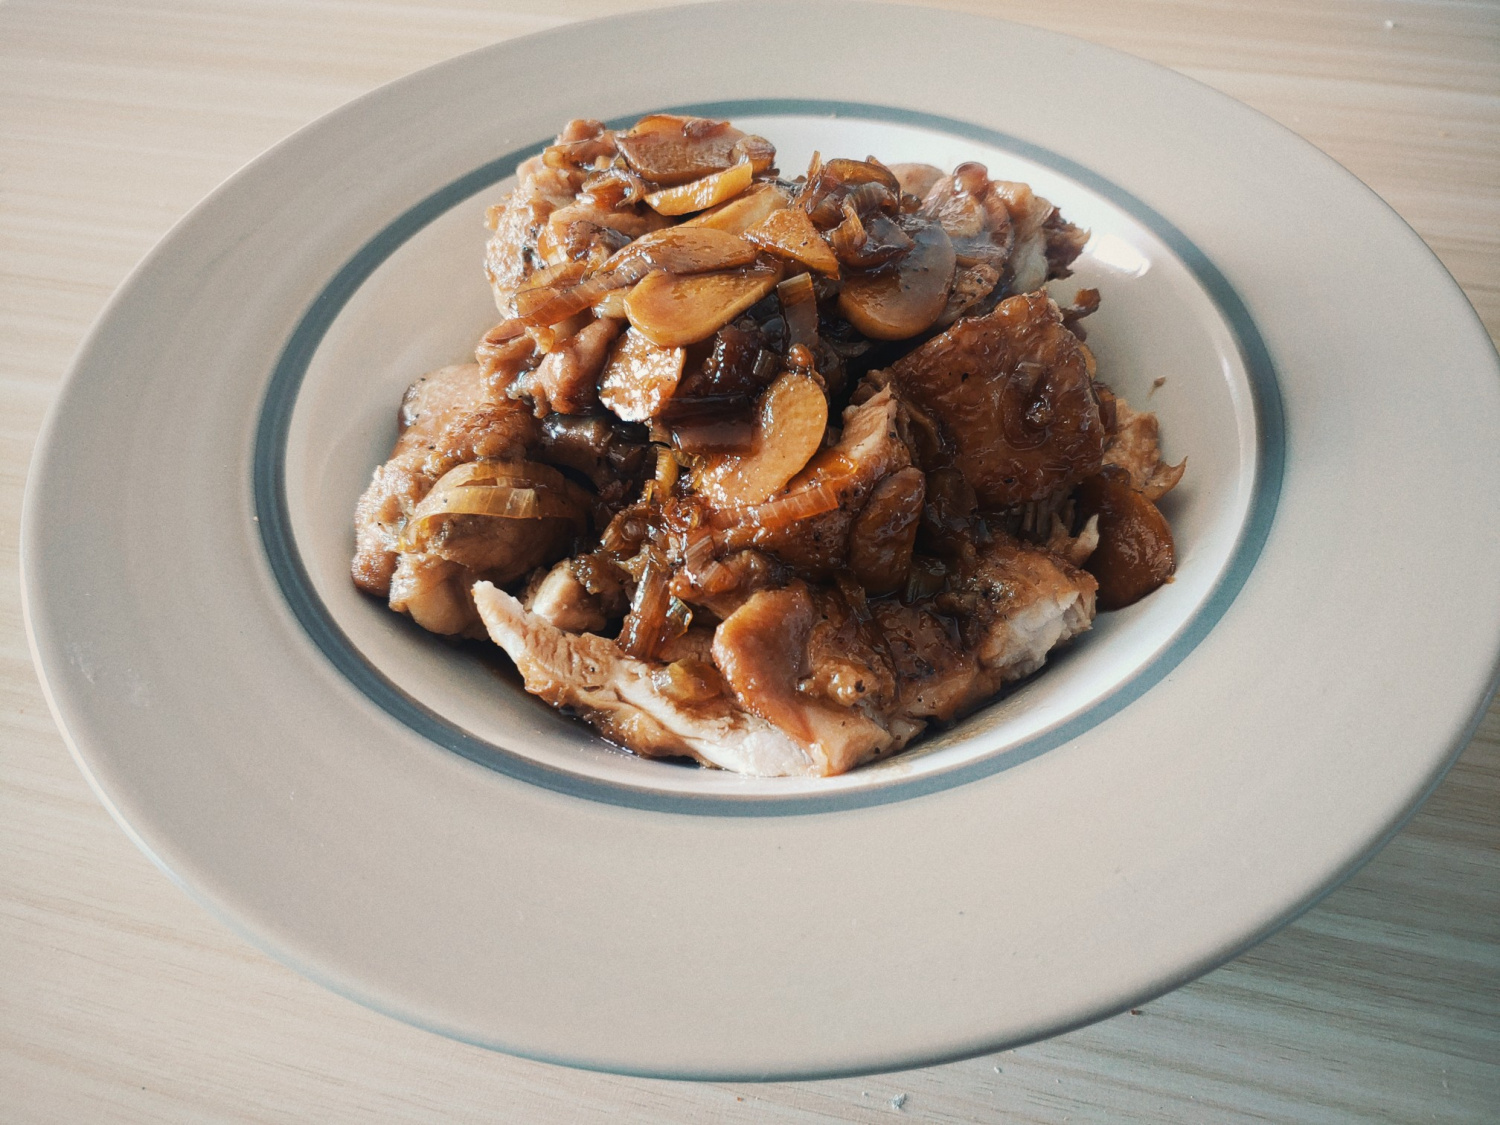
Arrange the prepared chicken pieces attractively on a serving plate.

Step 21
Finally, generously drizzle the well-simmered sauce over the chicken. Your delicious soy-braised chicken is ready to be enjoyed with a side of warm rice!


