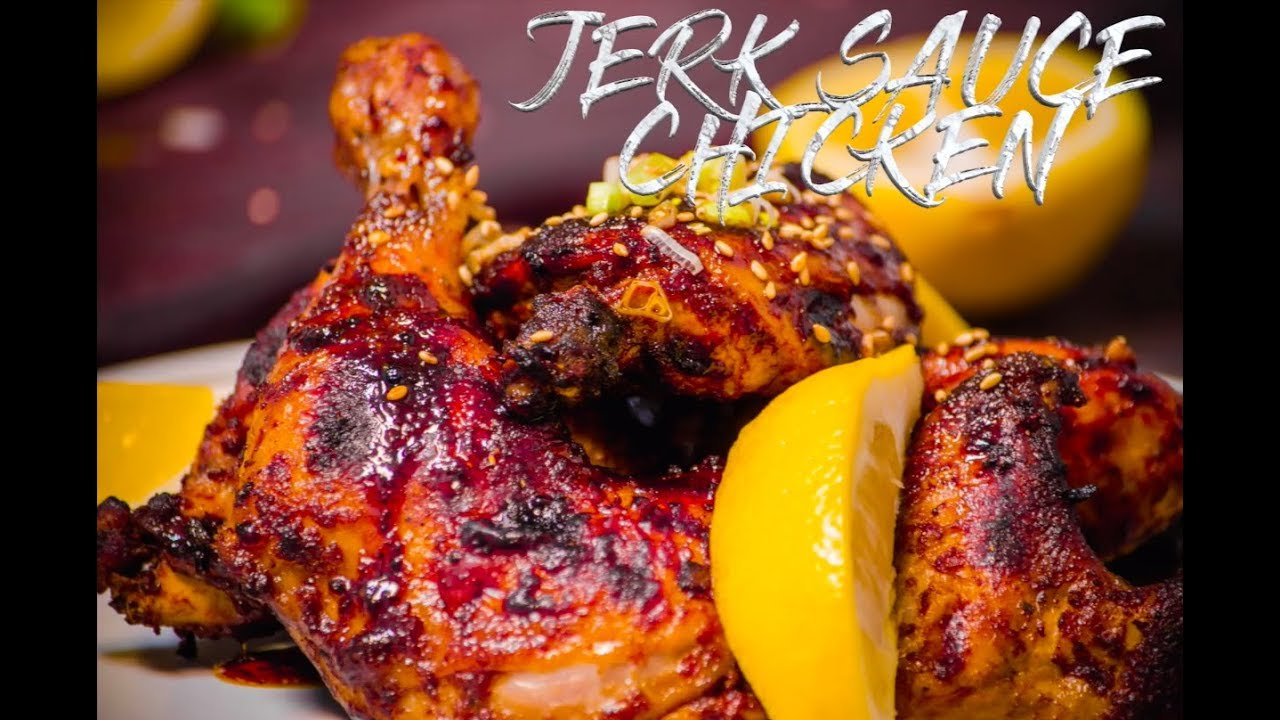
Exotic Flavors Await! Homemade Jamaican-Style Jerk Chicken
You Won’t Miss BBQ’s Jamaican Thighs! Crafting Delicious Jerk Chicken at Home

I’ve always been a fan of curry since I was young. This led me to become fascinated by the exotic spices used in foreign cuisines. As I began collecting spices from various countries, I naturally started experimenting and creating my own unique spice blend recipes. Today, I’m sharing that special journey with you through this Jamaican-style jerk chicken recipe, which you can easily make at home. It features a crispy exterior, a moist interior, and a complex symphony of spices that will tantalize your taste buds!
Main Ingredients- 1 kg Chicken (1 whole bird)
Spice Blend- 10 Dried chilies
- 5 Juniper berries
- 1/6 tsp Black peppercorns
- 2 Tbsp Cumin powder
- 1 tsp Fennel seeds
- 1/6 tsp Cinnamon powder
- 1 Bay leaf
- 2 Tbsp Paprika powder
- 2 Cloves
- Lemon zest (yellow part only)
- 1 Tbsp Salt
Flavor Enhancers- 100 ml Oligosaccharide (or corn syrup)
- 50 ml Mustard
- 1 Fresh lemon
Cooking Oil- 5 Tbsp Vegetable oil
Liquid Base- 200 ml Water
- 10 Dried chilies
- 5 Juniper berries
- 1/6 tsp Black peppercorns
- 2 Tbsp Cumin powder
- 1 tsp Fennel seeds
- 1/6 tsp Cinnamon powder
- 1 Bay leaf
- 2 Tbsp Paprika powder
- 2 Cloves
- Lemon zest (yellow part only)
- 1 Tbsp Salt
Flavor Enhancers- 100 ml Oligosaccharide (or corn syrup)
- 50 ml Mustard
- 1 Fresh lemon
Cooking Oil- 5 Tbsp Vegetable oil
Liquid Base- 200 ml Water
- 5 Tbsp Vegetable oil
Liquid Base- 200 ml Water
Cooking Instructions
Step 1
1. Prepare the Spice Blend: In a grinder or blender, combine all the dried chilies, juniper berries, peppercorns, cumin powder, fennel seeds, cinnamon powder, bay leaf, paprika powder, cloves, lemon zest, and salt. Grind them together until they form a fine, uniform powder. Ensure there’s no moisture to achieve the best flavor extraction. This finely ground mixture will be the aromatic base for your jerk chicken.
Step 2
2. Make the Marinade: In a bowl, mix the finely ground spice blend with the oligosaccharide (or corn syrup) and mustard until well combined. This forms your flavorful marinade. Now, prepare the fresh lemon. Wash it thoroughly, preferably scrubbing with baking soda, then carefully zest only the yellow part, finely mincing it and adding it to the marinade. Avoid the white pith, as it can be bitter. While you can use this marinade immediately, allowing it to rest in the refrigerator for 1-2 days will deepen the flavors and create a more harmonious blend, resulting in an even more delicious chicken.
Step 3
3. Prepare the Chicken: Rinse the whole chicken under cold running water. Trim off the tail end and the very tips of the wings for a cleaner presentation and easier cooking. This step helps ensure the chicken cooks evenly.
Step 4
4. Marinate the Chicken: Pour the prepared marinade generously over the chicken. Gently massage the marinade into the chicken, ensuring it coats every part evenly. Be careful not to rub too vigorously, as this could break down the meat. A gentle massage allows the flavors to penetrate the meat deeply without damaging its texture.
Step 5
5. First Sear (Pan-Frying): Heat a frying pan over medium heat. Add 5 tablespoons of vegetable oil. Once the oil is hot, carefully place the chicken pieces into the pan, skin-side down first. Sear for approximately 8 minutes, or until the skin is golden brown and crispy. Be mindful that the spices can cause the marinade to caramelize and burn quickly, so keep a close eye on it and adjust the heat as needed. This initial searing creates a wonderful texture and seals in the juices.
Step 6
6. Second Sear (Braising): After searing, pour 200 ml of water into the pan. Bring it to a simmer, then cover the pan and let it braise over medium-low heat for about 12 minutes. This steaming and braising process will make the chicken incredibly tender and infuse it with the delicious sauce that forms from the marinade and water.
Step 7
7. Final Touch (Oven/Air Fryer): Preheat your oven or air fryer to 190°C (375°F). Place the chicken in the preheated appliance and bake for an additional 5 minutes. This final step is optional but highly recommended for achieving a slightly charred, more intensely roasted flavor and an even crispier exterior. If you don’t have an oven or air fryer, you can skip this step and continue pan-frying the chicken on both sides until nicely browned and cooked through. Your unique and flavorful jerk chicken is now ready to be enjoyed!


