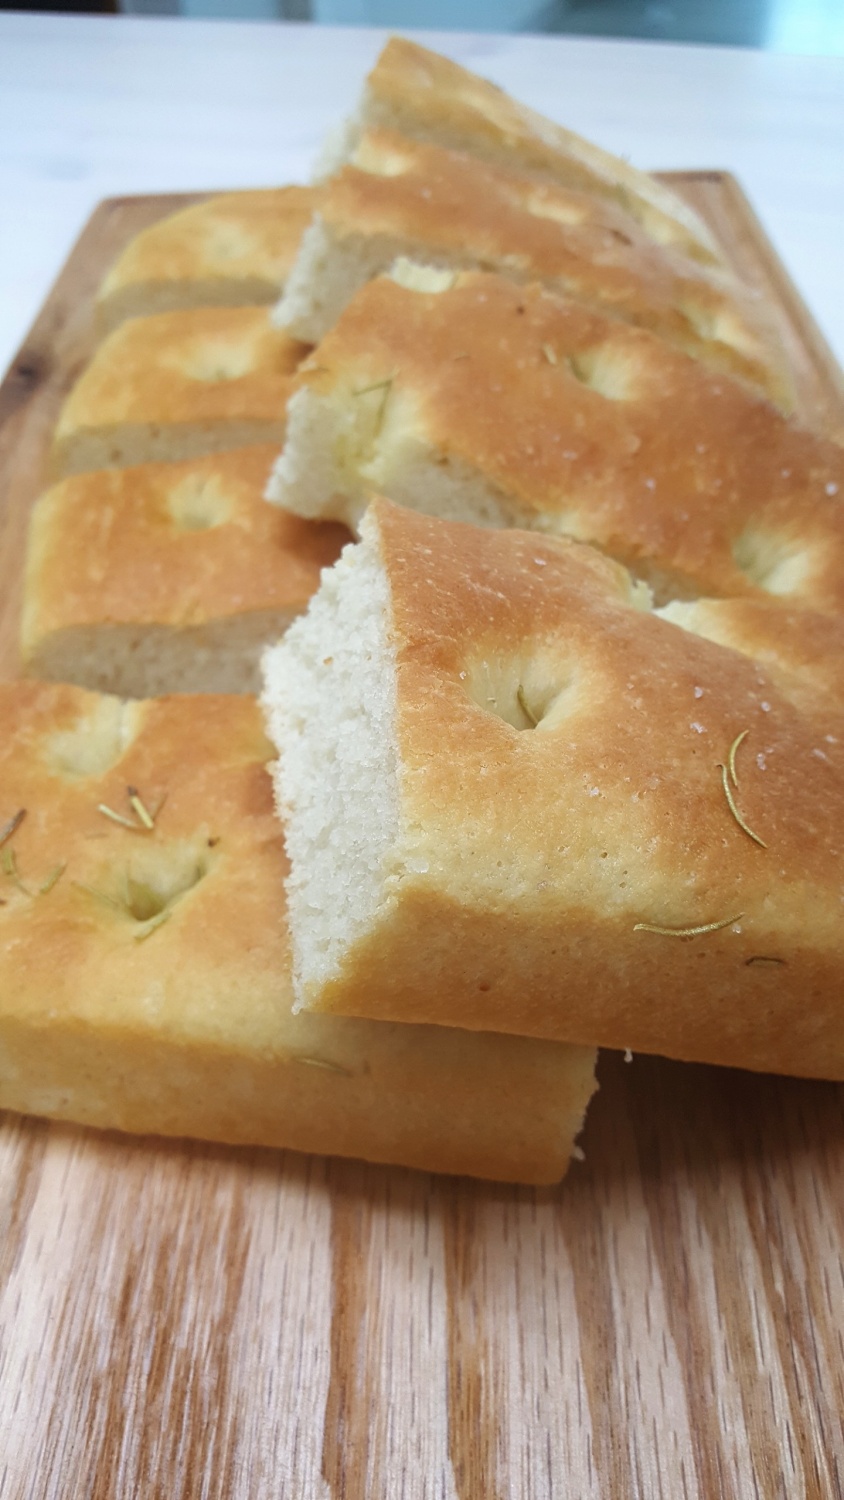
Fluffy & Moist Rice Flour Focaccia
Making Healthy and Delicious Rice Flour Focaccia

Focaccia, often called the ancestor of pizza, is a rustic Italian bread characterized by its savory flavor, made by flattening dough and baking it. Today, I’m sharing a recipe for focaccia made with rice flour, offering a moist interior and a delightful crisp exterior. Using rice flour makes it easily digestible without gluten concerns, boasting a subtle sweetness and soft texture that’s simply wonderful. Dunking it into olive oil with balsamic vinegar will enhance its rich flavors, or slice it in half and stuff it generously with fresh ingredients like ham, arugula, and tomatoes for a superb sandwich. Drizzle with a refreshing dressing of lemon juice and pepper, and it transforms into a magnificent meal on its own. ^^
Focaccia Ingredients- 300g High-gluten rice flour
- 4g Instant dry yeast
- 4g Salt
- 12g Sugar
- 10g Olive oil (for dough)
- 200-210g Warm water (or milk)
- Fresh or dried rosemary, to taste
- Olive oil for brushing (generous amount)
- 1 Pinch coarse salt for topping
Cooking Instructions
Step 1
We’ll start making the dough using the ‘direct method,’ where all ingredients are mixed together at once in a bowl. It’s important to place the salt and yeast separately in the bowl so they don’t directly touch, which can reduce yeast activity. In your mixing bowl, add the high-gluten rice flour, yeast, sugar, and salt. Create a well in the center and pour in the olive oil and warm water. Mix well with a spatula or your hands until the dough comes together. Rice flour can absorb liquid differently than wheat flour, so adjust the water amount between 200-210g based on the dough’s consistency. Aim for a moist and soft dough.

Step 2
Shape the dough into a smooth ball, place it back in the bowl, cover with plastic wrap or a damp kitchen towel, and let it undergo its first fermentation (bulk fermentation) in a warm place for 60 minutes. The fermentation time can vary depending on the room temperature, so it’s crucial to observe the dough’s volume – it should increase to about 2.5 times its original size. A good indicator of successful fermentation is when a finger poke leaves an indentation that holds its shape.

Step 3
After the first fermentation, gently punch down the dough to release the gases. Transfer the dough to a work surface, shape it into a round ball, and then cover it with the bowl or plastic wrap again. Let it rest at room temperature for 20 minutes for an intermediate proof (bench rest). This step allows the gluten in the dough to relax and become more pliable, making the subsequent shaping process much easier.

Step 4
Once the intermediate proof is complete, flatten the dough into a rectangular shape that fits your baking pan. If you plan to make sandwiches, a neat rectangular shape is ideal. However, you can also shape it into a round focaccia if you prefer. Shape the dough according to your preference. Be careful not to flatten the dough too thinly, and ensure it covers the pan’s edges evenly.

Step 5
Grease your baking pan thoroughly with olive oil to prevent the focaccia from sticking. Make sure to coat the inside walls and corners of the pan well. This will make it easier to remove the bread later and contribute to a crispier bottom crust.

Step 6
Carefully transfer the flattened dough into the prepared, greased pan. Cover the dough with plastic wrap or a damp kitchen towel and let it undergo its second fermentation for 50 minutes at room temperature. Allow the dough to rise until it reaches the height of the pan. After the second fermentation, the dough should have approximately doubled in volume.

Step 7
Once the second fermentation is complete, brush the surface of the dough with the reserved olive oil. Sprinkle fresh rosemary leaves (or dried rosemary) over the top, and add a pinch of coarse salt to enhance the flavor. Now, use your fingertips to press dimples deeply into the entire surface of the dough. It’s important to press all the way down to the bottom of the pan. This technique helps maintain the focaccia’s characteristic uneven texture when baked, resulting in a crispy exterior and a moist interior. The rosemary aroma combined with the olive oil will create a wonderfully deep flavor.

Step 8
Bake in a preheated oven at 200°C (390°F) for 15 minutes. Adjust the baking time and temperature according to your oven’s specifications. The focaccia is ready when the top is golden brown and it sounds hollow when tapped.

Step 9
Immediately remove the baked focaccia from the pan and let it cool completely on a wire rack. Cutting the bread while it’s still hot can cause it to crumble, so wait until it’s fully cooled before slicing and enjoying. It’s delicious served with olive oil or balsamic vinegar for dipping, or used as a base for your favorite sandwiches.


