Golden Crispy Garlic Bread
Super Easy Toast Garlic Bread Recipe: Ready in 5 Minutes with an Air Fryer!

Don’t throw away leftover bread slices! Even with bread you have left after making jam or toast, you can create a wonderful ‘Garlic Bread’. This recipe uses a standard Korean tablespoon measurement (bapsul) and is an easy-to-follow air fryer garlic bread method for everyone. Enjoy a cafe-like atmosphere at home with this golden garlic bread that’s crispy on the outside and moist on the inside!
Main Ingredients- Whole grain bread slices 3 pieces (approx. 115g)
Garlic Bread Sauce- Salted butter 15g
- Mayonnaise 1.5 Tbsp (standard Korean tablespoon)
- Sweet condensed milk 1.5 Tbsp (standard Korean tablespoon)
- Minced garlic 1 Tbsp (standard Korean tablespoon)
- Parsley flakes 0.5 Tbsp (standard Korean tablespoon)
- Salt, about 1 pinch
- Salted butter 15g
- Mayonnaise 1.5 Tbsp (standard Korean tablespoon)
- Sweet condensed milk 1.5 Tbsp (standard Korean tablespoon)
- Minced garlic 1 Tbsp (standard Korean tablespoon)
- Parsley flakes 0.5 Tbsp (standard Korean tablespoon)
- Salt, about 1 pinch
Cooking Instructions
Step 1
Cut the whole grain bread slices into 4 equal pieces, creating an ‘X’ shape. This makes them look more appealing, but feel free to cut them into any shape you prefer.

Step 2
Place 15g of salted butter in a microwave-safe bowl and cover it with plastic wrap. Make sure to leave one corner of the wrap slightly open to allow steam to escape. This helps the butter melt more smoothly.

Step 3
Microwave the wrapped butter in 30-second intervals for about 1 minute, or until the butter is completely melted. Be careful not to overheat, as it can burn.

Step 4
To the melted butter, add 1.5 Tbsp of sweet condensed milk, 1.5 Tbsp of mayonnaise, 1 Tbsp of minced garlic, 0.5 Tbsp of parsley flakes, and a pinch of salt.

Step 5
Stir all the ingredients together with a spoon until well combined. Taste the garlic bread sauce and if you prefer it sweeter, add a little more sweet condensed milk. The mayonnaise already provides some saltiness, but if it tastes bland to you, add a bit more salt to adjust the seasoning to your preference.

Step 6
Using a brush or a spoon, generously spread the prepared garlic bread sauce evenly over the top and sides of each bread slice.

Step 7
Arrange the sauce-coated bread slices in a single layer in the air fryer basket, making sure they don’t overlap. Overlapping can prevent even cooking.

Step 8
Set the air fryer temperature to 180°C (356°F).

Step 9
Set the cooking time for 5 minutes. Press the start button and anticipate your delicious garlic bread!

Step 10
After 5 minutes, carefully open the air fryer basket and check if the top of the garlic bread is golden brown. The cooking time may vary depending on the thickness and quantity of the bread. If it’s not golden enough, add a little more time until it reaches your desired color. Once the top is golden, flip the bread slices so the browned side is facing down.

Step 11
To ensure the other side is also perfectly toasted, cook for an additional 2 minutes at 180°C (356°F).

Step 12
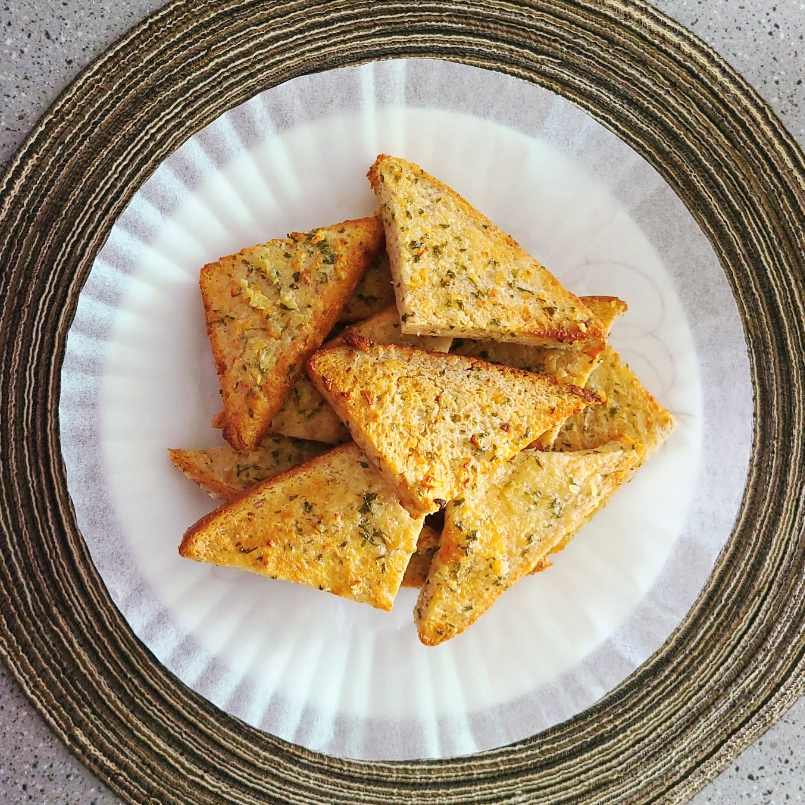
After the second 2-minute cook, open the air fryer basket. If the bread slices are lightly golden and look appetizing, your homemade air fryer garlic bread is complete! It’s best enjoyed warm right away.


