Healthy & Delicious Mulberry Jam (Enjoy Less Sweetness!)
How to Make Mulberry Jam with Reduced Sugar

I’ve made a delicious mulberry jam using mulberries harvested by my parents. I made it less sweet by using an 8:2 ratio of mulberries to sugar. It was delicious thanks to the natural sweetness of mulberries.
Ingredients (Ratio)- Mulberries 8 : Sugar 2 (by volume, e.g., 4 cups mulberries, 1 cup sugar)
Cooking Instructions
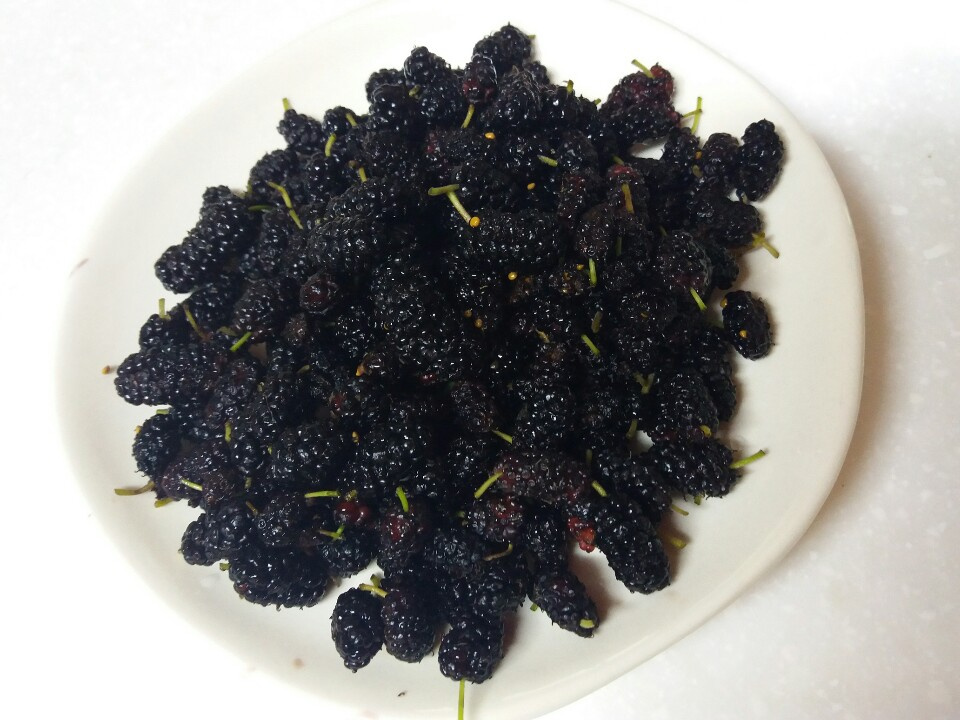
Step 1
First, thoroughly wash the ripe mulberries under running water. After washing, carefully remove the stems from each berry by hand. This step is crucial for achieving a clean and pure flavor in your jam.

Step 2
Now, in a pot suitable for making jam, combine the prepared mulberries and sugar according to the 8:2 ratio. For instance, use 4 cups of mulberries and 1 cup of sugar. Set the heat to the lowest setting and stir gently until the sugar begins to dissolve. Be mindful to prevent any burning.

Step 3
As you stir over low heat, the mulberries and sugar will gradually melt into a syrup-like consistency and start to bubble. Continue to stir gently, ensuring the mulberries and sugar fully combine. You’ll begin to notice the rich color and aroma naturally emanating from the mulberries.

Step 4
Once the mixture thickens and starts to resemble jam, turn off the heat. Use an immersion blender (also known as a stick blender or hand blender) to puree the mulberries until smooth. This is the secret to achieving a creamy, lump-free jam texture.

Step 5
Return the pureed mulberry mixture to the pot over low heat and let it simmer slightly further. Keep stirring to prevent sticking and to check the jam’s consistency. The jam is ready when it thickens enough that it doesn’t run off a spoon immediately but has a slightly ‘clumpy’ or viscous feel.

Step 6
Sterilize your glass jars by boiling them in water. Once sterilized, dry them thoroughly. Carefully pour the warm, freshly made mulberry jam into the prepared jars and seal them tightly. Filling the jars while the jam is still hot helps with preservation.

Step 7
Allow the mulberry jam to cool completely before refrigerating. Since this jam is made without any preservatives or additives, it’s best enjoyed fresh. We recommend consuming it within about a week. Spread it generously on freshly baked bread or toast for a delightful treat. It’s a healthy and safe snack option for children too!


