Homemade Chewy Cup Tteokbokki (Includes Recipe for Making Chewy Tteok)
Easy with a Rice Cooker! Making Chewy Rice Cake Cup Tteokbokki (+ Secret to Making Rice Cakes at Home)

You can easily make chewy cup tteokbokki at home using a store-bought tteokbokki powder mix. The portion size can be adjusted, and you can enjoy it even more generously according to your preference. This recipe includes detailed instructions on how to make chewy rice cakes from scratch.
Ingredients for Chewy Rice Cakes- 100g all-purpose flour
- 70ml boiling water
- 1 tsp salt
Spicy and Sweet Tteokbokki Seasoning- 3 Tbsp fine gochugaru (Korean chili powder)
- 5 Tbsp sugar
- 0.5 Tbsp garlic powder
- 0.5 Tbsp onion powder
- A pinch of black pepper
- 0.5 Tbsp sweet rice flour (or cornstarch)
- 1 Tbsp Dasida (or MSG/flavor enhancer)
- 1 Tbsp dried anchovy powder
- 100ml water (for broth)
- 3 Tbsp fine gochugaru (Korean chili powder)
- 5 Tbsp sugar
- 0.5 Tbsp garlic powder
- 0.5 Tbsp onion powder
- A pinch of black pepper
- 0.5 Tbsp sweet rice flour (or cornstarch)
- 1 Tbsp Dasida (or MSG/flavor enhancer)
- 1 Tbsp dried anchovy powder
- 100ml water (for broth)
Cooking Instructions
Step 1
First, to make chewy rice cakes, combine 100g of all-purpose flour and 1 tsp of salt in a bowl. Gradually add 70ml of boiling water while stirring to begin the scalded dough process. Add the hot water little by little until the mixture forms a cohesive dough.

Step 2
Once the dough starts to come together, knead it vigorously for at least 5 minutes to achieve a chewy texture. It’s important to make the dough smooth and elastic. Wrap the well-kneaded dough in plastic wrap or a plastic bag and let it rest at room temperature for 30 minutes to mature.

Step 3
After the resting period, the dough will become even more glutinous and feel soft and pliable to the touch.

Step 4
Take the rested dough and use a rolling pin to flatten it into a wide, even sheet about 0.7-1 cm thick. Avoid making it too thin; aim for a thickness that’s suitable for shaping into tteokbokki rice cakes.

Step 5
Using a knife, cut the flattened dough into tteokbokki rice cake shapes. Aim for a width of about 1.5-2 cm, and you can adjust the length as desired. Cutting them to a similar thickness as the desired rice cake will ensure a good texture when cooked.

Step 6
Now, prepare to boil the rice cakes. Pour about 1 liter of water into a pot and bring it to a rolling boil over high heat.

Step 7
While the water is boiling, gently shape the cut rice cake dough pieces into round or separate them to prevent them from sticking together. Shaping the dough is optional, but round shapes can make for more appealing rice cakes.

Step 8
Once the water is boiling vigorously, carefully add the shaped rice cake dough pieces and boil for 5 minutes. Stir occasionally to prevent the cakes from sticking to each other.

Step 9
After boiling for 5 minutes, remove the rice cakes and immediately immerse them in cold water to cool them down quickly. Cooling the hot cakes in cold water helps to enhance their chewy texture. Be gentle when removing them as they can be fragile and break.

Step 10
Drain the rice cakes from the cold water and place them in an airtight container. Chilling them further in the refrigerator for at least 30 minutes will significantly increase their chewiness. These homemade rice cakes can be stored in the refrigerator for about 2 days and remain fresh. You can also freeze them and thaw them before use.

Step 11
While the rice cakes are chilling, prepare the tteokbokki sauce. In a pot, add 100ml of water and 1 Tbsp of dried anchovy powder. Simmer over low heat to create an anchovy broth. Using anchovy powder adds a deeper umami flavor.

Step 12
Now, let’s make the tteokbokki powder mix. In a clean resealable bag or container, combine 3 Tbsp fine gochugaru, 5 Tbsp sugar, 0.5 Tbsp garlic powder, 0.5 Tbsp onion powder, 1 Tbsp Dasida, a pinch of black pepper, and 0.5 Tbsp sweet rice flour (or cornstarch). Seal and shake well to combine all the powders. This pre-made tteokbokki powder mix can be stored in an airtight container in the freezer and conveniently used whenever needed.

Step 13
In your rice cooker, combine 100ml of the anchovy broth (strain out any solids from the broth) with 2 Tbsp of the homemade tteokbokki powder mix. Stir well to dissolve the powder and create the sauce base. We will use the rice cooker’s ‘Cook’ or ‘Keep Warm’ function for this.

Step 14
After mixing the anchovy broth and tteokbokki powder in the rice cooker, add the chilled homemade rice cakes. Spoon the sauce over the cakes to ensure they are evenly coated. Close the lid and select the ‘Reheat’ or ‘Cook’ function, then cook for 9 minutes. You may need to adjust the cooking time depending on your rice cooker model.

Step 15
After 9 minutes, open the rice cooker to find a delicious tteokbokki ready to be enjoyed. Give it a good stir to ensure the rice cakes and sauce are thoroughly mixed.

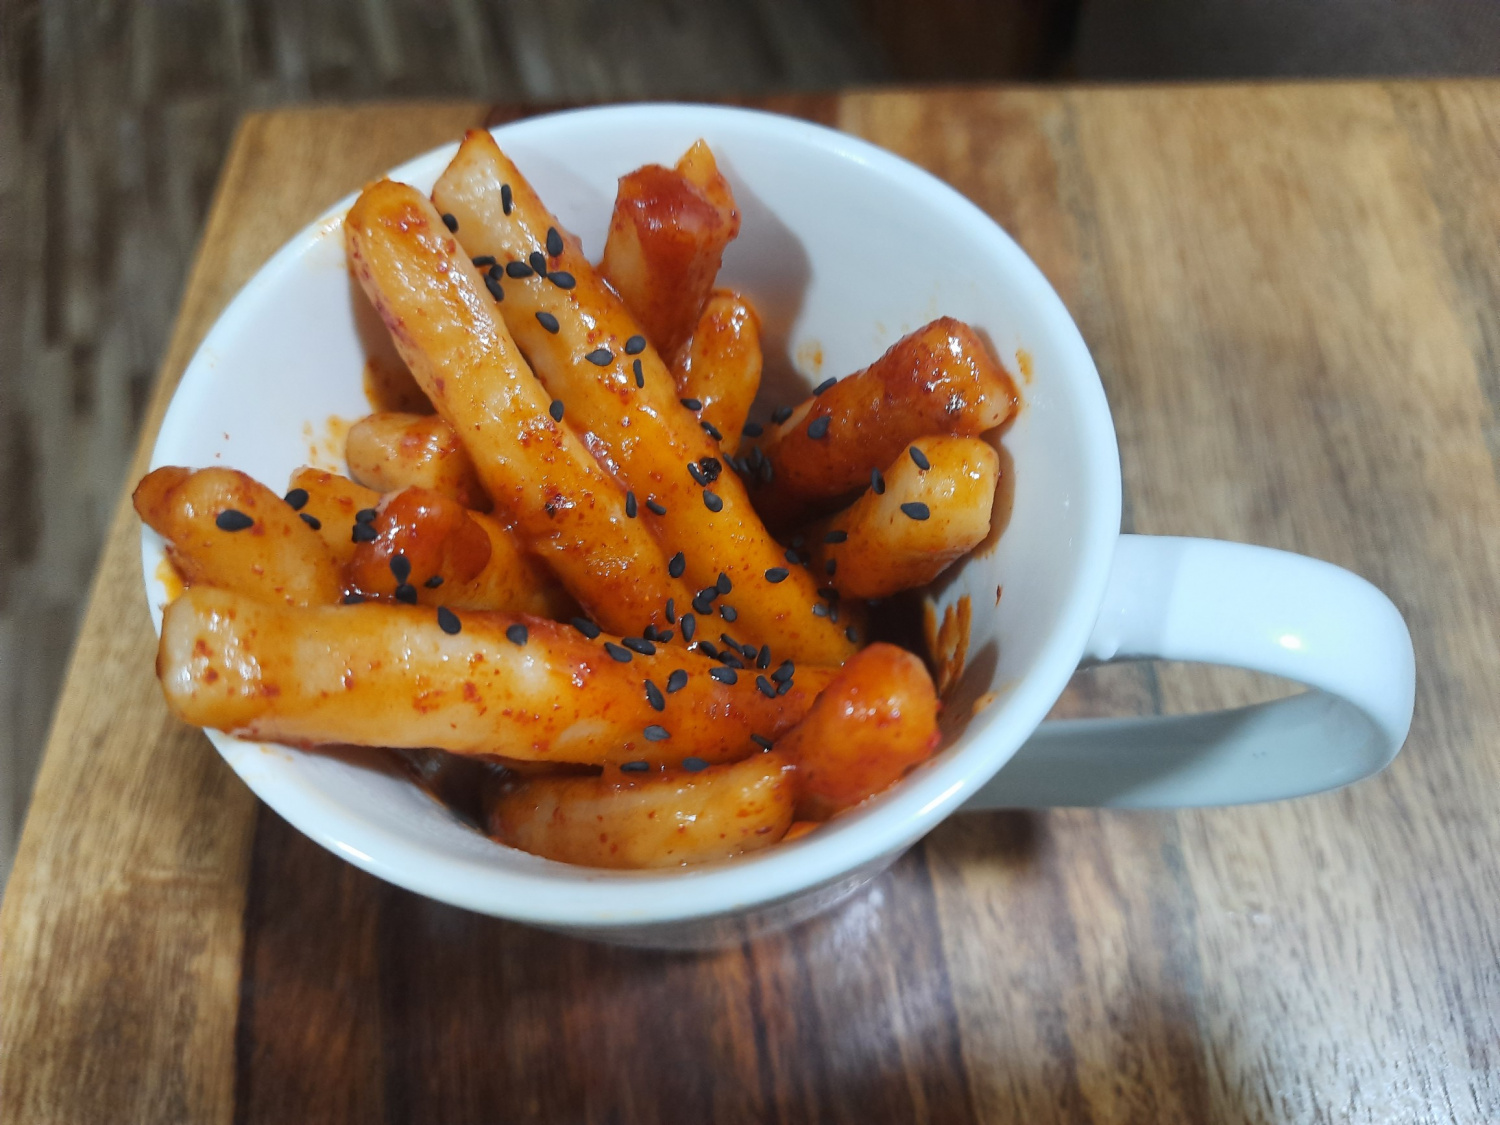
Step 16
This recipe yields a single serving, perfect for pouring into a cup and enjoying as cup tteokbokki. For a more substantial meal, you can add thinly sliced fish cakes, green onions, or hard-boiled eggs along with the rice cakes and reheat them in the rice cooker. Enjoy your easy and delicious homemade tteokbokki!


