Homemade Christmas Cookies: A Festive Baking Delight
Crafting Delicious Christmas Cookies at Home

Hello there! This is Wonshef Guide, your go-to for delightful home baking. Today, we’re diving into the festive spirit with a recipe for ‘Christmas Cookies’! As the carols begin to fill the air, there’s a special excitement that builds as Christmas approaches, isn’t there? These cookies are perfect for gifting to your loved ones, a sweet way to share the holiday cheer. Let’s create some magical Christmas memories together with these delightful treats!
Cookie Dough Ingredients- 150g Butter, softened
- 70g Powdered sugar
- 220g Cake flour (or all-purpose flour)
- 50g Cornstarch
- 20g Peanut butter
Cooking Instructions
Step 1
Accurate weighing is the first step to baking success. Begin by preparing 150g of butter. Using butter that has been softened at room temperature will help it mix smoothly with other ingredients.

Step 2
Measure out 70g of powdered sugar to add sweetness. Powdered sugar has a fine texture, which contributes to a smoother cookie dough.

Step 3
Prepare 220g of cake flour, the base for our cookies.

Step 4
Measure 50g of cornstarch, which will add a delightful crispiness to the cookies.

Step 5
Prepare 20g of peanut butter for a rich, nutty flavor. Peanut butter adds a deep dimension to the cookie’s taste.

Step 6
In a bowl, combine the softened butter (150g) and peanut butter (20g). Briefly microwave for about 30 seconds, just until they are soft enough to mix easily. Avoid fully melting them; a slightly softened state is ideal.

Step 7
Add the powdered sugar (70g) to the softened butter and peanut butter mixture. Use a whisk or spatula to cream them together until smooth and well combined. Aim for a creamy, light consistency.

Step 8
Sift the cake flour (220g) and cornstarch (50g) into the bowl. Sifting helps remove lumps and incorporates air, making the dough lighter and more tender.

Step 9
Add the sifted dry ingredients and the egg yolk (1). Using a fork or a dough scraper, gently mix until just combined and no dry flour is visible. The texture should be crumbly, like in the photo. Be careful not to overmix, as this can result in tough cookies.

Step 10
After using tools, bring the dough together with your hands. Fold and gently knead the dough in the bowl until it forms a cohesive ball.

Step 11
You’ve now successfully created a smooth and workable cookie dough. It’s ready for shaping!

Step 12
Divide the dough into two portions, setting about one-third aside in a separate bowl. Sprinkle 20g of cocoa powder over this smaller portion. Knead the cocoa powder into the dough until it’s evenly distributed, creating a rich chocolate dough.

Step 13
Place each color of dough (plain and chocolate) onto parchment paper or plastic wrap. Use a rolling pin to flatten each portion to a thickness of about 1 to 2 cm. Aim for an even thickness; too thin and they might break, too thick and they won’t bake evenly.

Step 14
This is about the right thickness for the dough. Consistent thickness ensures even baking.

Step 15
Wrap the flattened dough portions tightly with plastic wrap or parchment paper. Refrigerate for about 1 hour to chill and firm up. Chilling makes the dough easier to handle and cut shapes from.

Step 16
Remove the chilled dough from the refrigerator. Now it’s time to use your cookie cutters to create festive shapes!

Step 17
Cut out your desired Christmas shapes from both the plain and chocolate dough. You can alternate colors or combine them for unique designs. This step is especially fun to do with children!

Step 18
Arrange the cut-out cookie dough pieces onto a baking sheet lined with parchment paper, leaving some space between them. Cookies will spread slightly as they bake, so give them room to avoid sticking together.

Step 19
Preheat your oven to 170°C (340°F) for about 10 minutes. Once preheated, bake the cookies at 170°C for approximately 10 to 15 minutes. Baking times can vary depending on your oven, so keep an eye on them and adjust as needed until they are lightly golden brown.

Step 20
Once baked, carefully remove the cookies from the oven and transfer them to a wire rack to cool completely. Handle them gently while they are still warm, as they can be delicate.

Step 21
After they have completely cooled, your delicious and crisp cookies are ready. Handle them with care to maintain their shapes.

Step 22
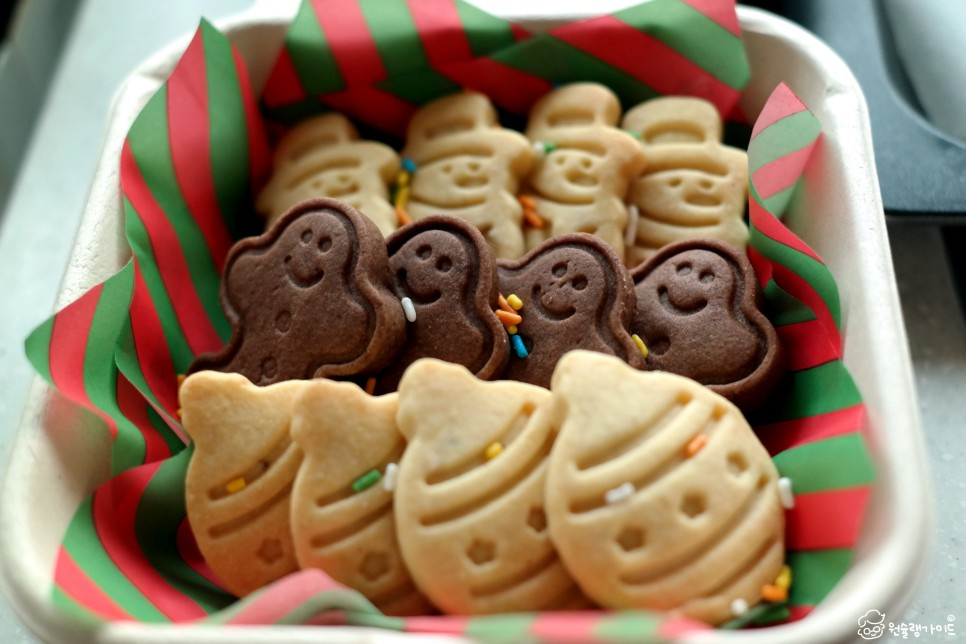
Package your beautifully baked cookies in festive wrapping, and you’ll have created unique, heartfelt Christmas gifts! Happy baking!


