Homemade Ginger Syrup: Your Winter Wellness Drink
Make Your Own Healthy Ginger Syrup for the Winter Season

I made this ginger syrup to help my children who suffer from seasonal allergies and colds. It’s a warming, homemade remedy that’s perfect for the cooler months.
Ingredients- 3kg Fresh ginger
- 1kg Sugar (white or brown)
- 500g Rice syrup (Jocheong)
- 800ml Pear juice
Cooking Instructions
Step 1
Prepare your container for the ginger syrup by sterilizing it. Fill a pot with water and bring it to a boil. Carefully place your glass jar into the boiling water and sterilize for 5 minutes. It’s important to place the jar in the pot while the water is still cold to prevent it from cracking due to thermal shock.

Step 2
Gently rinse the fresh ginger under running water to remove any dirt or soil clinging to it.

Step 3
Soaking the ginger in water for about 10 minutes after washing off the dirt will make peeling the skin much easier. This process helps to loosen the skin, similar to how soaking vegetables makes them easier to peel.

Step 4
Use a knife or a spoon to gently scrape off the skin of the soaked ginger. For a large amount of ginger, a helpful tip is to place the ginger in an onion or garlic mesh bag and rub it vigorously to remove the skin. Alternatively, you can place the ginger in a colander, put on rubber gloves, rub it intensely, and then use a knife to clean up any remaining skin.

Step 5
After peeling, wash the ginger thoroughly again and pat it completely dry. Residual moisture can shorten the shelf life of your ginger syrup.

Step 6
To make it easier for your blender, slice the peeled ginger thinly. This helps the blades to break down the ginger more effectively.

Step 7
In a large bowl, combine the sliced ginger with 1kg of sugar and mix well. The typical ratio for ginger syrup is 1:1 ginger to sugar, but I used 2.5kg of ginger with 1kg of sugar and 500g of rice syrup. Feel free to adjust the sweetness to your preference by modifying the sugar and rice syrup quantities.

Step 8
Mixing the ginger with sugar helps to draw out moisture from the ginger as the sugar dissolves. This process also softens the ginger and naturally mellows its pungent spiciness, preparing it for blending.

Step 9
Transfer the sugar-coated ginger and 800ml of pear juice to a blender. Blend until smooth. Adding pear juice not only neutralizes the strong ginger flavor, making it smoother, but also enhances the sweetness, allowing you to reduce the amount of sugar. It also adds a wonderful depth of flavor.

Step 10
Since you’ll be straining the blended ginger through a cheesecloth or fine sieve to get a clear juice, it’s best to blend it as finely as possible. A smooth consistency will make straining much easier.

Step 11
Place the blended ginger mixture into a cheesecloth or a fine sieve and press firmly to extract all the juice. This separates the clear ginger juice from the solid ginger pulp.

Step 12
Don’t discard the ginger pulp! You can add a splash of cooking wine or soju to it, mix, and use it to eliminate gamey odors in meat and fish dishes. Alternatively, freeze it and add it when boiling meat, or dry it to make ginger powder for various culinary uses.

Step 13
Pour the extracted ginger juice into a bowl and let it sit undisturbed at room temperature for about 2 hours. This allows the ginger starch to settle at the bottom.

Step 14
The settled starch can sometimes result in a slightly thick or bitter taste, so carefully decant the clear liquid from the top into a saucepan, leaving the sediment behind. You can save the starch for other uses.

Step 15
The collected ginger starch can be dried and used in cooking. It can be added to pancake batters for texture or used to thicken stews, similar to how you would use flour or cornstarch.

Step 16
Begin heating the ginger juice in the saucepan over medium heat. Skim off any foam that rises to the surface as it heats up. This foam can make the syrup cloudy and affect the flavor.

Step 17
Once the foam is removed, reduce the heat to medium and stir occasionally to prevent sticking. Allow the liquid to reduce and thicken. You don’t need to stir constantly, just enough to ensure it doesn’t burn.

Step 18
When the ginger juice has reduced by about half, add the 500g of rice syrup and stir well to combine. If you prefer to use honey instead of rice syrup, add it only after the ginger syrup has cooled completely, as high heat can degrade honey’s beneficial nutrients.

Step 19
Your ginger syrup is ready when it reaches the consistency of corn syrup. To test, scoop some with a ladle and let it drip. If it flows like thin syrup, it’s done. If it’s too thin, continue simmering; if it’s too thick, you can add a little more pear juice or water.

Step 20
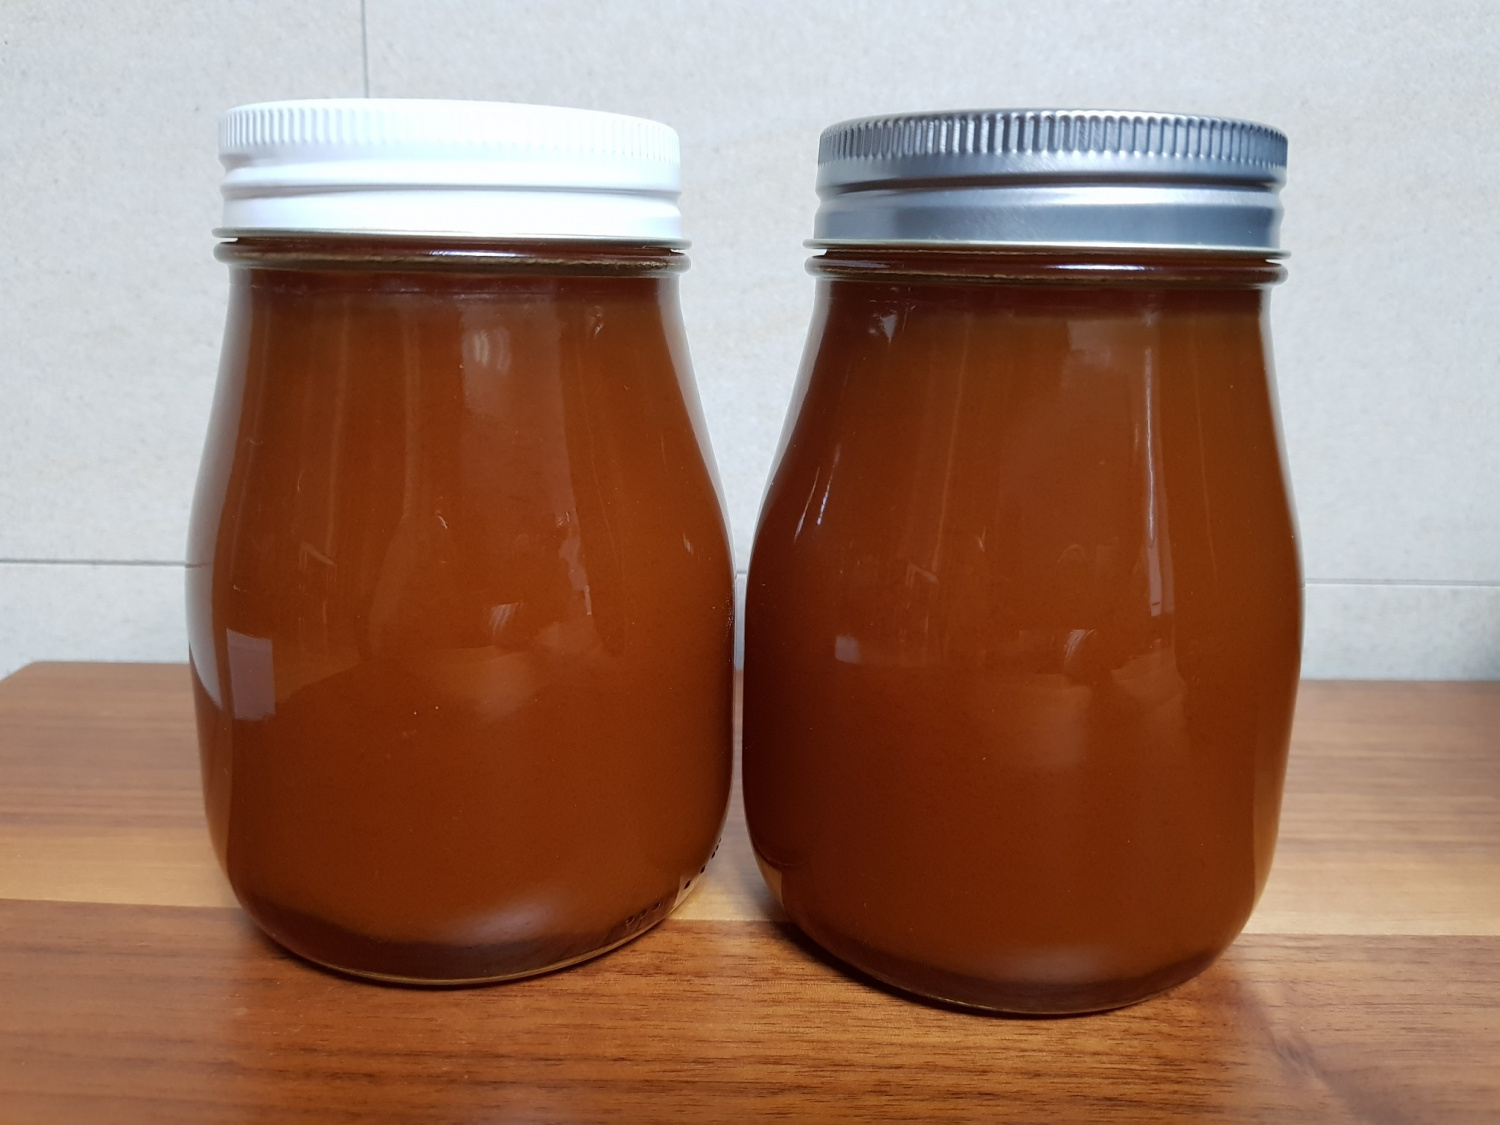
Using 2.5kg of prepared ginger, 1kg of sugar, 500g of rice syrup, and 800ml of pear juice, the finished ginger syrup yielded approximately 2.4 liters. The final volume may vary based on the ingredients’ moisture content.

Step 21
Allow the ginger syrup to cool slightly before transferring it to your sterilized glass jars. Store in a cool place or refrigerate. I hope this homemade ginger syrup helps your family stay healthy and warm throughout the winter!


