Homemade Maesilcheong (Green Plum Elixir): Capturing the Essence of Summer
Your Ultimate Guide to Making Maesilcheong: Best Time to Make, Choosing Plums, Fermentation Tips, and Storage Secrets

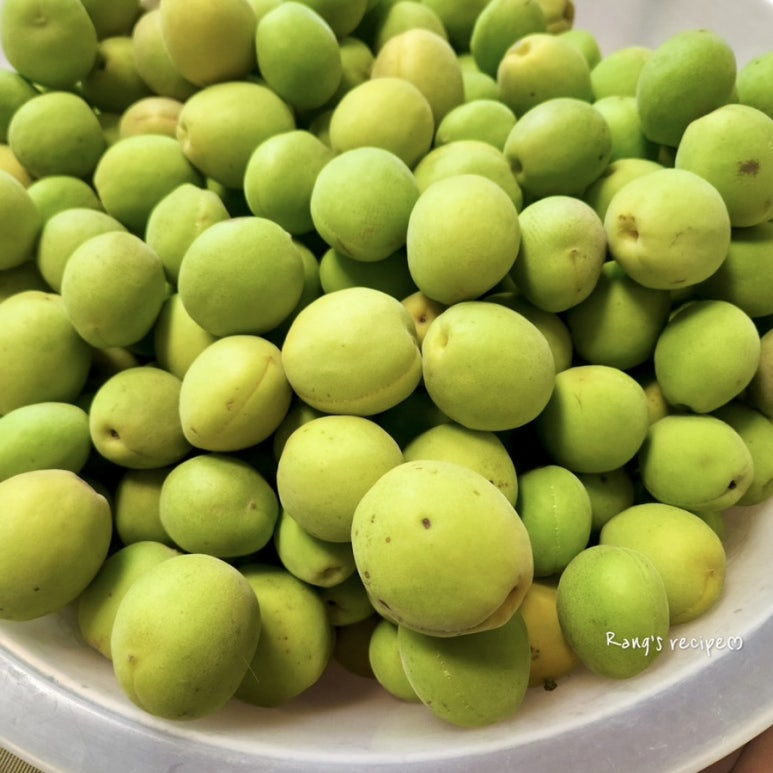
Hello everyone! Today is the day we capture the vibrant essence of summer by making our own ‘Maesilcheong’ (Korean green plum elixir). Depending on their ripeness, green plums can be categorized into ‘Cheongmaesil’ (unripe green plums), ‘Hwangmaesil’ (ripe yellow plums), and ‘Hongmaesil’ (reddish plums). The prime time for making Maesilcheong with the refreshing Cheongmaesil is from late May to mid-June, while the beautifully ripened Hwangmaesil is best from mid-June to early July. After making Maesilcheong, it’s ideal to let it ferment for about 100 days, then strain out the fruit before storing. It’s crucial to store the finished Maesilcheong in a cool, well-ventilated place. Let me guide you through the simple and detailed steps to make your own delicious Maesilcheong. Enjoy this healthy and flavorful elixir in your drinks and cooking all summer long!
Main Ingredients- 10kg Fresh Green Plums (Cheongmaesil)
- 10kg Sugar (White or unrefined, equal weight to plums)
Cooking Instructions
Step 1
1. Selecting & Thoroughly Washing Plums: The secret to delicious Maesilcheong starts with choosing high-quality plums. Opt for larger, plump plums with plenty of flesh rather than small ones for a richer flavor. After purchasing, gently wash them under running water. For an extra clean, soak them briefly in water mixed with a little baking soda or vinegar, then rinse thoroughly. This ensures any residual impurities are effectively removed.

Step 2
2. Drying Plums & Meticulously Removing Stems: It’s vital to completely dry the washed plums. Spread them on a sieve or a clean towel in a well-ventilated area until all moisture has evaporated. Remaining water can lead to spoilage, so thorough drying is key. Once completely dry, it’s time to remove the stems. Use a toothpick to carefully twist and remove just the stem, being careful not to bruise the plum flesh. *Tip: Leaving stems on can impart a bitter taste to your Maesilcheong, so take your time and remove them meticulously.*

Step 3
3. Layering for Perfect Fermentation: Prepare your fermentation vessel (glass jar or earthenware pot) by sterilizing it with boiling water or washing and thoroughly drying it. Place about one-third of the prepared plums into the vessel. Cover the plums with sugar until they are no longer visible. Repeat this process, layering plums and sugar alternately until the vessel is nearly full. Finish by completely covering the top layer of plums with a thick layer of sugar. This barrier prevents the Maesilcheong from being exposed to air, thus preventing oxidation and ensuring a clean fermentation.

Step 4
4. The Art of Patience: Maturation & Storage: The completion of your Maesilcheong lies in patience. Store the sealed container in a cool, dark place with good air circulation, away from direct sunlight. Allow it to mature for at least 3 months, ideally up to 1 year, to fully develop the plum’s flavor and nutrients. After the maturation period, strain out the plum fruit and store the concentrated Maesilcheong liquid in airtight containers in the refrigerator for extended freshness.