Homemade Ricotta Cheese Salad
Fresh Homemade Ricotta Cheese and a Refreshing Salad Recipe

Today, I’m sharing how to make fresh ricotta cheese at home, a recipe I haven’t made in a while! While Greek yogurt is also wonderful, ricotta cheese is delightfully simple to prepare. The beauty of homemade ricotta is its customizable texture; depending on how long you drain it, you can achieve a creamy smoothness or a delightful chewiness. For the salad, I’ve used whatever greens and leftover strawberries I had in the fridge, topped them with the fresh ricotta, and finished with a drizzle of balsamic glaze. The result is a vibrant, crisp #RicottaCheeseSalad that’s perfect for any meal. With a little practice, you’ll master making ricotta cheese exactly to your liking. Key to success are selecting quality ingredients, controlling the heat, and timing the addition of acidic elements like lemon juice.
Ricotta Cheese Ingredients- 1000ml Whole Milk (do not use low-fat or skim)
- 500ml Heavy Cream (100% milk fat recommended)
- 1 container Plain Yogurt (optional)
- 1 tsp Salt
- 4 Tbsp Fresh Lemon Juice (or store-bought lemon juice)
Cooking Instructions
Step 1
Let’s gather the ingredients for our homemade ricotta cheese. It’s crucial to use whole milk, as low-fat or skim milk won’t yield the proper curd. For the cream, opt for one that’s 100% milk fat for the best flavor and texture. Plain yogurt is optional but adds a nice tang and helps with the curdling process.

Step 2
Pour the milk into a pot and let it sit at room temperature for a bit to lose its chill. Add the heavy cream to the pot. Place the pot over medium-low heat and gently warm the milk and cream mixture. Avoid bringing it to a rolling boil or using high heat, as this can cause the milk to scorch or separate. The goal is to heat it through, not to boil it vigorously.

Step 3
You’ll know the milk is ready when a thin skin forms on the surface and tiny bubbles start to appear around the edges, rising from the bottom. Immediately reduce the heat to low. Now, add the salt, plain yogurt (if using), and lemon juice. If using fresh lemons, halve them, squeeze out the juice, and strain it through a fine-mesh sieve to catch any seeds or pulp before adding. If fresh lemons aren’t available, bottled lemon juice works, but be aware that older bottled juice might have reduced curdling properties. Fresh lemon is always best!

Step 4
After adding the lemon juice, stir gently only two or three times. You’ll start to see the milk curdle and clump together. Resist the urge to stir vigorously, as this can break up the curds and prevent them from forming properly. Continue to cook over low heat for about 10-15 minutes. You should see the mixture thicken and form distinct curds, much like in the photo.

Step 5
Once the curds have formed nicely, place a fine-mesh sieve over a bowl. Line the sieve with a cheesecloth (or a clean, thin kitchen towel). Carefully pour the hot curds and whey mixture into the cheesecloth-lined sieve. Allow the liquid whey to drain through for about 1 hour.

Step 6
After the initial hour of draining, gather the edges of the cheesecloth together, forming a bundle. Tie it securely and let it drain for another 3 to 5 hours. This duration will yield a creamy, smooth ricotta. For a firmer, chewier texture, extend the draining time. Don’t discard the whey! It’s packed with nutrients and can be used to make delicious Lassi, or even as a soothing rinse for your skin.

Step 7
Once most of the whey has drained, shape the ricotta into a round ball within the cheesecloth. Place the bundle into an airtight container and refrigerate for an additional 2 to 6 hours. This step helps further drain the whey and allows the cheese to firm up to your desired consistency. Adjust the time based on whether you prefer a softer or firmer ricotta.

Step 8
In my case, I accidentally left it to drain for about 10 hours, resulting in a wonderfully firm and chewy ricotta. While I enjoy the soft texture too, this slightly firmer version is absolutely delicious. The beauty of making it yourself is the ability to perfectly tailor the texture to your preference!

Step 9
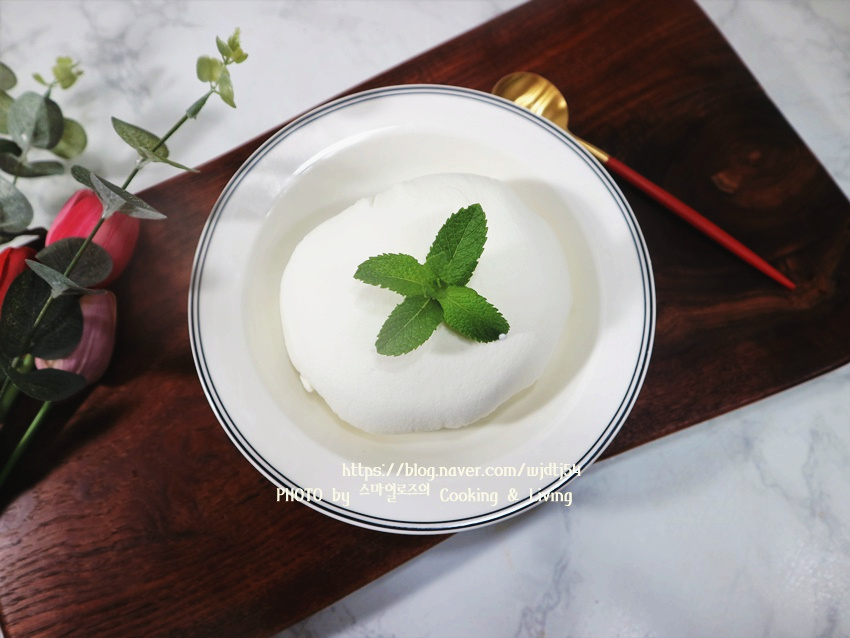
To serve, place the ricotta cheese on a plate. I’ve added a sprig of apple mint for a touch of elegance. Look how beautifully it turned out – perfectly round and wonderfully white!

Step 10
For storing homemade ricotta cheese: keep it in an airtight container in the refrigerator for up to a week. For best results, store it in the back of the fridge where the temperature is more stable than the door. If you need to store it for longer, you can portion it and freeze it, though freezing can alter the texture slightly. It’s best enjoyed fresh!

Step 11
Why not try making this fresh ricotta cheese this weekend for a delightful brunch? It’s fantastic in salads or spread on toast. It’s so easy and delicious to make at home without any fuss. Give it a try and enjoy!

Step 12
The rich, clean, and subtle flavor, combined with that perfect chewy texture, is truly delightful. If you prefer a softer ricotta, aim for about 5 hours of draining time, rather than the longer period I chose. I’ve made this many times, but this is my first time sharing the recipe in detail. Enjoy!


