Homemade Truffle Chocolates
Indulgent Homemade Chocolate Truffles: Easy Recipe for a Luxurious Treat

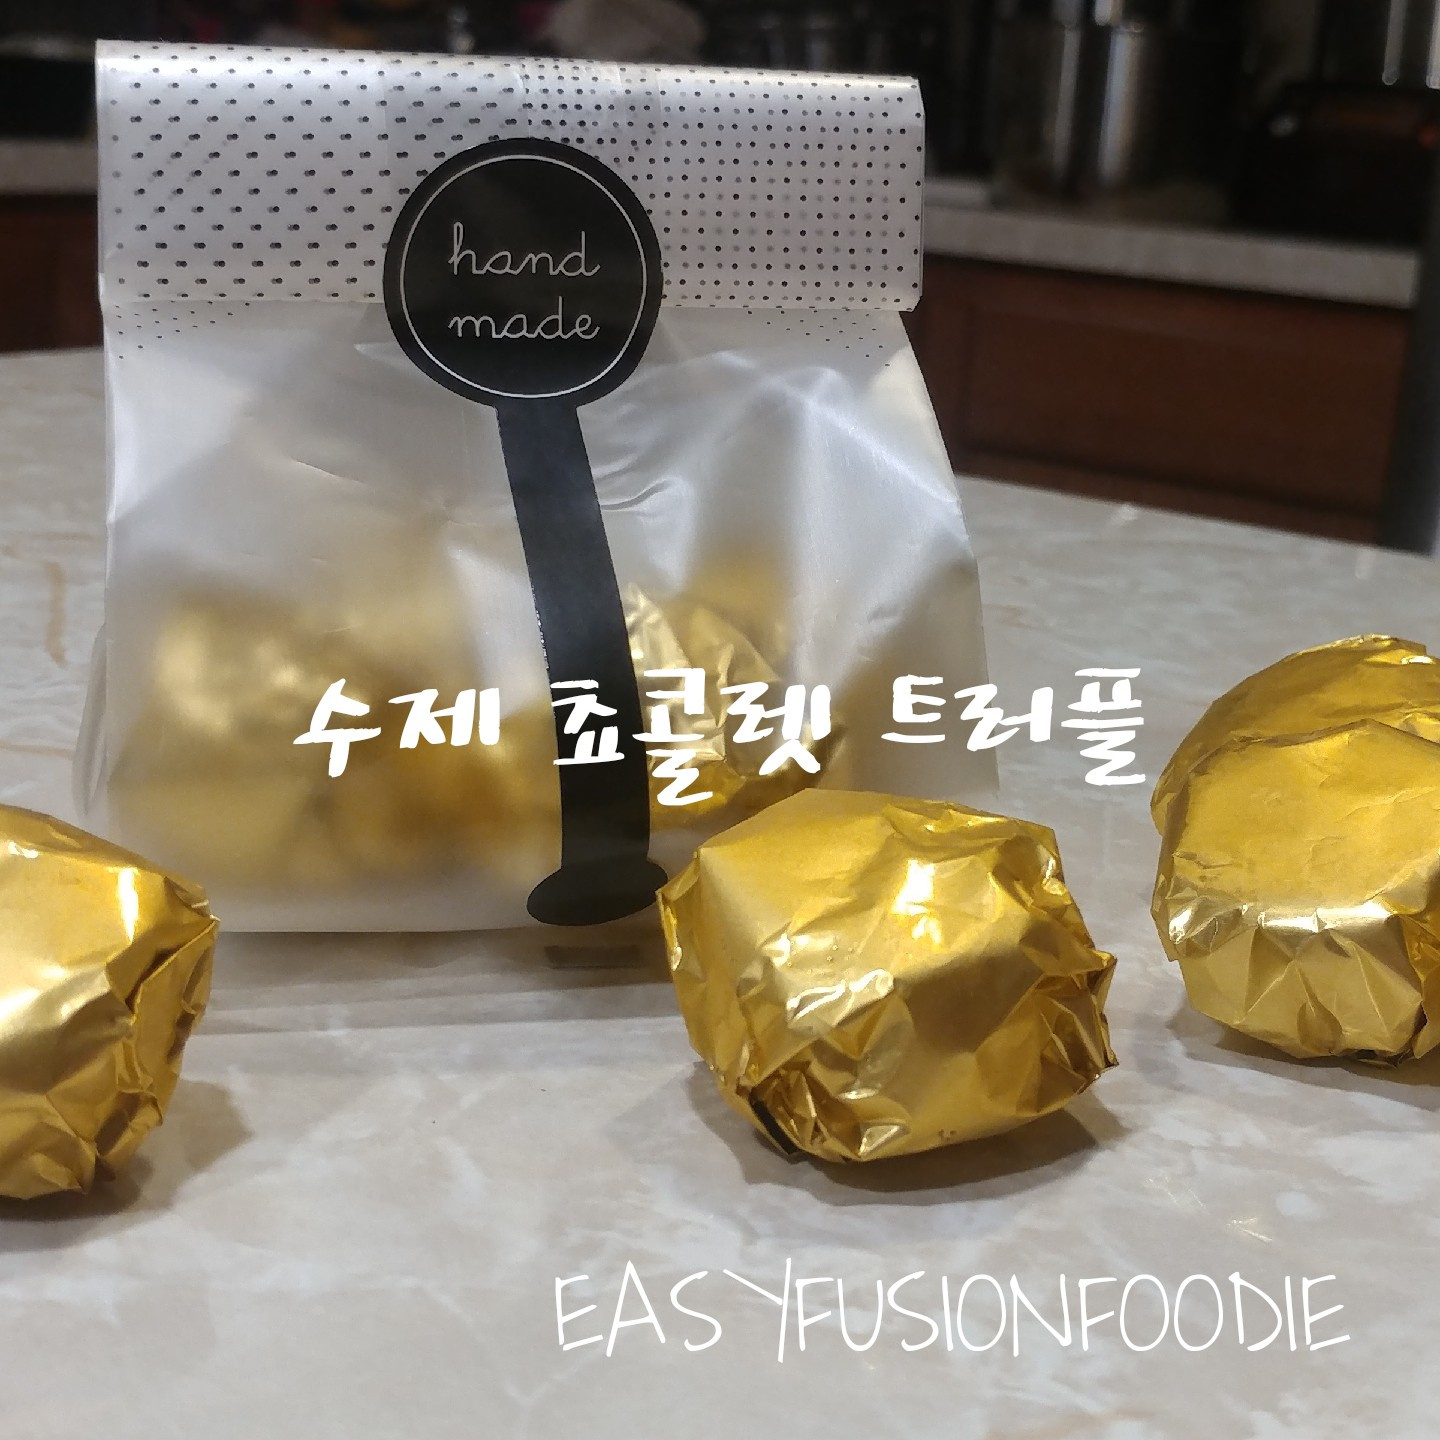
Inspired by one of my favorite Food Network chefs, Ina Garten, this recipe makes luxurious handmade chocolate truffles incredibly easy to create at home. Homemade chocolates are quite popular, and these truffles are exceptionally impressive for how simple they are to make. When packaged nicely, they look absolutely stunning – perfect for gifting! I made these for my children’s teachers for Valentine’s Day. Why not share this sweet gesture with your loved ones?
Ingredients- 1 pound (454g) semi-sweet chocolate chips (or store-bought chocolate bar)
- 1 cup (240ml) heavy whipping cream
- 1 Tbsp coffee (brewed coffee, espresso, or instant coffee dissolved in water)
- 1 tsp vanilla extract
- About 1 cup unsweetened cocoa powder (for dusting, baking quality)
Cooking Instructions
Step 1
First, prepare a wide, flat baking pan and place it in the freezer to chill thoroughly. Simultaneously, measure out 1 cup of heavy whipping cream and 1 pound of chocolate chips. Having these ingredients pre-measured will make the cooking process much smoother.

Step 2
Pour the heavy cream into a small saucepan and heat it on the stovetop just until it begins to boil. As soon as it boils, immediately remove it from the heat. Be vigilant and watch carefully, as the cream can boil over quickly, leading to a messy stovetop. Remove it promptly once it starts boiling.

Step 3
Instead of pouring the hot heavy cream directly over the chocolate chips, strain it through a fine-mesh sieve onto the chocolate. This step helps prevent any thin cream film (like milk solids) from mixing into the chocolate, ensuring a smoother truffle ganache.

Step 4
Immediately after pouring the strained cream, add 1 tablespoon of coffee (any kind works, whether it’s instant, espresso, or brewed) and 1 teaspoon of vanilla extract.

Step 5
Using a rubber spatula, stir gently until the chocolate is completely melted and smooth. Continue stirring until you achieve a glossy, homogenous mixture without any lumps.

Step 6
Once the chocolate is fully melted and smooth, it will still be quite warm and releasing steam.

Step 7
Cover the chocolate mixture loosely with paper towels to allow the steam to escape, and let it sit at room temperature for about 30 minutes. Then, transfer it to the refrigerator and chill for approximately 1 hour, or until it’s firm enough to scoop.

Step 8
Take the well-chilled chocolate mixture out of the refrigerator. It should be firm to the touch.

Step 9
Now, let’s prepare for shaping the truffles. Get a cup of hot water ready, pour a generous amount of cocoa powder onto a wide plate, and retrieve the chilled baking pan from the freezer, lining it with parchment paper for the truffles.

Step 10
Dip a small ice cream scoop or a teaspoon into the hot water for a moment, then shake off excess water. Use the warm scoop to scrape and scoop out portions of the firm chocolate. The warmth from the scoop will slightly soften the chocolate, making it easier to portion.

Step 11
Place the scooped chocolate portions onto the cocoa powder-dusted plate and roll them around to coat evenly. Since the chocolate is slightly softened by the warm scoop, you can gently shape them into spheres with your hands if desired. Place the cocoa-dusted truffles onto the prepared parchment-lined baking pan.

Step 12
You can see why the chilled baking pan is essential! The warmth from the scoop can start to melt the chocolate. Placing them on the cold pan helps them firm up again and prevents them from becoming too soft. If you plan to package them as gifts, place the entire baking pan with the shaped truffles back into the freezer for about 1 hour to harden completely. This ensures they maintain their shape during packaging.

Step 13
Making chocolate truffles may not be difficult, but it certainly requires care and attention. Honestly, packaging them beautifully can feel like the bigger challenge! However, seeing the elegantly packaged truffles brings a sense of accomplishment and satisfaction. Consider sharing these homemade delights with your special ones – it’s a wonderful way to show you care!


