Homemade Yogurt: Easy Microwave Method!
Making Homemade Yogurt with Sterilized Milk and Plain Yogurt in the Microwave

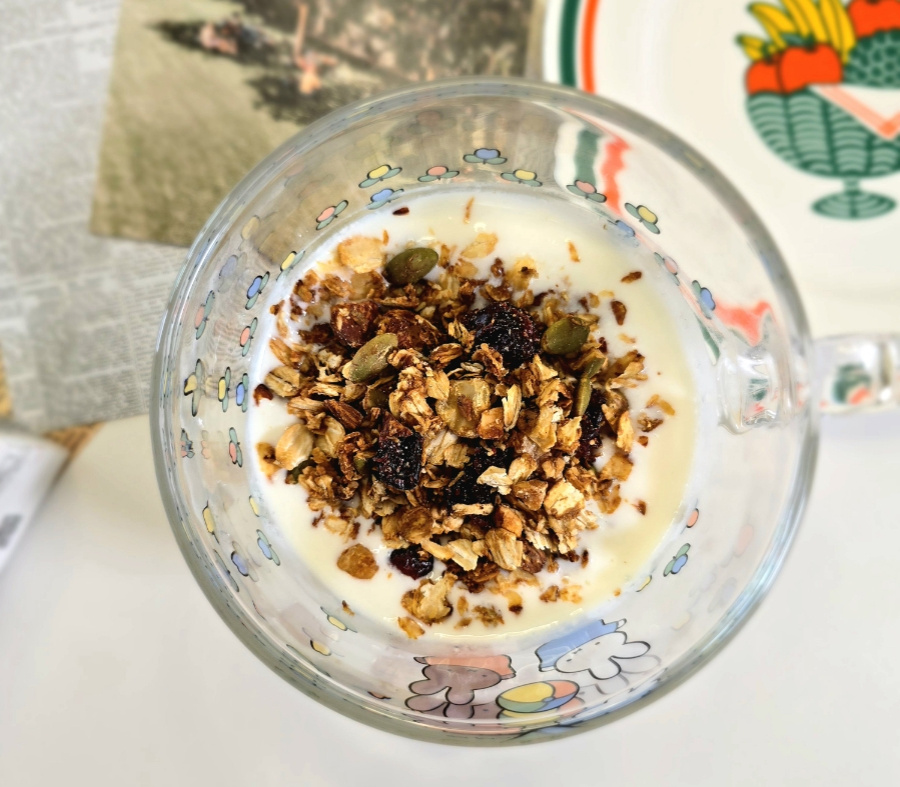
Yogurt is one of the most popular fermented foods worldwide. Homemade yogurt, unlike store-bought versions, contains no artificial additives or sweeteners. Freshly made yogurt offers a delightful milky freshness and a tangy flavor that deepens and intensifies as it matures over time. Its charm also lies in the freedom to customize it with your favorite ingredients. Adding fruits, nuts, honey, or granola can enrich its taste and nutritional value. Using sterilized milk, which has a longer shelf life and can be stored at room temperature, makes the process even more convenient. A key tip for making yogurt: avoid using specialized milks like low-fat or high-calcium varieties, as they may not ferment properly. Before starting, ensure your sterilized milk is brought to room temperature by leaving it out for at least an hour. Simply mix milk with a yogurt starter, warm it gently in the microwave, and let it ferment. Say goodbye to store-bought options and embrace the freshness of homemade yogurt!
Ingredients- 400ml Sterilized Milk
- 75ml Plain Yogurt (with live cultures)
Cooking Instructions
Step 1
Let’s start by understanding your yogurt starter. There are broadly two options: first, using a commercial plain yogurt product, such as Bulgaria, Activia, or Yoplait. Second, using a self-cultured starter, like Caspian Sea yogurt, acidophilus, or Tibetan mushroom cultures. Today, we’ll use a commercial plain yogurt (Yoplait) as our starter.

Step 2
Begin by preparing your equipment. Pour 400ml of sterilized milk into a microwave-safe container. It’s crucial to bring the sterilized milk to room temperature before you start; leave it out for at least 1 hour to remove the chill, as cold milk can inhibit the live cultures.

Step 3
When mixing the starter, it’s best to use a wooden or plastic spoon, as metal utensils can sometimes interfere with the live cultures. Add 75ml of your plain yogurt to the sterilized milk and stir gently until it’s completely smooth and lump-free.

Step 4
Now, we’ll use the microwave to create an optimal temperature for fermentation. The goal is to reach around 45°C (113°F), but avoid exceeding this, as high heat can kill the beneficial bacteria. Instead of one long heating period, we’ll do several short ones. Start by microwaving the mixture for 2 minutes.

Step 5
After 2 minutes, carefully remove the container from the microwave and stir it gently with your wooden spoon. Allow it to rest for 1 minute outside the microwave. This resting period helps to distribute the heat evenly and prevents overheating, ensuring the cultures remain active.

Step 6
Return the container to the microwave and heat for another 1 minute. Stir gently again, and let it rest for 1 minute. Repeat this process one more time, for a total of three heating cycles (2 minutes + 1 minute + 1 minute = 4 minutes of microwaving). Once done, close the microwave door and let the yogurt incubate undisturbed for 8 hours. Avoid disturbing it during this time.

Step 7
After 8 hours, check your yogurt. If it has set into a soft, pudding-like consistency, congratulations, you’ve succeeded! For the best flavor and texture, chill the homemade yogurt in the refrigerator before serving. Enjoy your fresh, delicious creation!


