Hong Kong Style Egg Tart Filling
Learn to Make Rich and Creamy Hong Kong Style Egg Tart Filling with This Expert Recipe

I’ve decided to restart my beloved baking hobby after a period of being too busy with my career. This August, I enrolled in a baking class at the community center, and this week’s lesson is on Hong Kong style egg tarts! I remember finding it quite challenging when I tried making them alone at home, so I was thrilled to learn the proper techniques from a professional instructor. This recipe will guide you step-by-step to create a smooth, sweet custard filling and a flaky crust, just like you’d find in a specialty bakery. Perfect for beginners, this detailed guide ensures delicious results!
Tart Dough Ingredients- 165g Cold Butter
- 100g Sugar
- 65g Eggs (approx. 1.5 eggs)
- 1.5g Salt
- 250g Low-Gluten Flour (Cake Flour)
- 40g Almond Flour
Egg Tart Filling Ingredients- 210g Milk (or 130g Milk + 120g Heavy Cream)
- 55g Sugar
- 55g Egg Yolks (approx. 3 yolks)
- Vanilla Extract to taste
- 210g Milk (or 130g Milk + 120g Heavy Cream)
- 55g Sugar
- 55g Egg Yolks (approx. 3 yolks)
- Vanilla Extract to taste
Cooking Instructions
Step 1
One of the best advantages of attending a baking class is that the instructor prepares all the ingredients for you! This saves a significant amount of time and energy that would otherwise be spent on measuring and prepping.

Step 2
Today, we’ll be making a total of 12 egg tarts, with each tart shell dough portion weighing 50g. Ensuring each piece is accurately weighed is key to uniform tarts.

Step 3
First, for the tart dough, gently melt the 165g of cold butter in a bowl. Once melted, add the 100g of sugar and mix well with a whisk until the butter and sugar are smoothly combined without lumps. Thoroughly incorporating the sugar into the butter is crucial for a flaky texture.

Step 4
Now, we’ll add the eggs. A typical large egg weighs around 47g, so we need 65g. Crack an egg and weigh it. If it’s around 47g, crack a second egg and measure out approximately 18g from it to reach the total of 65g. Precise measurement is important here.

Step 5
Add the measured eggs to the dough mixture and whisk gently until well combined. Our instructor added some homemade vanilla extract, and the fragrant vanilla aroma truly amplified the craving for freshly baked goods! Feel free to add a touch of vanilla extract or lemon zest according to your preference.

Step 6
Next, it’s time to add the dry ingredients. Sift the 250g of low-gluten flour and 40g of almond flour over the dough using a sieve. Sifting prevents lumps and ensures the dry ingredients are evenly incorporated, contributing to a smoother texture.

Step 7
After adding the flour, use a spatula or scraper to gently mix until no dry flour is visible, forming the dough into a cohesive mass. Be careful not to overmix, as this can develop gluten and make the dough tough. Once it comes together, stop mixing. Gather the dough into a rough ball in the bowl and cover it with plastic wrap.

Step 8
This dough is quite rich due to the high butter content (165g), which can make it sticky. To make it easier to handle, wrap the bowl tightly with plastic wrap and refrigerate it for at least 30 minutes to rest. This chilling period allows the butter to firm up, making the dough much more manageable.

Step 9
Now, let’s prepare the star of the show: the egg tart filling. In a saucepan, combine 210g of milk (or a mix of 130g milk and 120g heavy cream) and 55g of sugar. Place the saucepan over a bowl of hot water (double boiler) and stir with a whisk until the sugar is completely dissolved. Dissolving the sugar ensures a smooth and sweet filling.

Step 10
Once the sugar is fully dissolved and the mixture is warm, remove the saucepan from the double boiler and let it cool slightly.

Step 11
To the slightly cooled milk mixture, add the 55g of egg yolks (about 3 yolks) and whisk thoroughly until smooth. It’s important to break up any lumps in the yolks for a silky-smooth custard.

Step 12
Crucial warning! Never place the bowl with the egg yolks directly over heat while mixing. Even over a double boiler, the heat can cook the yolks, turning them into scrambled eggs. Always remove the mixture from direct heat before incorporating the yolks, or ensure it has cooled sufficiently. Remember this for a perfectly creamy custard!

Step 13
Take the chilled tart dough out of the refrigerator and divide it into 12 equal portions of 50g each. Gently roll each portion into a ball with your palms.

Step 14
Lightly grease the egg tart molds with butter or oil. This prevents the tart shells from sticking and makes them easy to remove after baking.

Step 15
Place a 50g dough ball into each prepared mold. Using your fingertips, press and spread the dough thinly and evenly up the sides and across the bottom of the mold, creating a tart shell. Aim for a slightly thicker edge and a thinner base to prevent leaks and ensure a good crust.

Step 16
Finally, carefully pour the prepared egg tart filling into each lined tart shell. Fill each shell about 80-90% full, being careful not to overfill, as the filling may bubble over during baking.

Step 17
Bake the filled egg tarts in a preheated oven at 200°C (390°F) for approximately 25-30 minutes. The instructor emphasized that baking in a conventional oven yields a crispier crust and more evenly cooked filling compared to an air fryer. Adjust baking time and temperature according to your oven’s performance.

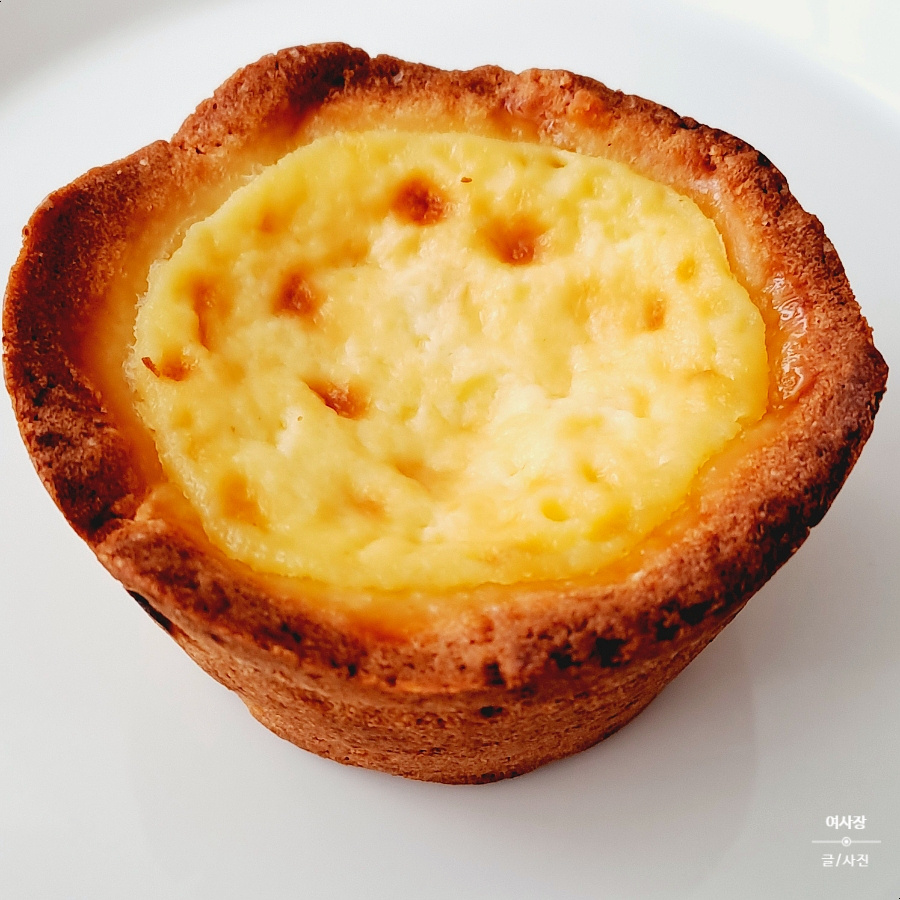
Step 18
Once the baking time is complete, carefully remove the beautifully golden-brown egg tarts from the oven. Their perfect appearance will surely impress you.

Step 19
This is the moment everyone eagerly awaits! Filled with excitement, we gathered around to see how our homemade egg tarts turned out. (I miscalculated my dough portion slightly, so one of mine came out a bit smaller, but that’s okay!)

Step 20
Freshly baked egg tarts are very hot, and the filling is soft, making them fragile. Let them cool slightly before carefully removing them from the molds using a spoon or knife. Place them on a wire rack to cool completely. They become firmer and crispier as they cool.

Step 21
Considering that egg tarts sell for $3,000 to $5,000 won each in bakeries, the 12 tarts we made today are worth approximately ₩36,000! Delicious and cost-effective. Egg tarts are best enjoyed chilled, as this enhances the custard’s flavor. So, upon arriving home, I immediately stored mine in the refrigerator and freezer.

Step 22
Now, I can enjoy one delicious egg tart a day as a delightful snack! I’m already looking forward to next Wednesday’s baking class. Who knows what wonderful treats we’ll learn to make next! Thank you for joining me on this egg tart journey. I’ll be back with more delicious recipes. Goodbye for now!


