How to Make a Perfect Runny Yolk Fried Egg
Easy Recipe for a Soft-Boiled Fried Egg, Perfect for Bibimbap

Here’s a simple and delightful method to create a perfectly soft-boiled fried egg with a gooey yolk, ideal for topping your favorite bibimbap! 😊
Ingredients- 1 fresh egg
- A pinch of salt (optional)
Cooking Instructions
Step 1
Begin by heating a non-stick frying pan over medium-low heat. It’s important not to let the pan get too hot, as this can cause the egg to overcook quickly. Once the pan is warm, add about 1/2 tablespoon of cooking oil and swirl it around to coat the surface evenly.

Step 2
Carefully crack the egg directly into the center of the pan. Now, reduce the heat to the lowest setting – this is crucial for achieving the perfect runny yolk. As the egg white begins to set around the edges, and about half of the white has become opaque (turning from clear to a jelly-like consistency), immediately turn off the heat.

Step 3
With the heat off, allow the egg to cook gently in the residual heat of the pan for about 3 to 5 minutes. Do not cover the pan. This process ensures that the egg white is delicately cooked while the yolk remains warm, liquid, and wonderfully runny. When you lift the lid, you’ll find a beautifully cooked, luscious fried egg.

Step 4
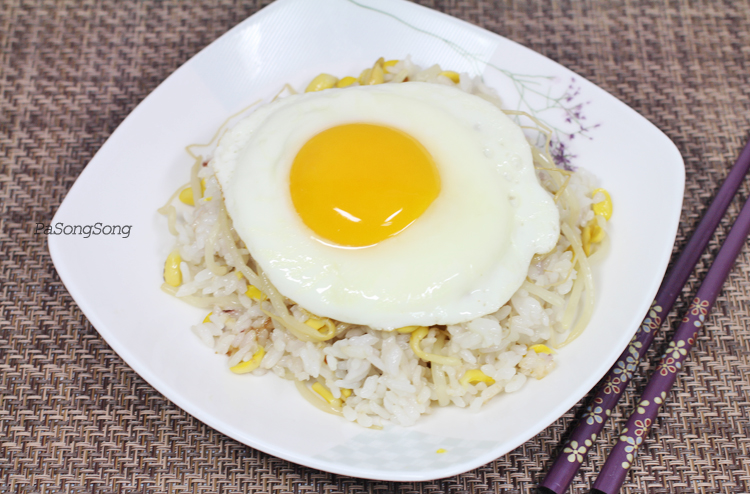
This perfectly cooked soft-boiled fried egg is delicious on its own, but it truly shines when placed atop a bowl of bibimbap. The rich, runny yolk will mix with the rice and toppings, creating an incredibly satisfying bite. It’s also a wonderful accompaniment to dishes like bean sprout rice bowls. A tiny sprinkle of salt or pepper can further enhance its flavor.


