Instant Kim Jang Achi (Seasoned Seaweed) Made with a Ramen Cooker
Easy Kim Jang Achi Recipe Using Your Versatile Ramen Cooker

Don’t just boil ramen with your ramen cooker – make delicious side dishes too! Just like recipes for rice cookers, I’ll occasionally share cooking ideas using a ramen cooker. This Kim Jang Achi recipe is inspired by Yammmu’s original. It’s a simple yet flavorful side dish that pairs perfectly with rice, making it an instant favorite for any meal. Let’s get started!
Key Ingredients- 16 sheets of Kimbap seaweed (have a few extra on hand)
- 200ml water
- 3 Tbsp sugar (or 5 Tbsp corn syrup)
- 5 Tbsp sesame oil
- 10 Tbsp soy sauce (regular or brewed)
- 1 Tbsp minced garlic (freshly minced recommended)
Cooking Instructions
Step 1
We’ll start by making the flavorful soy sauce mixture using your ramen cooker. The basic principle is the same regardless of the brand. If you close the lid while cooking, it will automatically shut off once it reaches a certain temperature. However, if you keep the lid open, you can continue to cook it manually. Ramen cookers are great for simmering various ingredients (except milk) because they have a flat bottom and no exposed heating coils. For milk, it’s best to use a lower temperature setting to prevent scorching.

Step 2
Now, add 200ml of water, 10 Tbsp of soy sauce, 3 Tbsp of sugar, and 1 Tbsp of minced garlic to the ramen cooker. Yammmu’s recipe calls for 5 Tbsp of corn syrup, but if you don’t have it, sugar is a perfect substitute. About 3 Tbsp of sugar will provide a similar level of sweetness.

Step 3
As the mixture heats up, you’ll see the soy sauce mixture start to bubble and rise. It boils up quickly, usually within about 2 minutes. Keep a close eye on it and turn off the ramen cooker just before it threatens to boil over.

Step 4
Once the soy sauce mixture is done, let it cool completely within the ramen cooker. It’s important to let it cool down thoroughly before pouring it over the seaweed to prevent the seaweed from becoming too soggy.

Step 5
While the soy sauce mixture is cooling, let’s prepare the seaweed. Cut each sheet of Kimbap seaweed into 6 equal pieces. This size works wonderfully with the amount of soy sauce mixture. I used about 16 sheets of seaweed, and it was the perfect amount for the sauce. Feel free to adjust the quantity based on your preference.

Step 6
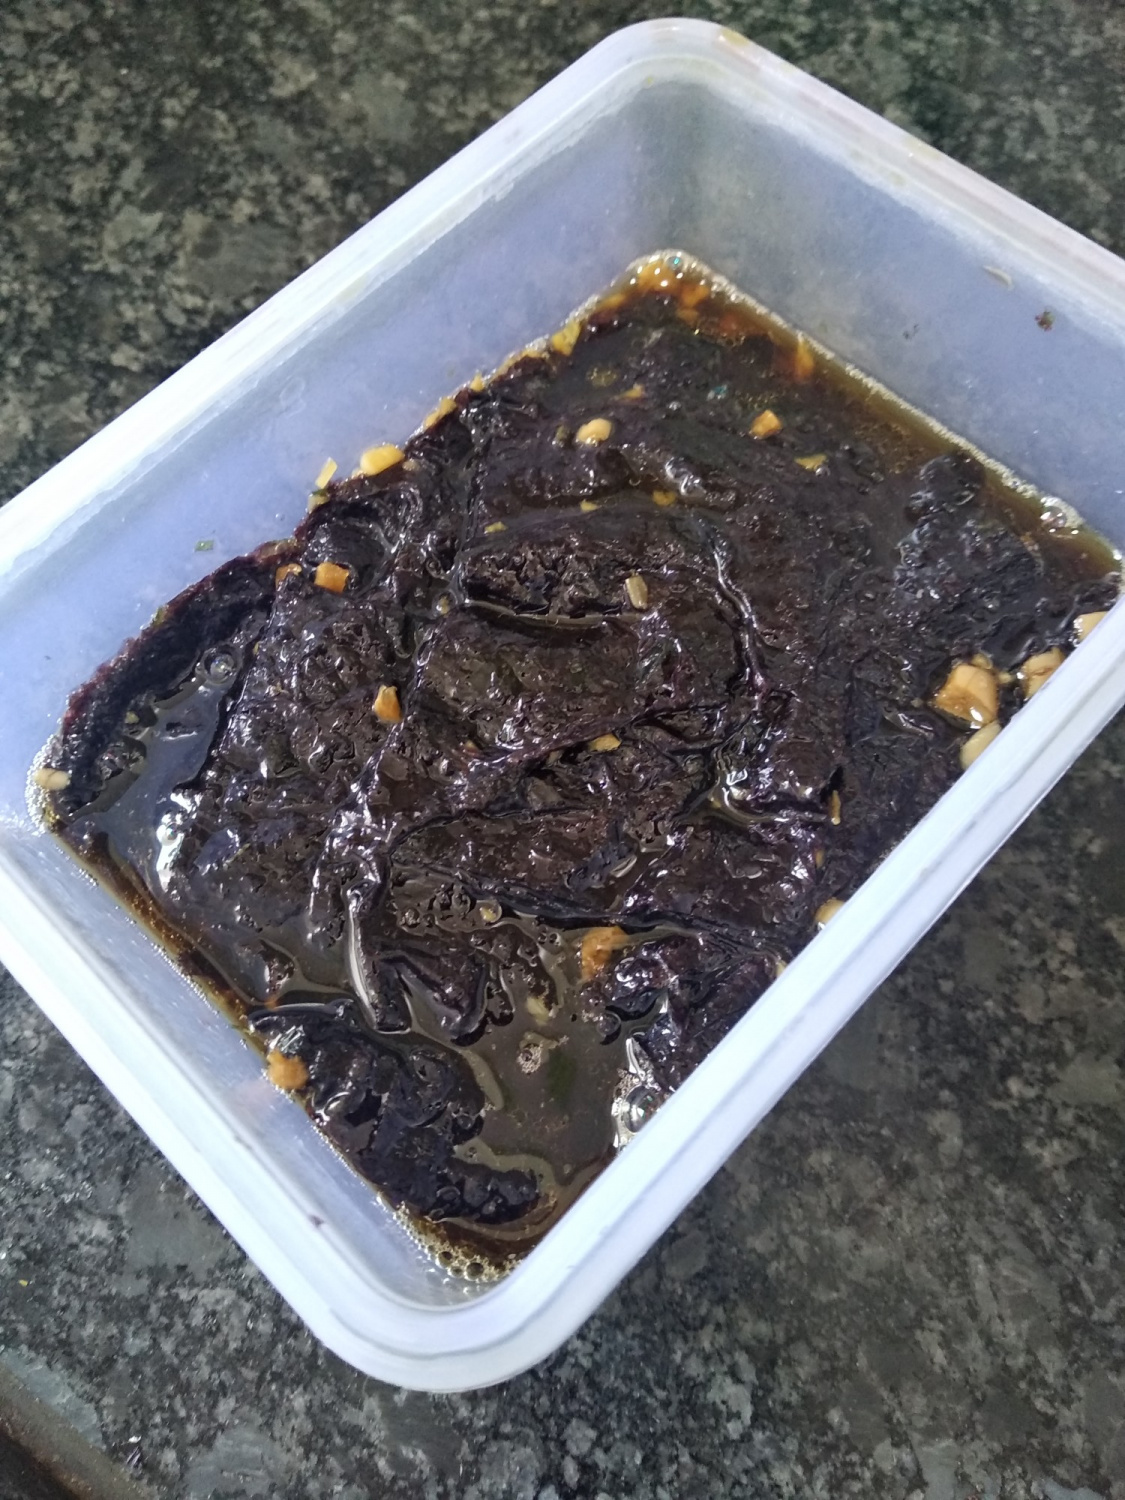
Arrange the cut seaweed sheets neatly in an airtight container. Once the soy sauce mixture has completely cooled, pour it evenly over the seaweed. Make sure to pour enough so that the seaweed can absorb the liquid well.

Step 7
To ensure the soy sauce evenly coats and penetrates the seaweed, take out a few sheets at a time and gently flip them over. This step is crucial for infusing the seaweed with the savory and sweet soy flavor. Handle them gently to avoid tearing.

Step 8
Once the seaweed is fully immersed in the soy sauce mixture, you can enjoy it immediately. For an even richer flavor, let it sit for about a day at room temperature. This allows the flavors to deepen beautifully, creating a truly addictive side dish. Store the finished Kim Jang Achi in the refrigerator and enjoy!


