Kimchi Chicken Fried Rice: The Perfect Match of Aged Kimchi and Chicken Tenders!
#How to Make Kimchi Chicken Fried Rice with Chicken Tenders

Create a fantastic meal using aged kimchi from your fridge and crispy chicken tenders! The tanginess of the aged kimchi combined with the rich texture of chicken tenders creates an unforgettable flavor. This recipe provides detailed instructions, making it easy for even beginners to follow.
Main Ingredients- 3 Chicken Tenders (cut into bite-sized pieces)
- 1.5 cups Aged Kimchi (lightly squeeze out excess juice and chop finely)
- 1 Tbsp Sugar (balances the sourness of the kimchi and adds umami)
- 1 Egg (mixed with rice for added tenderness)
- 1 Tbsp Chopped Green Onion (adds aromatic depth)
- 1 tsp Sesame Oil (for a nutty aroma)
- 2 bowls Rice (use warm cooked rice)
- 1 tsp Toasted Sesame Seeds (for garnish and a nutty finish)
Cooking Instructions
Step 1
First, prepare your aged kimchi. If the kimchi is too sour or has an off-smell, gently toss it with 1 tablespoon of sugar to mellow the flavor. You can also use plum extract instead of sugar. This step helps to neutralize the kimchi’s acidity and balance the overall taste.

Step 2
Allow the frozen chicken tenders to thaw at room temperature before cooking, or microwave them for about 1 minute and 30 seconds. Once thawed, you’ll cut the 3 chicken tenders into pieces similar in size to the chopped kimchi later for stir-frying.

Step 3
Heat a pan over medium heat. Once warm, add the chopped green onions and stir-fry them gently over low heat to create fragrant scallion oil. This infused oil is a secret weapon for enhancing the flavor of your fried rice.

Step 4
Cut the thawed chicken tenders into bite-sized pieces, roughly the same size as your kimchi. Now, let’s prepare the rice. In a bowl with 2 bowls of warm rice, crack in 1 egg and mix thoroughly until each grain of rice is coated with egg. This technique prevents the rice from clumping and results in fluffy, tender egg-fried rice. The richness of the egg coating complements the savory kimchi and the texture of the chicken tenders, creating a more satisfying dish.

Step 5
Once the scallion oil is fragrant in the pan, add the finely chopped kimchi and the cut chicken tenders. Stir-fry them together for about 2-3 minutes. Drizzle in 1 teaspoon of sesame oil at this stage for an extra nutty aroma. Allow the ingredients to meld together.

Step 6
Now, it’s time to add the egg-coated rice and continue stir-frying. Use your spatula to gently press and break up the rice, ensuring the kimchi and chicken tenders are evenly distributed amongst the grains. It’s important to keep the rice from clumping. Stir-fry quickly over medium heat to prevent sticking.

Step 7
Finally, let’s finish the fried rice. Add a little more chopped green onion, if desired, and 1 teaspoon of toasted sesame seeds. The fried rice is ready when the rice grains look glossy and separated, and the overall color has turned a nice reddish hue.

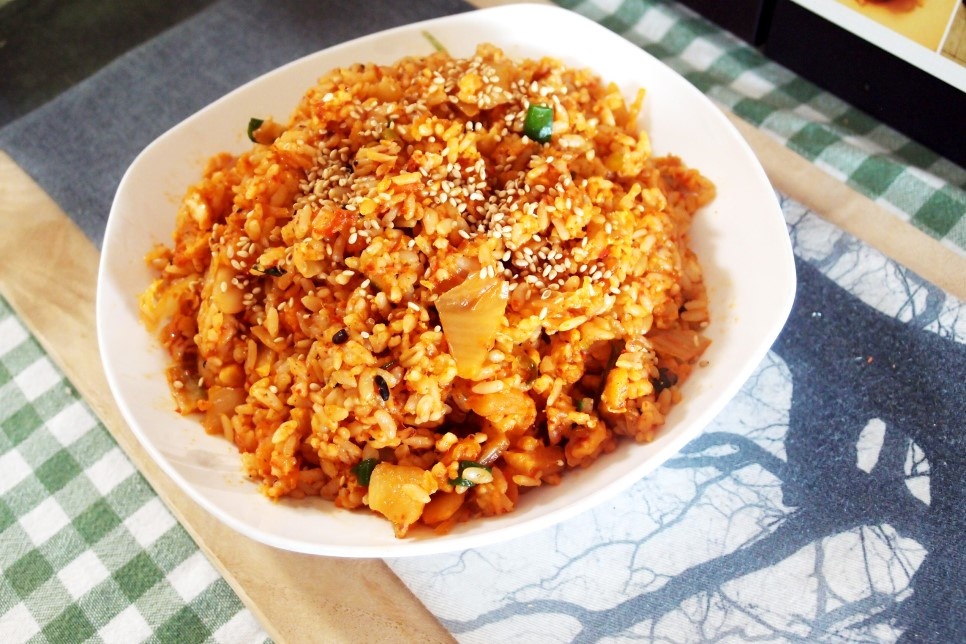
Step 8
Serve the finished Kimchi Chicken Fried Rice generously on a plate. Sprinkle with a final dusting of toasted sesame seeds for a beautiful presentation. Each spoonful offers the delightful chewiness of chicken tenders and the crisp, spicy kick of kimchi – truly delicious! It’s a perfect, hearty meal for any occasion.


